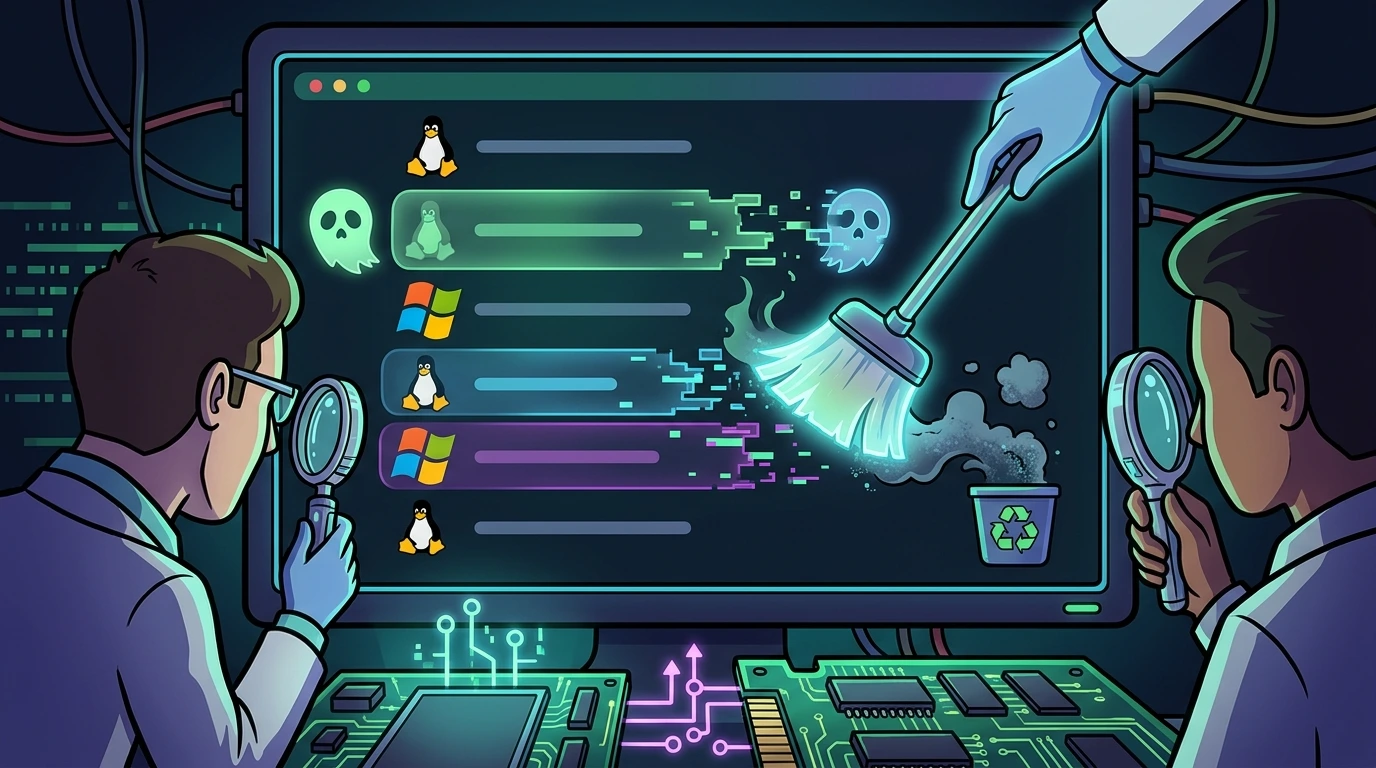
GRUB menu polluted by uninstalled systems#
Distro hopping (the practice of successively installing and removing Linux distributions on the same disk) is the classic case of boot stack garbage generation. Each distro installation (Android x86, Manjaro, PopOS, etc.) writes entries to the motherboard's NVRAM (via UEFI firmware) and deposits .efi files in the EFI System Partition (ESP), typically mounted at /boot/efi.
The problem: upon uninstallation, most distros do no housekeeping on either of these two layers. The result is a polluted boot menu with ghost entries pointing to systems that no longer exist on the disk, or worse: the active distro's GRUB rediscovers these residues via os-prober and displays them in the main menu.
This post documents the complete forensic audit of both layers, including the real commands used during resolution.
1) Introduction and the polluted boot scenario#
The dynamics of frequent operating system testing and migration generate persistent residues in both the hardware boot tables and the disk partition structure. Many Linux distributions, when removed by simply deleting their system partitions, leave orphaned entries in the motherboard's firmware tables and orphaned binary files in the EFI partition. These residues cause delays in the firmware menu loading process, visual clutter in the GRUB menu, and, in extreme scenarios, boot prioritization issues that can prevent the main operating system from starting automatically. Resolving this issue permanently requires actions at both the logical layer (filesystem) and the physical layer (NVRAM).
2) Mandatory preventive backups (NVRAM, ESP, and GRUB)#
Any modification to the motherboard's UEFI NVRAM tables or the files in the EFI partition involves the risk of hanging the hardware's boot cycle. Before starting any removal, execute a thorough backup of all initialization structures on the server. Run the following commands in the terminal as the root user:
# 1. Export and save the current detailed state of NVRAM variables
sudo efibootmgr -v > /root/efibootmgr-backup-$(date +%Y%m%d).txt

# 2. Perform a complete preventive backup of GRUB settings
sudo cp /etc/default/grub /root/grub.bak.$(date +%Y%m%d)
sudo cp /boot/grub/grub.cfg /root/grub.cfg.bak.$(date +%Y%m%d)

# 3. Compress and create a full backup of all binaries in the ESP partition
sudo tar czf /root/efi-backup-$(date +%Y%m%d).tar.gz /boot/efi/
Verify that the backups were written correctly and have sizes greater than zero using:
cat /root/efibootmgr-backup-*.txt
tar -tzf /root/efi-backup-*.tar.gz | head -10
3) Secure boot status verification#
Secure Boot requires all bootloaders and loaded kernel modules to have valid digital signatures registered in the NVRAM (PK, KEK, and db keys). When managing or removing boot entries, verify the status of Secure Boot to prevent signature rejection failures:
- Check the operational status of Secure Boot on the machine:
mokutil --sb-state 2>/dev/null || echo "mokutil tool not installed or unavailable"- Make sure that the shim (the signed loader validated by Microsoft) and the grubx64 (the conventional GRUB loader) files corresponding to the current distribution are present:
ls -la /boot/efi/EFI/ubuntu/shimx64.efi
ls -la /boot/efi/EFI/ubuntu/grubx64.efi
If Secure Boot is Enabled, the motherboard's NVRAM must prioritize the path to shimx64.efi so that loading occurs without security violations.
4) UEFI NVRAM hardware audit via efibootmgr#
The physical boot layer resides in the motherboard's NVRAM (Non-Volatile Random Access Memory). List the current state of the hardware by running:
sudo efibootmgrReal output analyzed in the lab:
BootCurrent: 0001
BootOrder: 0001,0007,0004,0000
Boot0000  Windows Boot Manager	HD(3,GPT,5dfd8a4f-23e3-48e8-8ec8-f640fd4b2c02,0xbe57000,0x32000)/File(\EFI\Microsoft\Boot\bootmgfw.efi)...
Boot0001* Ubuntu	HD(3,GPT,5dfd8a4f-23e3-48e8-8ec8-f640fd4b2c02,0xbe57000,0x32000)/File(\EFI\ubuntu\shimx64.efi)
Boot0004  Network Card 	BBS(Network,,0x0)...
Boot0007* ubuntu	HD(3,GPT,5dfd8a4f-23e3-48e8-8ec8-f640fd4b2c02,0xbe57000,0x32000)/File(\EFI\Ubuntu\grubx64.efi)
Detailed technical analysis of the output:
BootCurrent: 0001: The active Linux kernel was initialized via slotBoot0001.Boot0001*(with asterisk): Indicates that the entry is active and usable in the UEFI firmware.Boot0007*: A duplicate entry pointing directly to the unprotected GRUB (grubx64.efi), which should be cleaned up if Secure Boot is active.
Surgical removal of a zombie entry in NVRAM: If you identify an old system (for example, Boot0003 Manjaro or a redundant Boot0007), perform the deletion by entering the corresponding hexadecimal ID:
sudo efibootmgr -b 0007 -B- The
-bflag selects the entry. - The
-Bflag deletes the entry from the motherboard's NVRAM.
5) Logical disk audit: ESP and zombie partitions#
With the NVRAM adjusted, we move to the logical disk storage layer. The os-prober utility (called during GRUB configuration generation) scans the EFI system partition mounted in the /boot/efi directory and raw disk partitions looking for signatures of old bootloaders.
Contamination happens through two sources:
- Old folders from uninstalled distributions within the
/boot/efi/EFI/directory. - Remaining system partitions on the physical disk that still retain labels,
/etc/fstabentries, or installed boot structures.
6) Bios/uefi firmware verification and diagnosis#
Internal settings in the motherboard's physical setup can directly interfere with rebuilding the system's boot order. During the audit, check the hardware's firmware specifications:
- Obtain the version, release date, and manufacturer of the BIOS/UEFI firmware:
sudo dmidecode -t bios | head -10- Make sure to access the motherboard's physical setup during reboot and validate the following policies:
- Fast Boot: Temporarily disable this option. Fast Boot skips critical steps of loading USB and secondary disk drivers during the POST cycle, which can mask hardware changes made by
efibootmgr. - Boot Order: Verify that the first device listed in the boot priority points exactly to the corresponding active NVRAM entry (such as "Ubuntu" or "shimx64.efi").
7) Verification of active partitions before formatting#
Before formatting or removing any partition identified as a zombie on the disk (such as an old Manjaro or Android x86 filesystem), make sure the partition is not actively used by system processes, which will prevent disk corruption:
- Verify if the target partition (example:
/dev/sda4) is mounted in the active filesystem:
mount | grep -i "/dev/sda4" || echo "The partition is not mounted."- If mounted, identify and terminate any open files or processes associated with the mount point:
# List processes with open files on the partition
sudo lsof +D /mnt/zombie_mount/ 2>/dev/null

# Identify process IDs using the partition
sudo fuser -v /mnt/zombie_mount/ 2>/dev/null
Only format the partition (mkfs) if it is unmounted (umount) and has no active processes associated with it.
8) Zombie folder removal and ESP permissions audit#
Access the EFI filesystem directory to identify remaining folders:
sudo ls -la /boot/efi/EFI/8.1 ESP directory permissions audit#
Since the ESP partition uses the FAT32 (vfat) filesystem due to UEFI specification requirements, it has different permission mappings in Linux. Run the stat command to audit mount health:
stat /boot/efi/The expected permissions of the mount folder are 0700 or 0755 with the owner assigned as root:root.
8.2 shim and GRUB integrity audit#
Before removing zombie directories, test the file type and signature of the current main bootloader to ensure there is no corruption:
file /boot/efi/EFI/ubuntu/shimx64.efi8.3 surgical removal#
Proceed with removing the directories that correspond to uninstalled systems. ⚠️ WARNING: Never delete the "Microsoft", "ubuntu", or "BOOT" directories, as this will prevent the machine from booting.
# Remove Manjaro and Android leftover traces
sudo rm -rf /boot/efi/EFI/manjaro
sudo rm -rf /boot/efi/EFI/android

# Confirm clean directory deletion
sudo ls /boot/efi/EFI/
9) Windows dual boot protection and verification#
In hybrid dual boot scenarios containing Windows operating systems, the Windows Boot Manager partition and folders must be preserved and validated:
- Make sure the Windows bootloader files are present on the disk in the appropriate folder:
ls -la /boot/efi/EFI/Microsoft/Boot/bootmgfw.efi- Make sure the
os-proberutility is enabled in the GRUB settings in/etc/default/grubto detect Windows. The line below must be configured:
GRUB_DISABLE_OS_PROBER=false- Simulate detection without writing changes by running
update-gruband checking for the presence of the Windows Boot Manager in the output:
sudo update-grub | grep -i "Windows"10) Bootloader integrity and rebuilding#
If there is a need to rewrite or fix the GRUB binary files in the EFI partition (for example, after corruption or accidental deletion of system files), proceed with the physical installation of the loaders:
- Install GRUB pointing to the mounted EFI system partition:
sudo grub-install --target=x86_64-efi --efi-directory=/boot/efi --bootloader-id=ubuntu --recheck- Update the initramfs file to ensure that boot kernel modules are consistent:
sudo update-initramfs -u -k all- Validate that the corresponding kernel image and initrd are present in the
/boot/directory:
ls -la /boot/vmlinuz-*
ls -la /boot/initrd.img-*
11) Post-cleanup validation and monitoring#
After performing the removal in NVRAM and the EFI partition, confirm that the final menu has been regenerated without pointing to the ghost folders:
- Execute the regeneration of the GRUB configuration file:
sudo update-grub- Verify that the excluded distributions have disappeared from the output and the compilation log:
sudo update-grub 2>&1 | tee /tmp/grub-rebuild.log
grep -i -E "manjaro|android" /tmp/grub-rebuild.log || echo "Success: Ghost systems cleaned."- Display the partition layout again to verify that zombie disks have been cleaned or formatted:
lsblk -f12) Recovery and rollback procedures#
If the operating system fails to reboot or if you accidentally remove an active entry from NVRAM, follow this recovery plan:
- If the NVRAM entry was incorrectly removed, recreate it pointing to the signed shim file on the disk:
sudo efibootmgr --create --disk /dev/sda --part 1 --loader /EFI/ubuntu/shimx64.efi --label "Ubuntu" --unicode(Adjust the --disk and --part parameters with the corresponding disk and EFI partition number).
- If ESP folders were removed by mistake, restore the files from the compressed backup generated in section 2:
sudo tar -xzf /root/efi-backup-*.tar.gz -C /- Reinstall GRUB and update the configuration files to stabilize the changes:
sudo grub-install --target=x86_64-efi --efi-directory=/boot/efi --bootloader-id=ubuntu
sudo update-grub
13) Cleanup checklist and risk matrix#
13.1 operational checklist for boot cleanup#
Follow the checklist below before and after maintenance procedures:
- [ ] Preventive backups of NVRAM, the
/etc/default/grubfile, and the/boot/efidirectory created. - [ ] Secure Boot status and presence of signed loaders verified.
- [ ] BIOS/UEFI parameters verified (Fast Boot disabled).
- [ ] Ghost entries listed and identified in hardware NVRAM via
efibootmgr. - [ ] Zombie entries removed from NVRAM using the
-Bflag. - [ ] Checked that zombie partitions are unmounted and have no running processes before formatting.
- [ ] ESP partition permissions and ownership audited.
- [ ] Orphaned folders from old distros deleted in the
/boot/efi/EFI/directory. - [ ] Presence and detection of the Windows boot partition validated.
- [ ] GRUB reinstalled and boot settings regenerated via
update-grub. - [ ] Reboot test performed for practical validation of modifications.
13.2 boot risk matrix and severity#
| Risk / Threat | Severity | Description | Applied Technical Mitigation Action |
|---|---|---|---|
| Unbootable System | Critical | Accidental deletion of legitimate boot folders (Microsoft or ubuntu) from the ESP directory. | Generation of compressed backup of /boot/efi folder before removal and use of manual rollback with tar. |
| NVRAM Data Loss | High | Wiping boot keys in NVRAM, causing the BIOS to skip loading GRUB. | Prior registration of the efibootmgr -v command output in a text file and familiarity with entry recreation syntax. |
| Secure Boot Block | High | Direct loading of grubx64.efi fails due to digital signature rejection in hardware. | Use and prioritization of paths based on shim loaders (shimx64.efi) signed in conjunction with GRUB. |
| Partition Corruption | Medium | Formatting an active partition in use by concurrent processes, leading to data loss. | Mandatory execution of mount, lsof, and fuser commands before running mkfs on orphan partitions. |
| Setup Misconfiguration | Low | Fast Boot enabled ignores hardware changes and does not reflect the newly configured boot order. | Explicitly disabling Fast Boot in the motherboard firmware setup settings. |
Technical conclusion#
Maintaining the UEFI boot cycle requires a clear understanding of the separation between the hardware NVRAM and the logical disk partition. By isolating the cleanup into independent steps, performing thorough preventive backups, and validating bootloader integrity with active Secure Boot signatures, you ensure a stable machine, free of residue, and with optimized boot times.
Was this article helpful?
Leave a quick reaction to help prioritize future technical guides:
See also


This post is licensed under CC BY-NC.
Comments
Join the discussion below.
0 comments