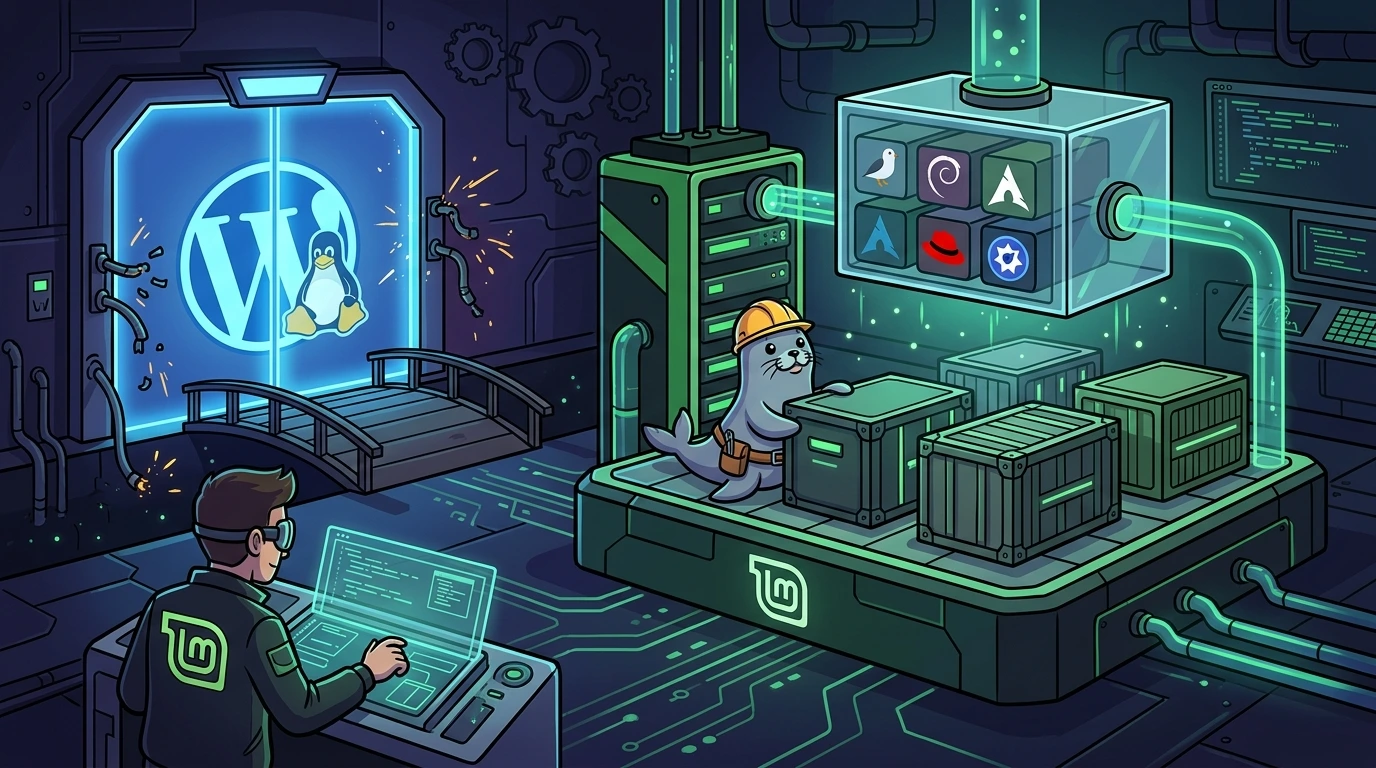
Container engineering: replacing WSL with an isolated Podman and Distrobox workflow on Linux Mint#
Transitioning from native WSL2 environments to bare-metal Linux distributions (such as Linux Mint) requires a redesign of the workspace architecture. Running multiple projects and conflicting runtime versions directly on the host operating system pollutes the local package manager, leading to dependency conflicts and system instability.
The conventional alternative is to run isolated containers using Podman (avoiding Docker's root-owned daemon). However, traditional containers make it difficult to share graphical user interfaces (GUI), audio subsystems, and persistent directories. In this guide, we show how to set up an isolated, high-performance virtualized environment using AlmaLinux and Distrobox, acting as a direct bridge to the host system's resources.
Distrobox workspace architecture#
The diagram below details the mapping of local resources (display rendering, audio devices, networking, and personal user files) between the Linux Mint host machine and the AlmaLinux developer environment running in Podman:
1. Pre-requisites and host environment verification#
Before provisioning the container, it is essential to ensure that Distrobox and the Podman engine are installed correctly on the host system (Linux Mint).
# Validate that Distrobox is accessible in PATH and its version
which distrobox
distrobox version

# List existing Distrobox containers registered on the system
distrobox list

# Confirm if the Podman engine is operational and its version
podman --version
podman ps -a
2. Container provisioning and verification#
Unlike traditional containers running in closed sandboxes, Distrobox creates integrated containers that share the host's home directory and resources transparently.
# Create the container based on AlmaLinux
distrobox create --image almalinux --name alma-dev

# Enter the container's interactive shell
distrobox enter alma-dev
To ensure that the container has been successfully instantiated and mapped, run the following validations:
# Check the internal operating system inside the container
cat /etc/os-release

# Confirm that the current user and UID/GID are correctly mapped
whoami
id

# Test if privilege escalation via sudo works internally
sudo whoami
On the host system, you can audit the container's status under Podman:
# Verify if the container is running under Podman
podman ps -a | grep alma-dev
3. Graphical interface (GUI) integration and verification#
One of Distrobox's greatest advantages is its ability to run graphical applications from the container directly on the host display. To verify that the X11/Wayland server display is exported and communicating correctly:
# Check if display environment variables are set
echo $DISPLAY
echo $WAYLAND_DISPLAY

# Test communication with the X11 display server
xset q 2>/dev/null | head -5

# Test graphical rendering by running a simple app from the container
distrobox enter alma-dev -- xeyes
To integrate visual tools (like GNOME's Nautilus file manager) into your host's application menu:
- Access the container shell and install the file manager:
sudo dnf install nautilus -y- Export the application directly to the host:
distrobox-export --app nautilusA shortcut named "Files (on alma-dev)" will appear in the host's application menu, allowing you to browse the container's internal filesystem directly and securely.
4. Audio configuration and verification#
Distrobox automatically maps the host's audio sockets (PulseAudio or PipeWire) into the container. To verify that audio is functional and test the sound subsystem:
# Check the status and connection of the host audio server
pactl info 2>/dev/null | head -5

# Play a test sound from inside the container
distrobox enter alma-dev -- paplay /usr/share/sounds/freedesktop/stereo/bell.oga
5. Network configuration and testing#
To ensure that the container can resolve domain names and has stable, bidirectional internet connectivity:
# Test external connectivity (ping to a public IP)
distrobox enter alma-dev -- ping -c 1 8.8.8.8

# Validate name resolution (DNS)
distrobox enter alma-dev -- nslookup google.com

# Inspect the network interfaces and routing tables assigned to the container
distrobox enter alma-dev -- ip addr show
6. Repository and development stack configuration#
AlmaLinux offers enterprise stability (RHEL base), but its default repositories lack common community development packages.
Enabling the EPEL repository#
We recommend using the AlmaLinux 9 base image, as the stable Node.js 20 runtime is easily managed via DNF. To install community utilities like htop from the EPEL (Extra Packages for Enterprise Linux) repository, you must first enable the CRB (CodeReady Builder) repository to satisfy development dependencies:
# Enable the CRB repository in AlmaLinux 9
sudo dnf config-manager --set-enabled crb

# Install the EPEL repository
sudo dnf install epel-release -y

# Install the htop utility
sudo dnf install htop -y
Development stack (Node.js and PNPM)#
Configure Node.js by locking it to the stable LTS 20 version using the DNF module manager:
# Enable the Node.js LTS 20 module (AlmaLinux 9)
sudo dnf module enable nodejs:20 -y

# Install the Node.js binary
sudo dnf install nodejs -y

# Install the PNPM package manager globally
sudo npm install -g pnpm
To validate the installation of the versions:
# Audit versions of installed tools on both host and container
distrobox version
podman --version
distrobox enter alma-dev -- node --version
distrobox enter alma-dev -- pnpm --version
7. Container lifecycle: safe installation, update, backup, and removal#
Distrobox installation and updates#
Avoid piping unverified scripts directly from curl | sh under the root user without checking the code or checking hashes. The recommended way is to use your host's official package managers or download the script securely first:
# Standard installation via host package managers (Linux Mint / Ubuntu)
sudo apt update && sudo apt install distrobox -y

# If you require the latest version from GitHub, download and audit the script:
curl -fsSL -o /tmp/install-distrobox.sh https://raw.githubusercontent.com/89luca89/distrobox/main/install
less /tmp/install-distrobox.sh # Audit code
sudo sh /tmp/install-distrobox.sh

# Upgrade all managed containers globally (the correct batch command)
distrobox upgrade --all

# Update internal packages in a specific container
distrobox enter alma-dev -- sudo dnf update -y
Safe workspace backup without secret leaks#
# 1. Archive core directories from the container (excluding /home and /tmp)
distrobox enter alma-dev -- tar czf /tmp/alma-dev-backup.tar.gz \
  --exclude=/home \
  --exclude=/tmp \
  /etc /opt /usr/local

# 2. Copy the backup file from the container to the host home directory
podman cp alma-dev:/tmp/alma-dev-backup.tar.gz ~/
Safe cleanup and environment removal#
# 1. Stop and remove only the target Distrobox container
distrobox rm alma-dev

# 2. Remove the base AlmaLinux image
podman rmi almalinux:latest

# 3. Clean stopped containers using Distrobox labels safely
podman container prune --filter "label=distrobox"
8. Critical production guidelines#
- Strict Rootless Isolation: Never initialize Distrobox containers using
sudoon the host (sudo distrobox create). This causes R/W permission conflicts when host editors (like VS Code) attempt to write to shared local directories. - Export Binaries vs Symlinks: Avoid traditional symbolic links (
ln -s) pointing to container executables. Use the nativedistrobox-export --bin /path/to/bincommand to route system calls securely and transparently. - Reverse Volatile Persistence: Deleting and recreating the container (
distrobox rm->distrobox create) does not delete personal files or SSH keys under/home/user, as they share the host system's home directory by default. - SELinux on Host (Security Contexts): Linux Mint defaults to AppArmor, but if you run this workflow on hosts with SELinux (like Fedora or RHEL), be aware that security constraints can restrict volume mounting or container socket access. Distrobox applies the
:zor:Zmount options automatically, but you should verify if SELinux blocks window manager rendering loops.
Checklist: WSL → Distrobox migration#
Below is the operational roadmap for development environment transition and verification.
1. Pre-requisites#
- [ ] Podman installed and running:
podman --version - [ ] Distrobox installed via host package manager:
apt install distrobox - [ ] Display mapping validated:
echo $DISPLAY
2. Provisioning#
- [ ] Create the AlmaLinux container:
distrobox create --image almalinux --name alma-dev - [ ] Confirm creation in the list:
distrobox list - [ ] Access the internal terminal:
distrobox enter alma-dev
3. Settings & stack#
- [ ] Enable CRB and EPEL repositories:
sudo dnf install epel-release -y - [ ] Enable the Node.js 20 module:
sudo dnf module enable nodejs:20 -y - [ ] Install Node.js and utilities:
sudo dnf install nodejs htop -y - [ ] Set up global PNPM:
sudo npm install -g pnpm
4. Integrations & validation#
- [ ] Test GUI rendering (e.g.,
xeyesviadistrobox enter) - [ ] Test audio playback (
paplay) - [ ] Install and export Nautilus:
distrobox-export --app nautilus - [ ] Validate DNS resolution and external ping
5. Maintenance routines#
- [ ] Document directory-based backups (avoiding
podman commit) - [ ] Test safe container upgrades (
distrobox upgrade --all)
Was this article helpful?
Leave a quick reaction to help prioritize future technical guides:
See also
This post is licensed under CC BY-NC.
Comments
Join the discussion below.
0 comments