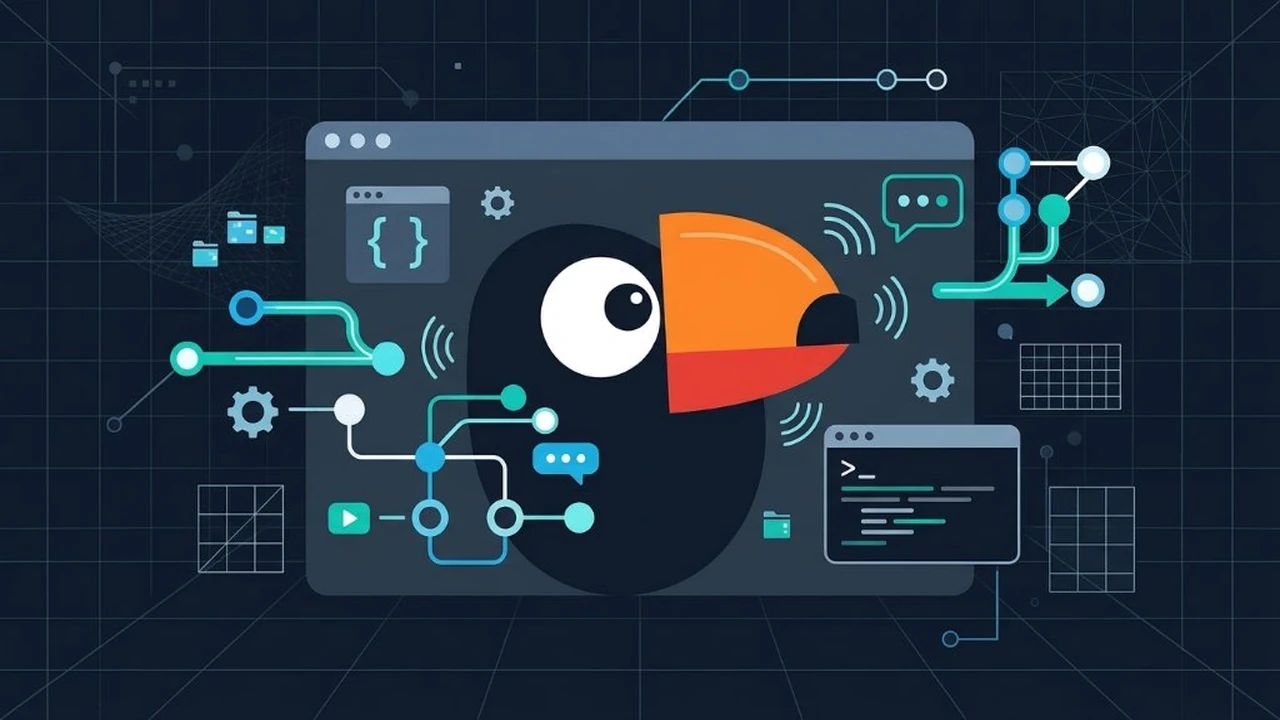
When discussing AI agents today, conversations often turn toward proprietary web chat wrappers or isolated command-line scripts. The fundamental question I always ask myself before installing any new tool is straightforward: do I control what these agents are executing on my machine, where my data flows, and how the underlying application was built?
Driven by that question, I decided to test Tucano.sh (open source on GitHub). It positions itself as a native desktop client designed to manage, build, and orchestrate AI agents with support for multiple providers and the Model Context Protocol (MCP).
In this review, I share my honest hands-on experience: what impressed me, the friction points I ran into during configuration, and practical tests controlling desktop applications.
Visual identity and initial impressions#
The very first aspect that stands out is the visual craftsmanship. Tucano features one of the cleanest and most polished desktop interfaces I have seen recently in the AI space. It is simple, readable, and structured so that you immediately understand the visual hierarchy within seconds. It reflects the kind of design care usually seen in well-crafted consumer products.
The team provides prebuilt binaries across all major platforms:
- Windows (x86/64
.exeinstaller) - macOS (
.dmgimage) - Linux (
.AppImageand.debpackages)
For my testing, I downloaded the Linux AppImage release, which comes fully self-contained and runs immediately without modifying system libraries.
Onboarding flow and provider setup#
Launching the application brings up a short, colorful intro animation featuring the toucan mascot and geometric agent avatars reminiscent of Anthropic's design language.
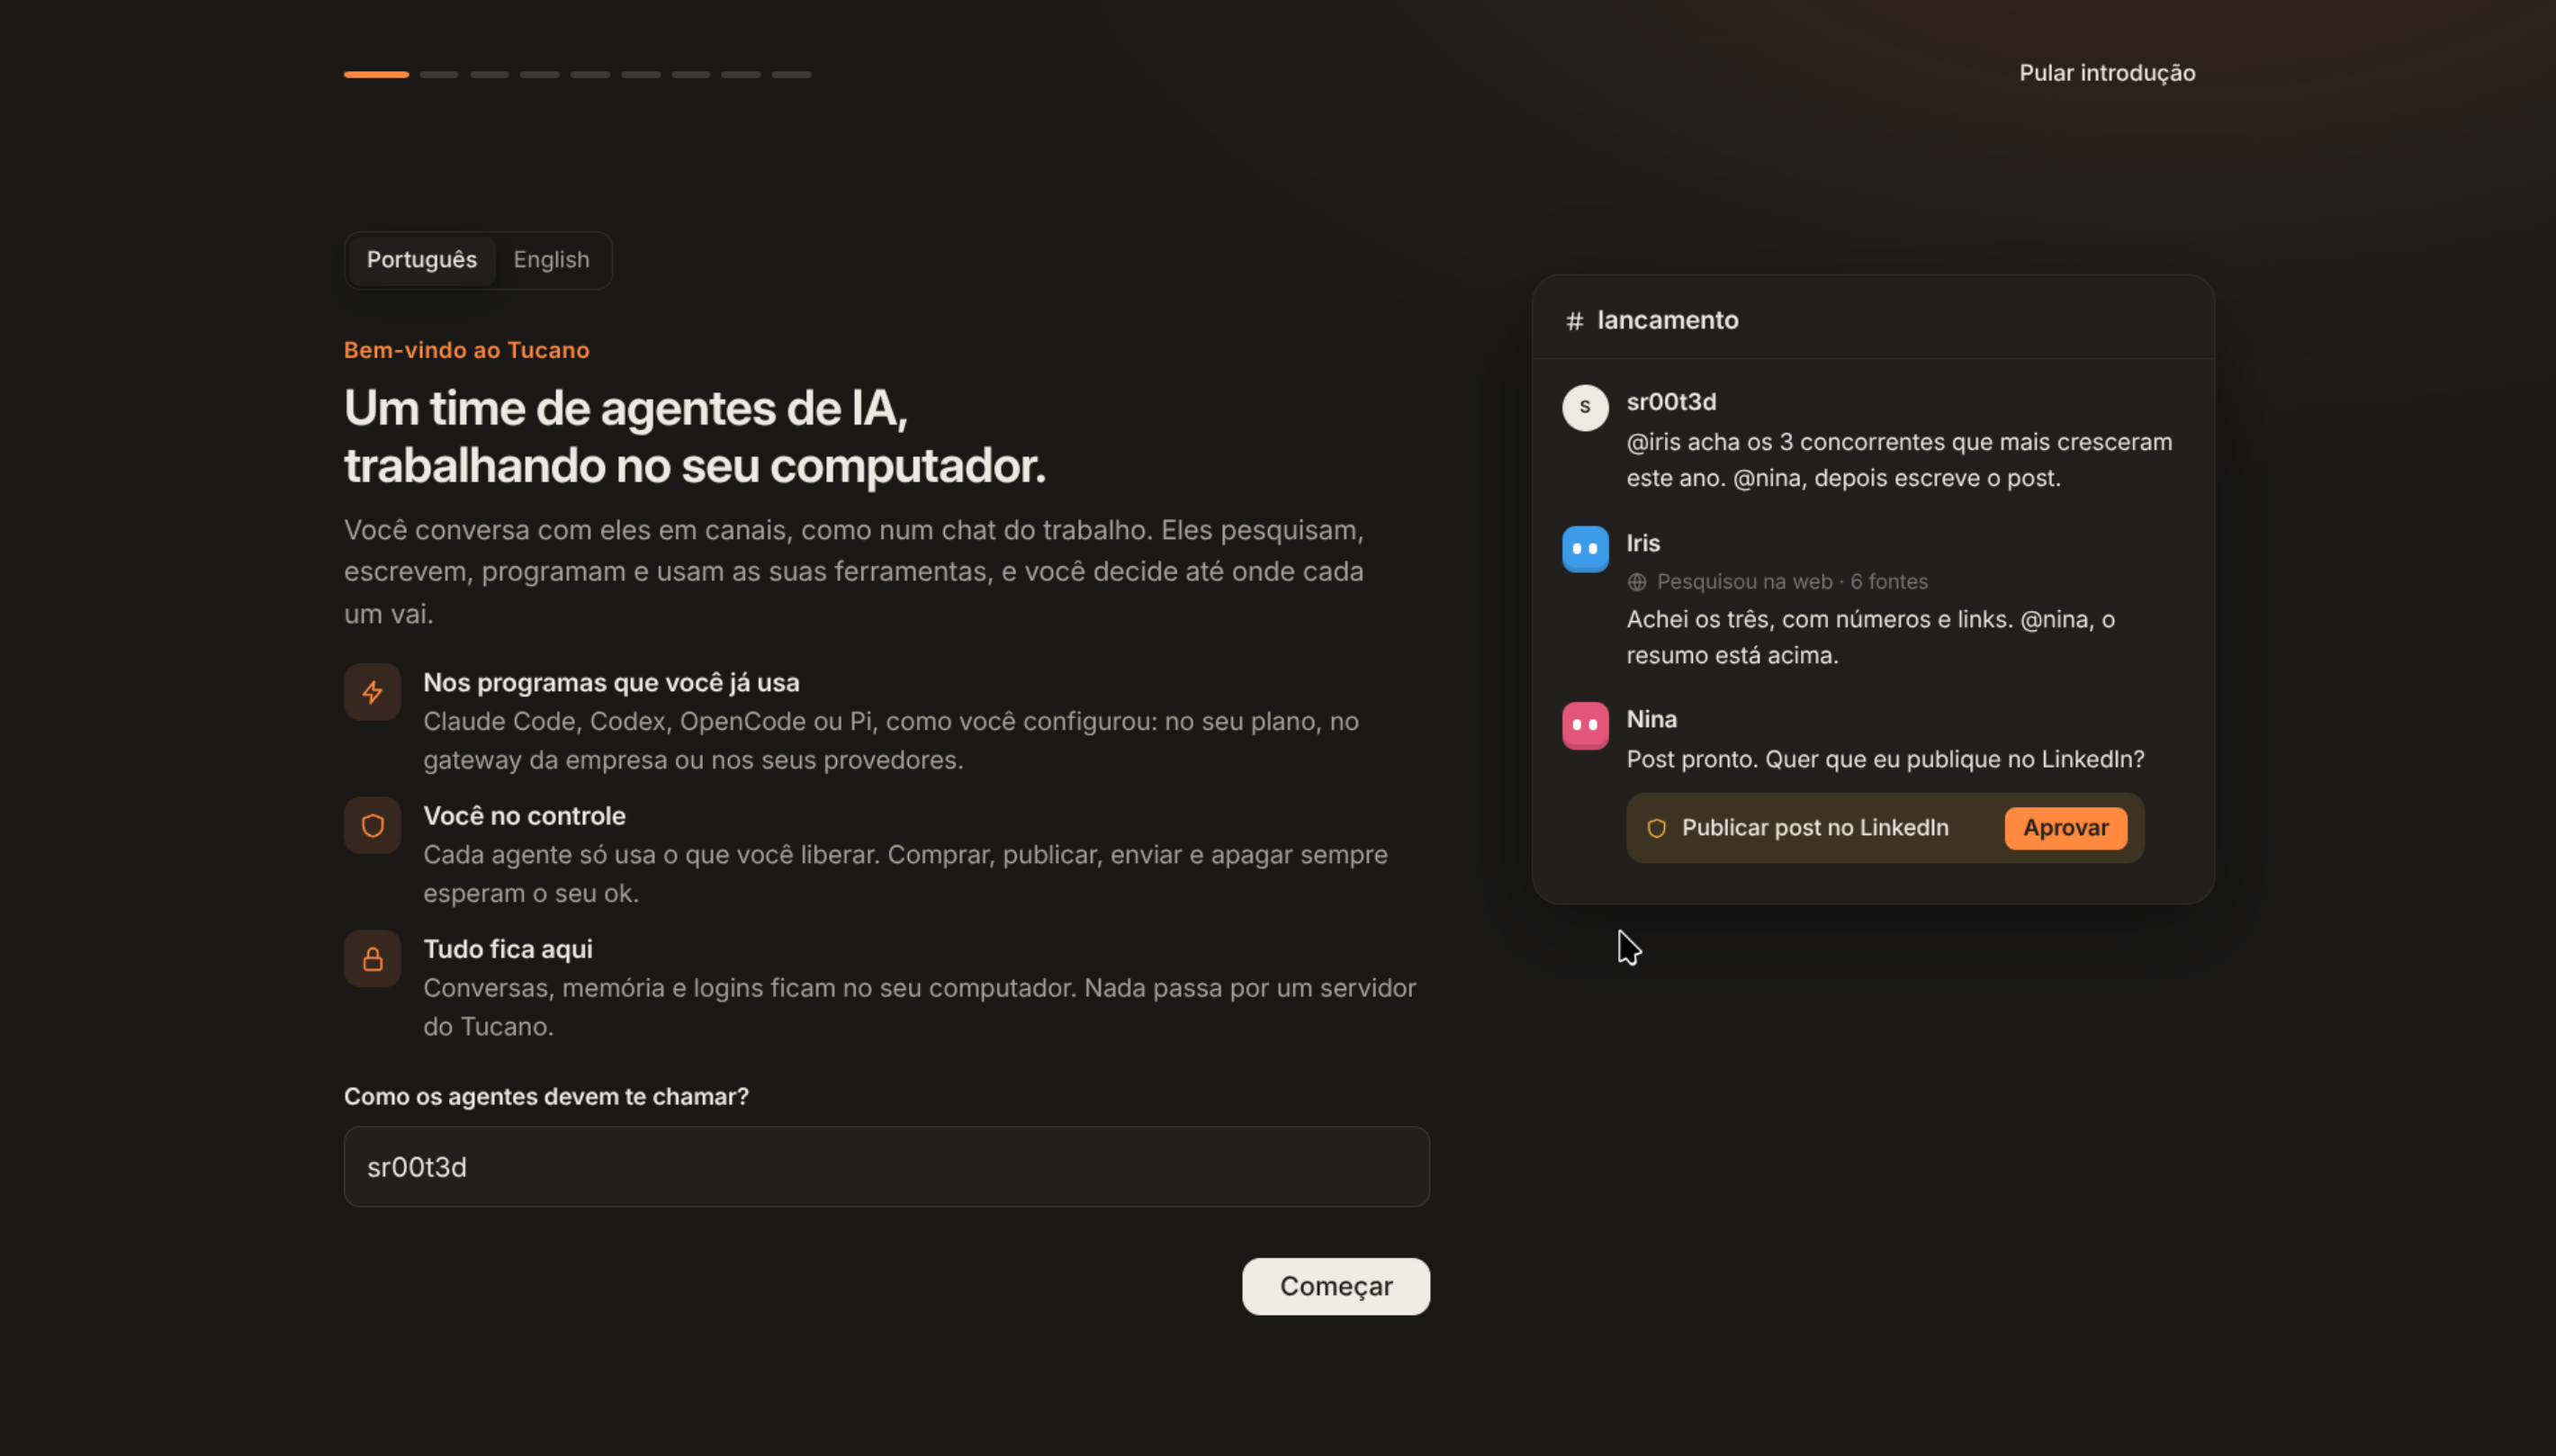
Once the animation completes, the setup wizard asks what the agents should call you and displays a side preview of the upcoming chat interface. I entered my name and clicked to proceed.
The following step presents model and provider configuration. This was my first friction point: presenting so many options at once can easily overwhelm newcomers. Focusing on three primary providers with a clear note that more can be added later would make the onboarding much friendlier.
On the other hand, the app handled local discovery cleanly: it immediately recognized OpenCode running on my machine and let me choose my default local model right there.
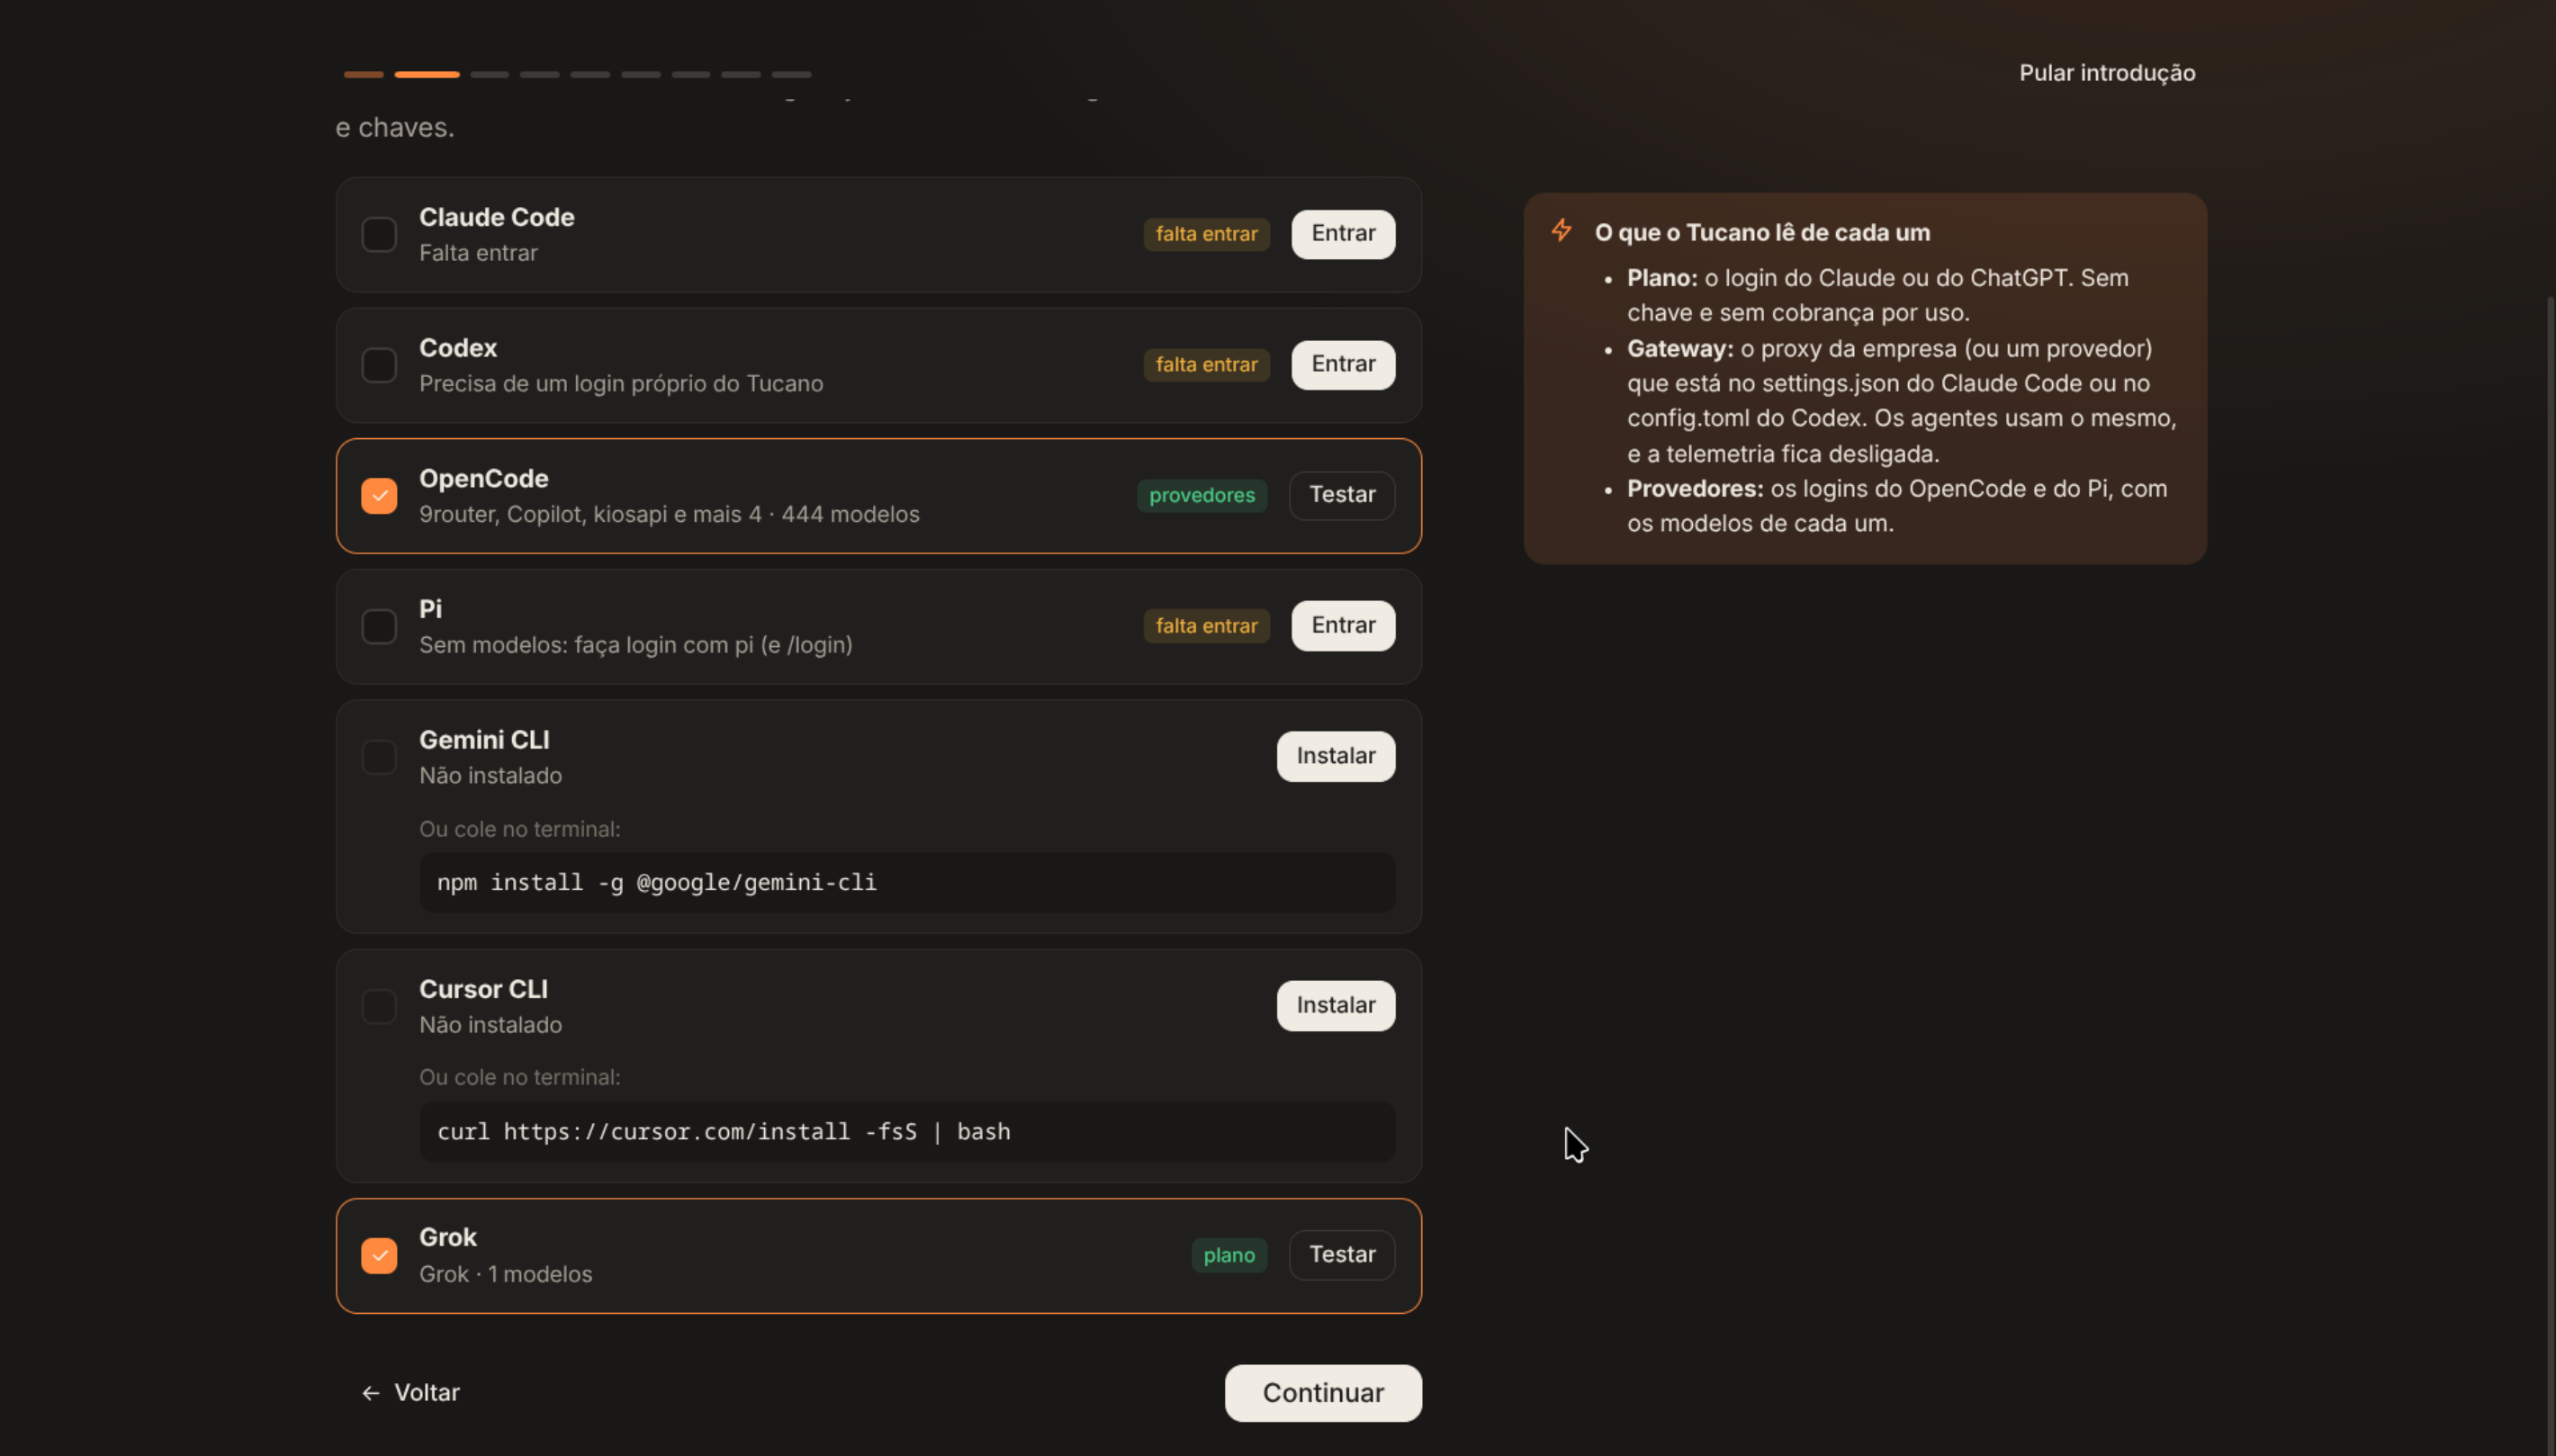
When authenticating third-party accounts, I noticed an interesting behavior: the application launched login windows inside an isolated browser session rather than reusing my existing default browser cookies. I had to log into my Google account again to connect Codex.
Another missing convenience was a quick filter bar for model selection. Finding a free OpenRouter model meant scrolling through a very long dropdown list manually.
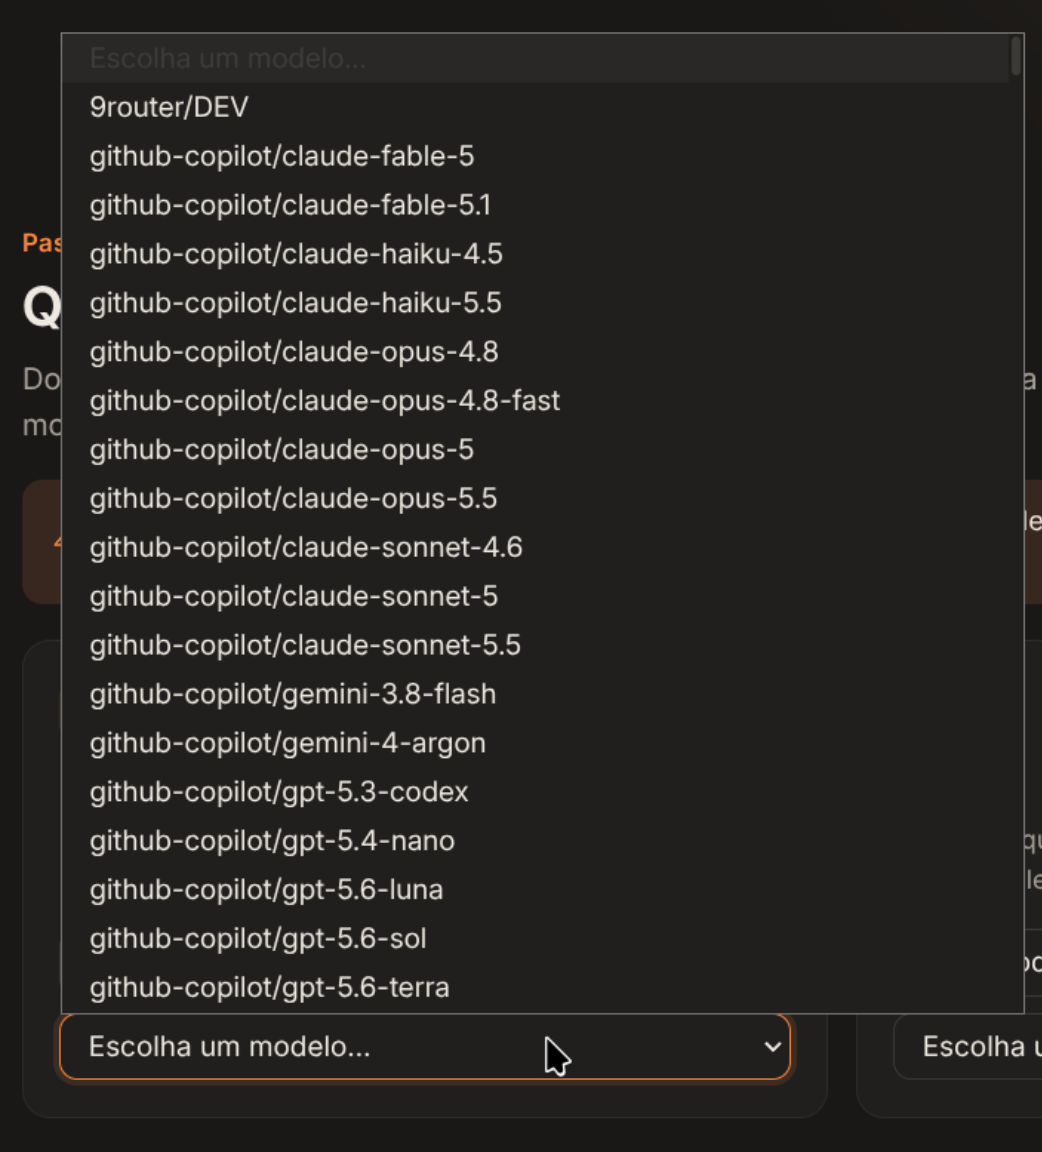
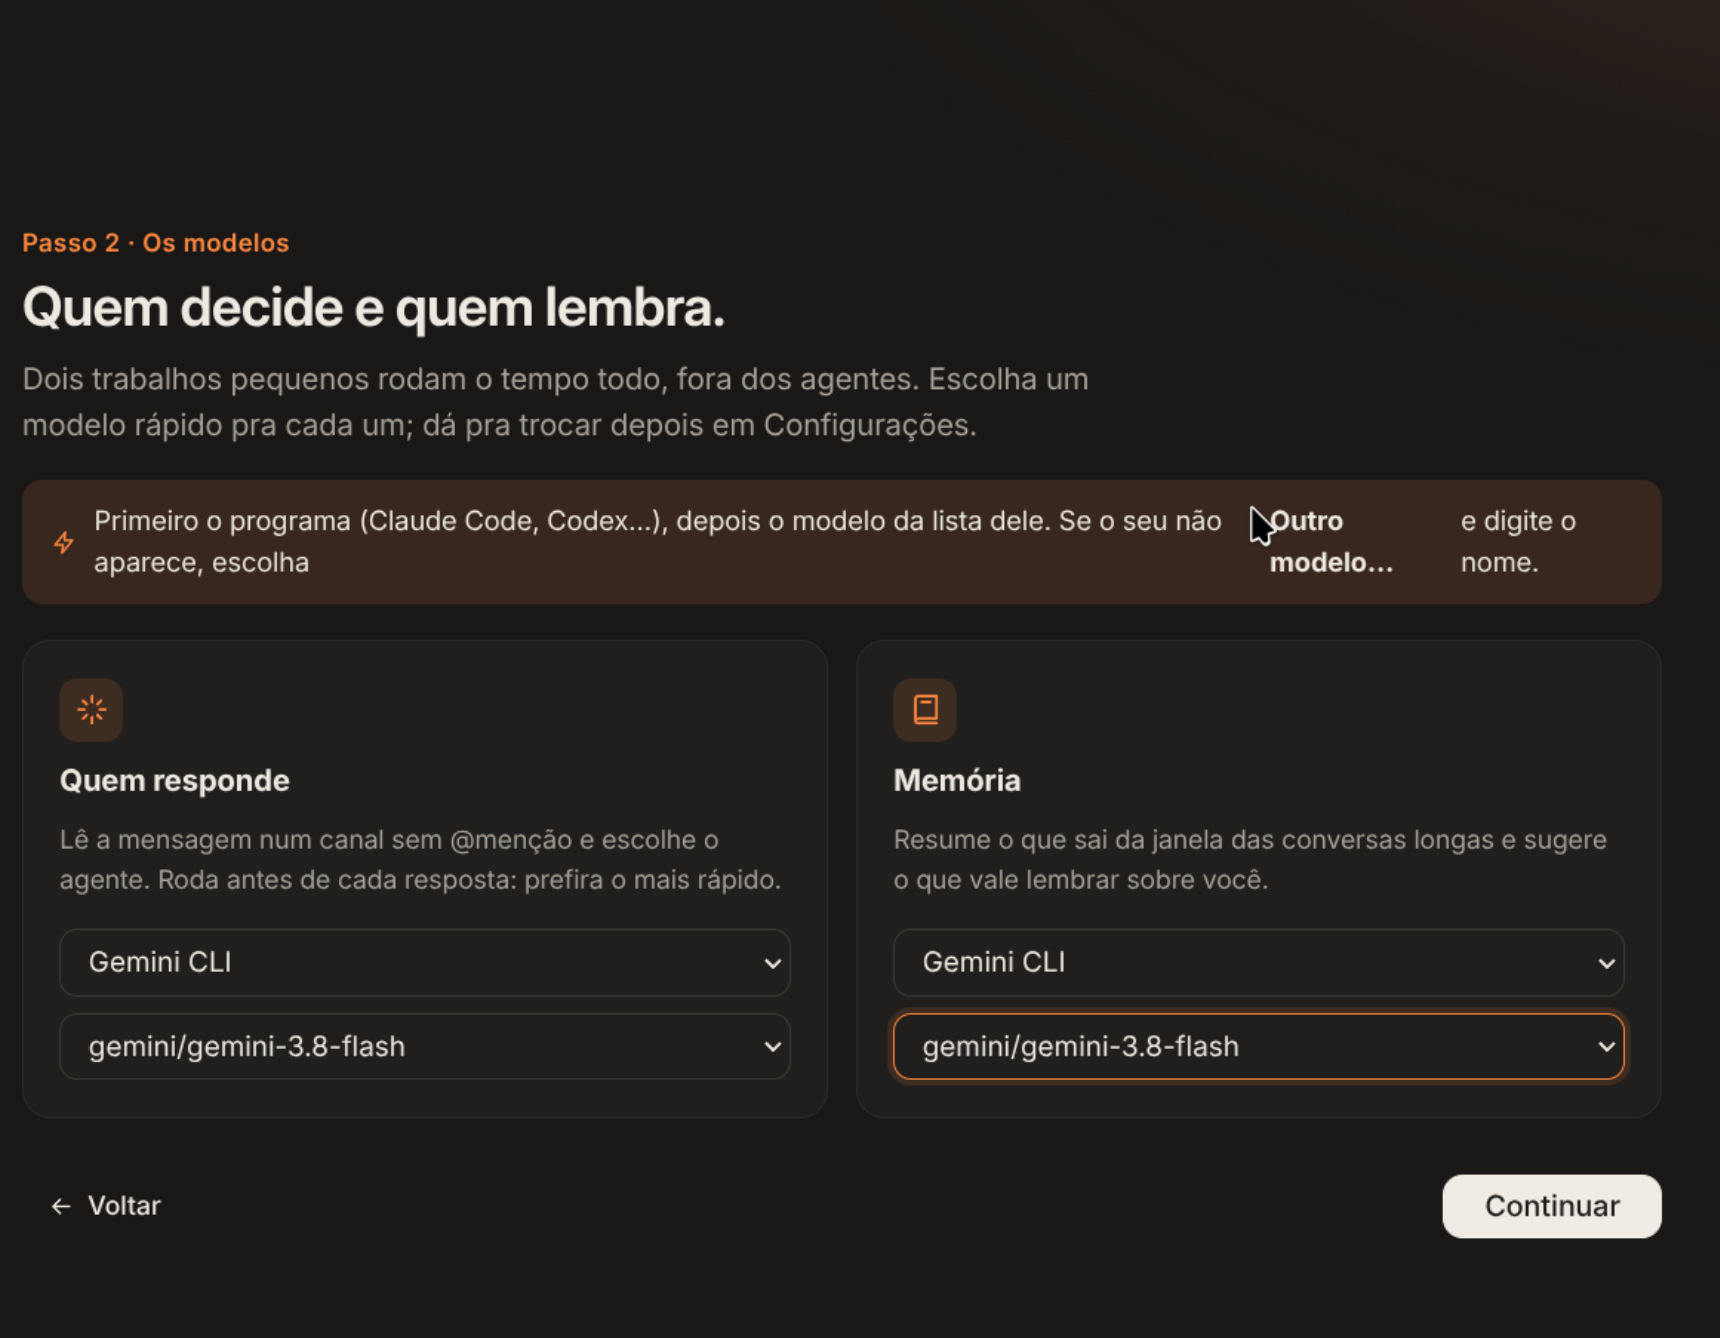
The next screen introduced a smart feature: separating the model that decides the action plan from the model that formulates the final response. This allows using a lightweight model for quick reasoning and a richer model for the output. However, the lack of a text search box in the dropdowns caused the same friction. I switched both to Gemini 3.8 and moved forward.
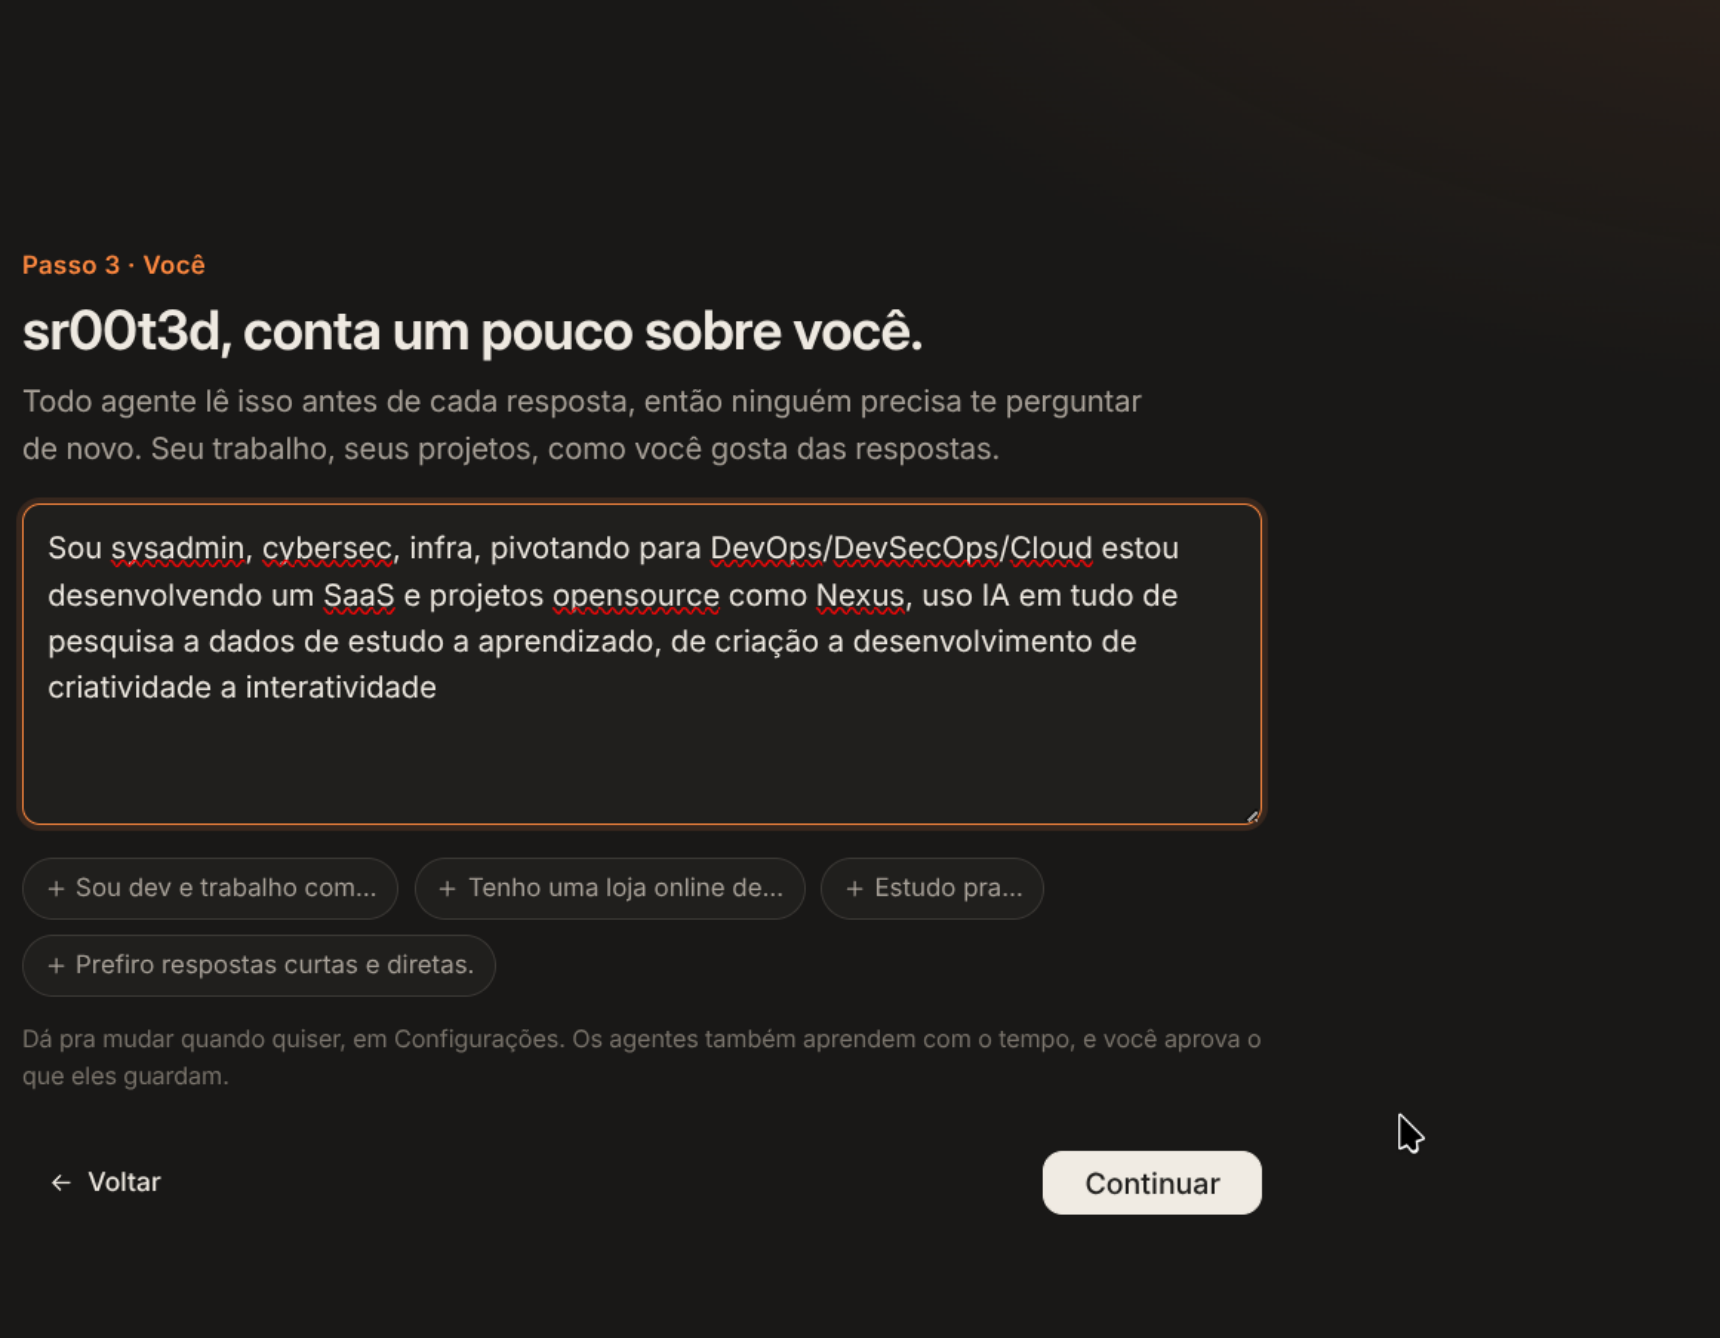
Next, the application asks for brief personal background to shape the agents' baseline context. I typed a short summary of my daily routine and continued.
Connecting MCP and importing skills#
Moving into integrations, Tucano asks which agents should have access to external MCP servers.
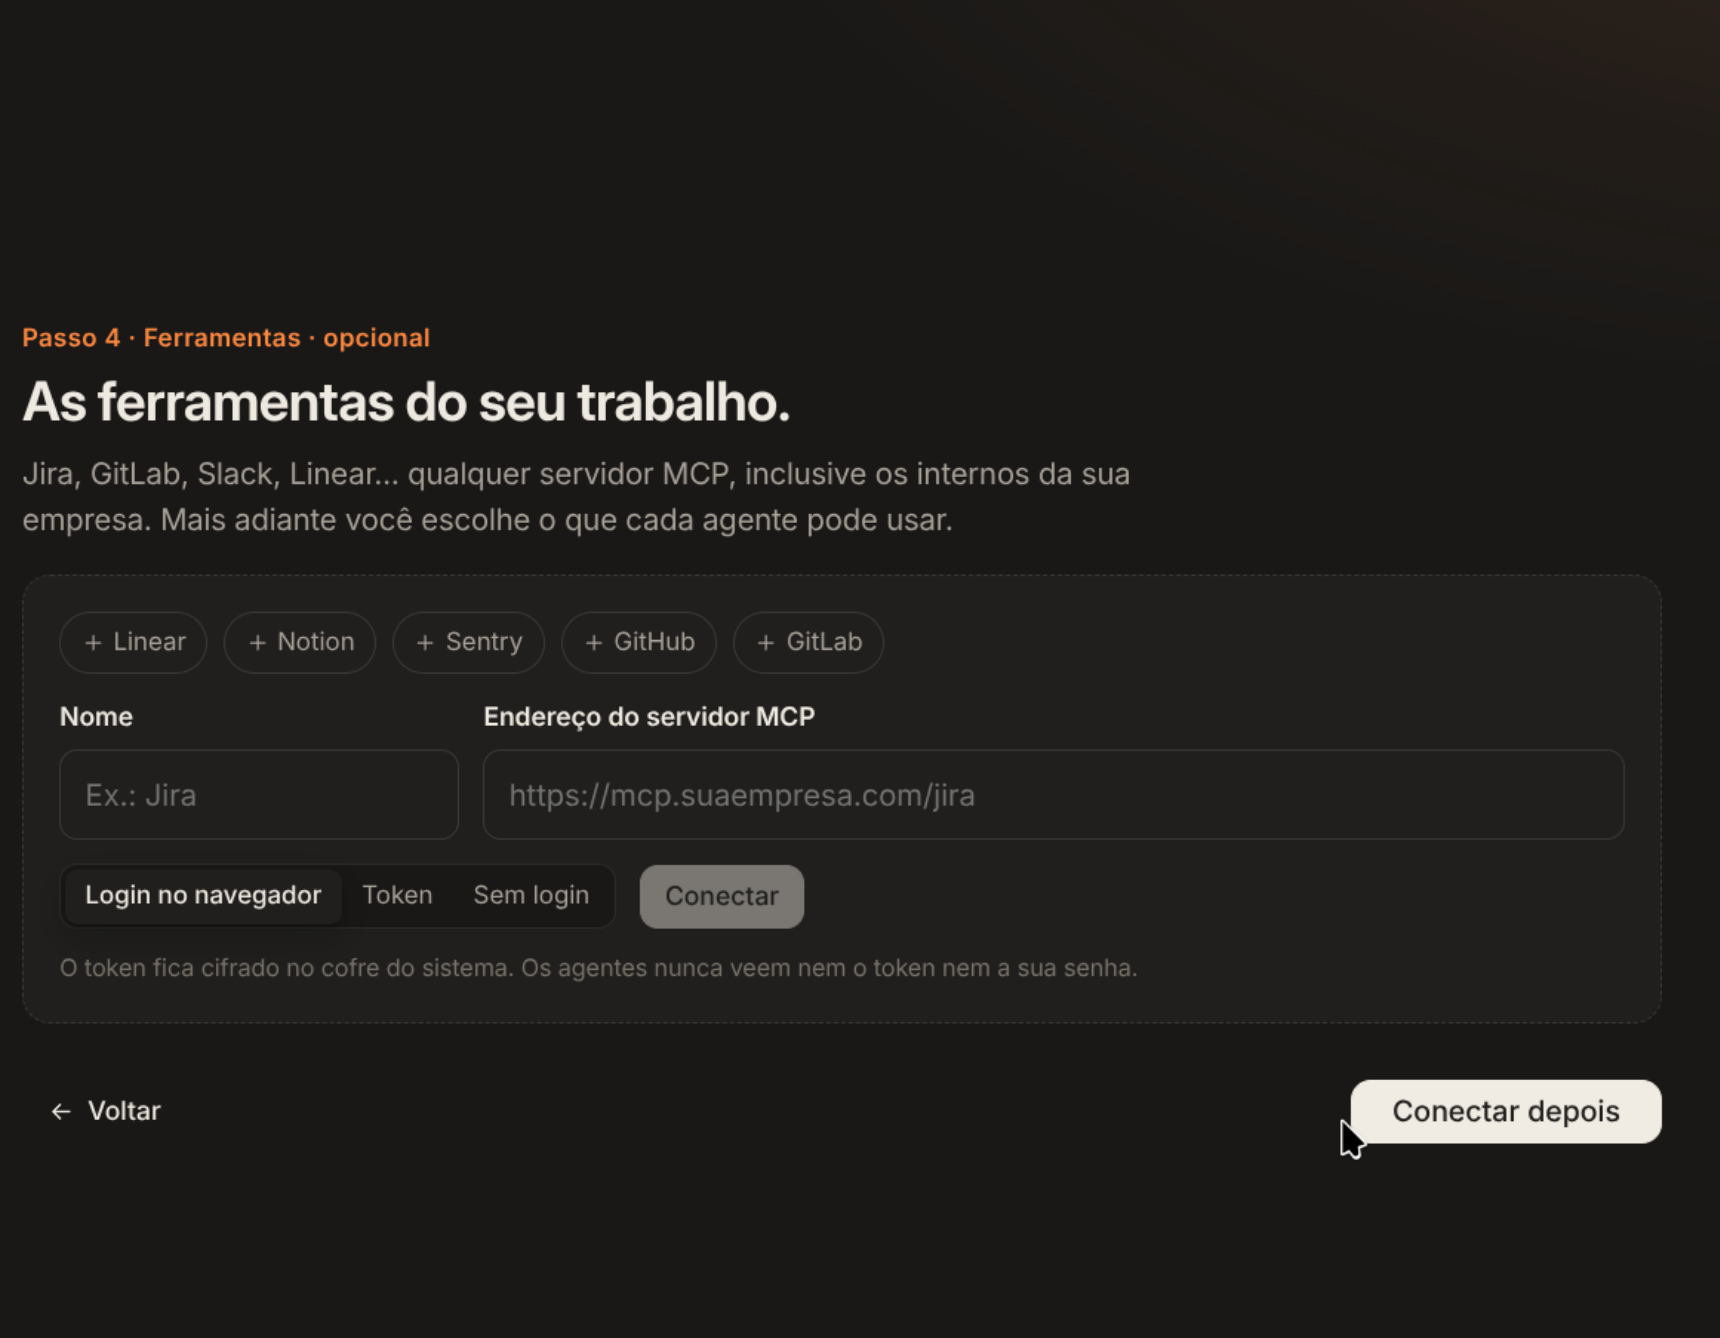
Since I am building NEXUS (which exposes its own local MCP server), I entered my local URL and token. The connection went through without any issues.

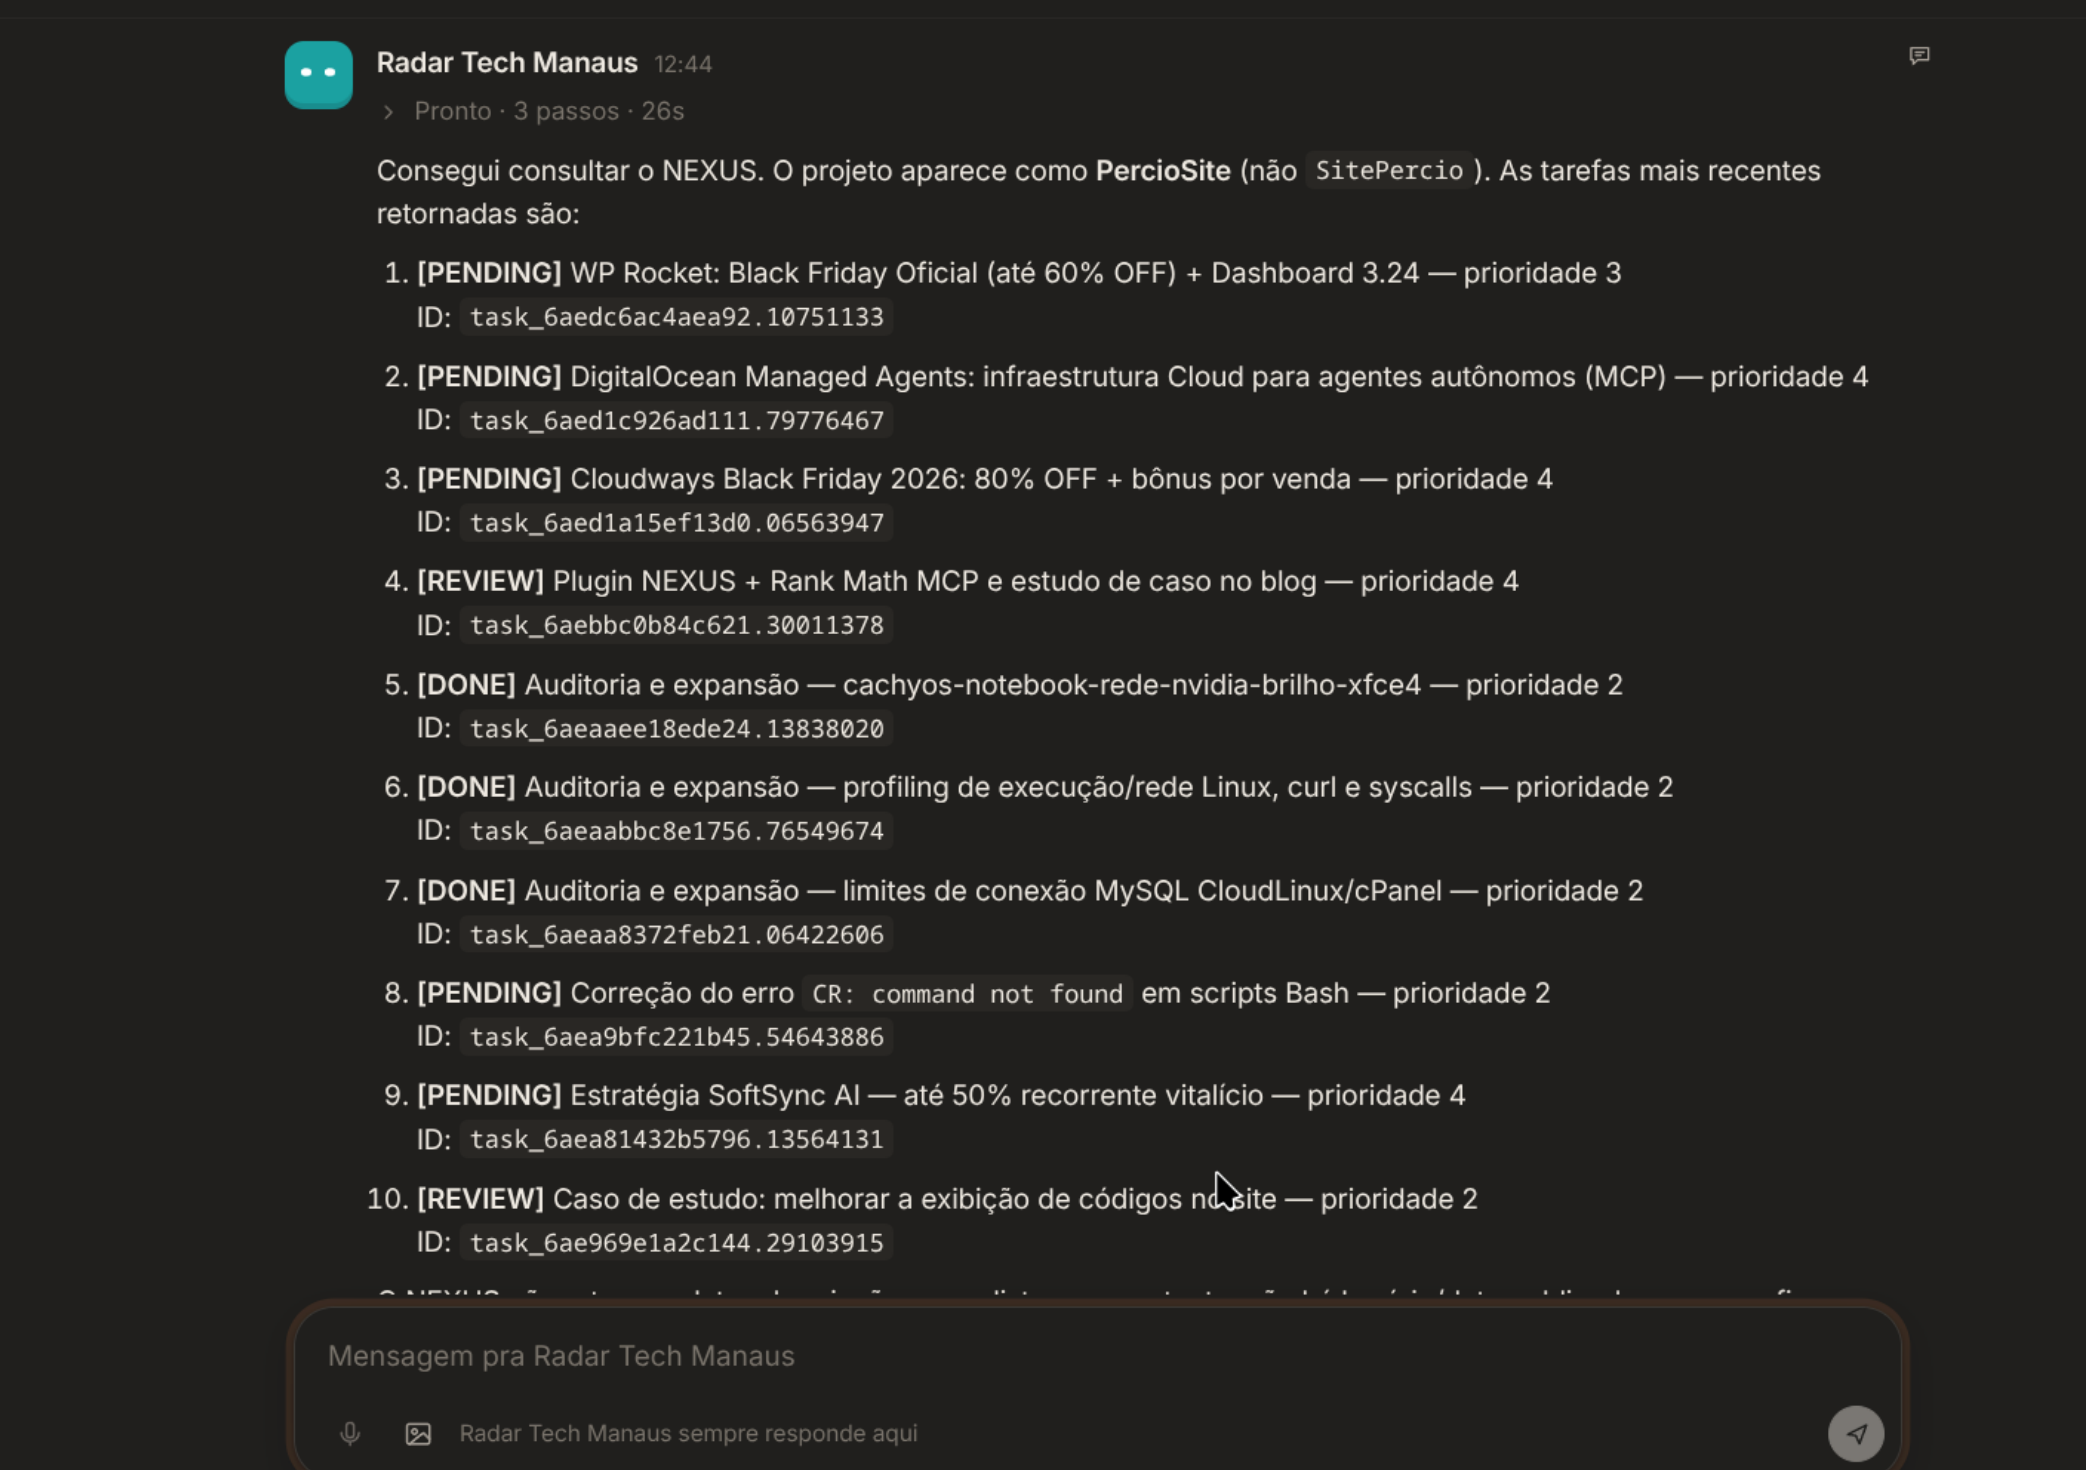
To test the integration in practice, I asked Tucano to inspect and read the tools exposed by the NEXUS MCP server. It parsed the entire tool catalog and schemas without any hesitation.
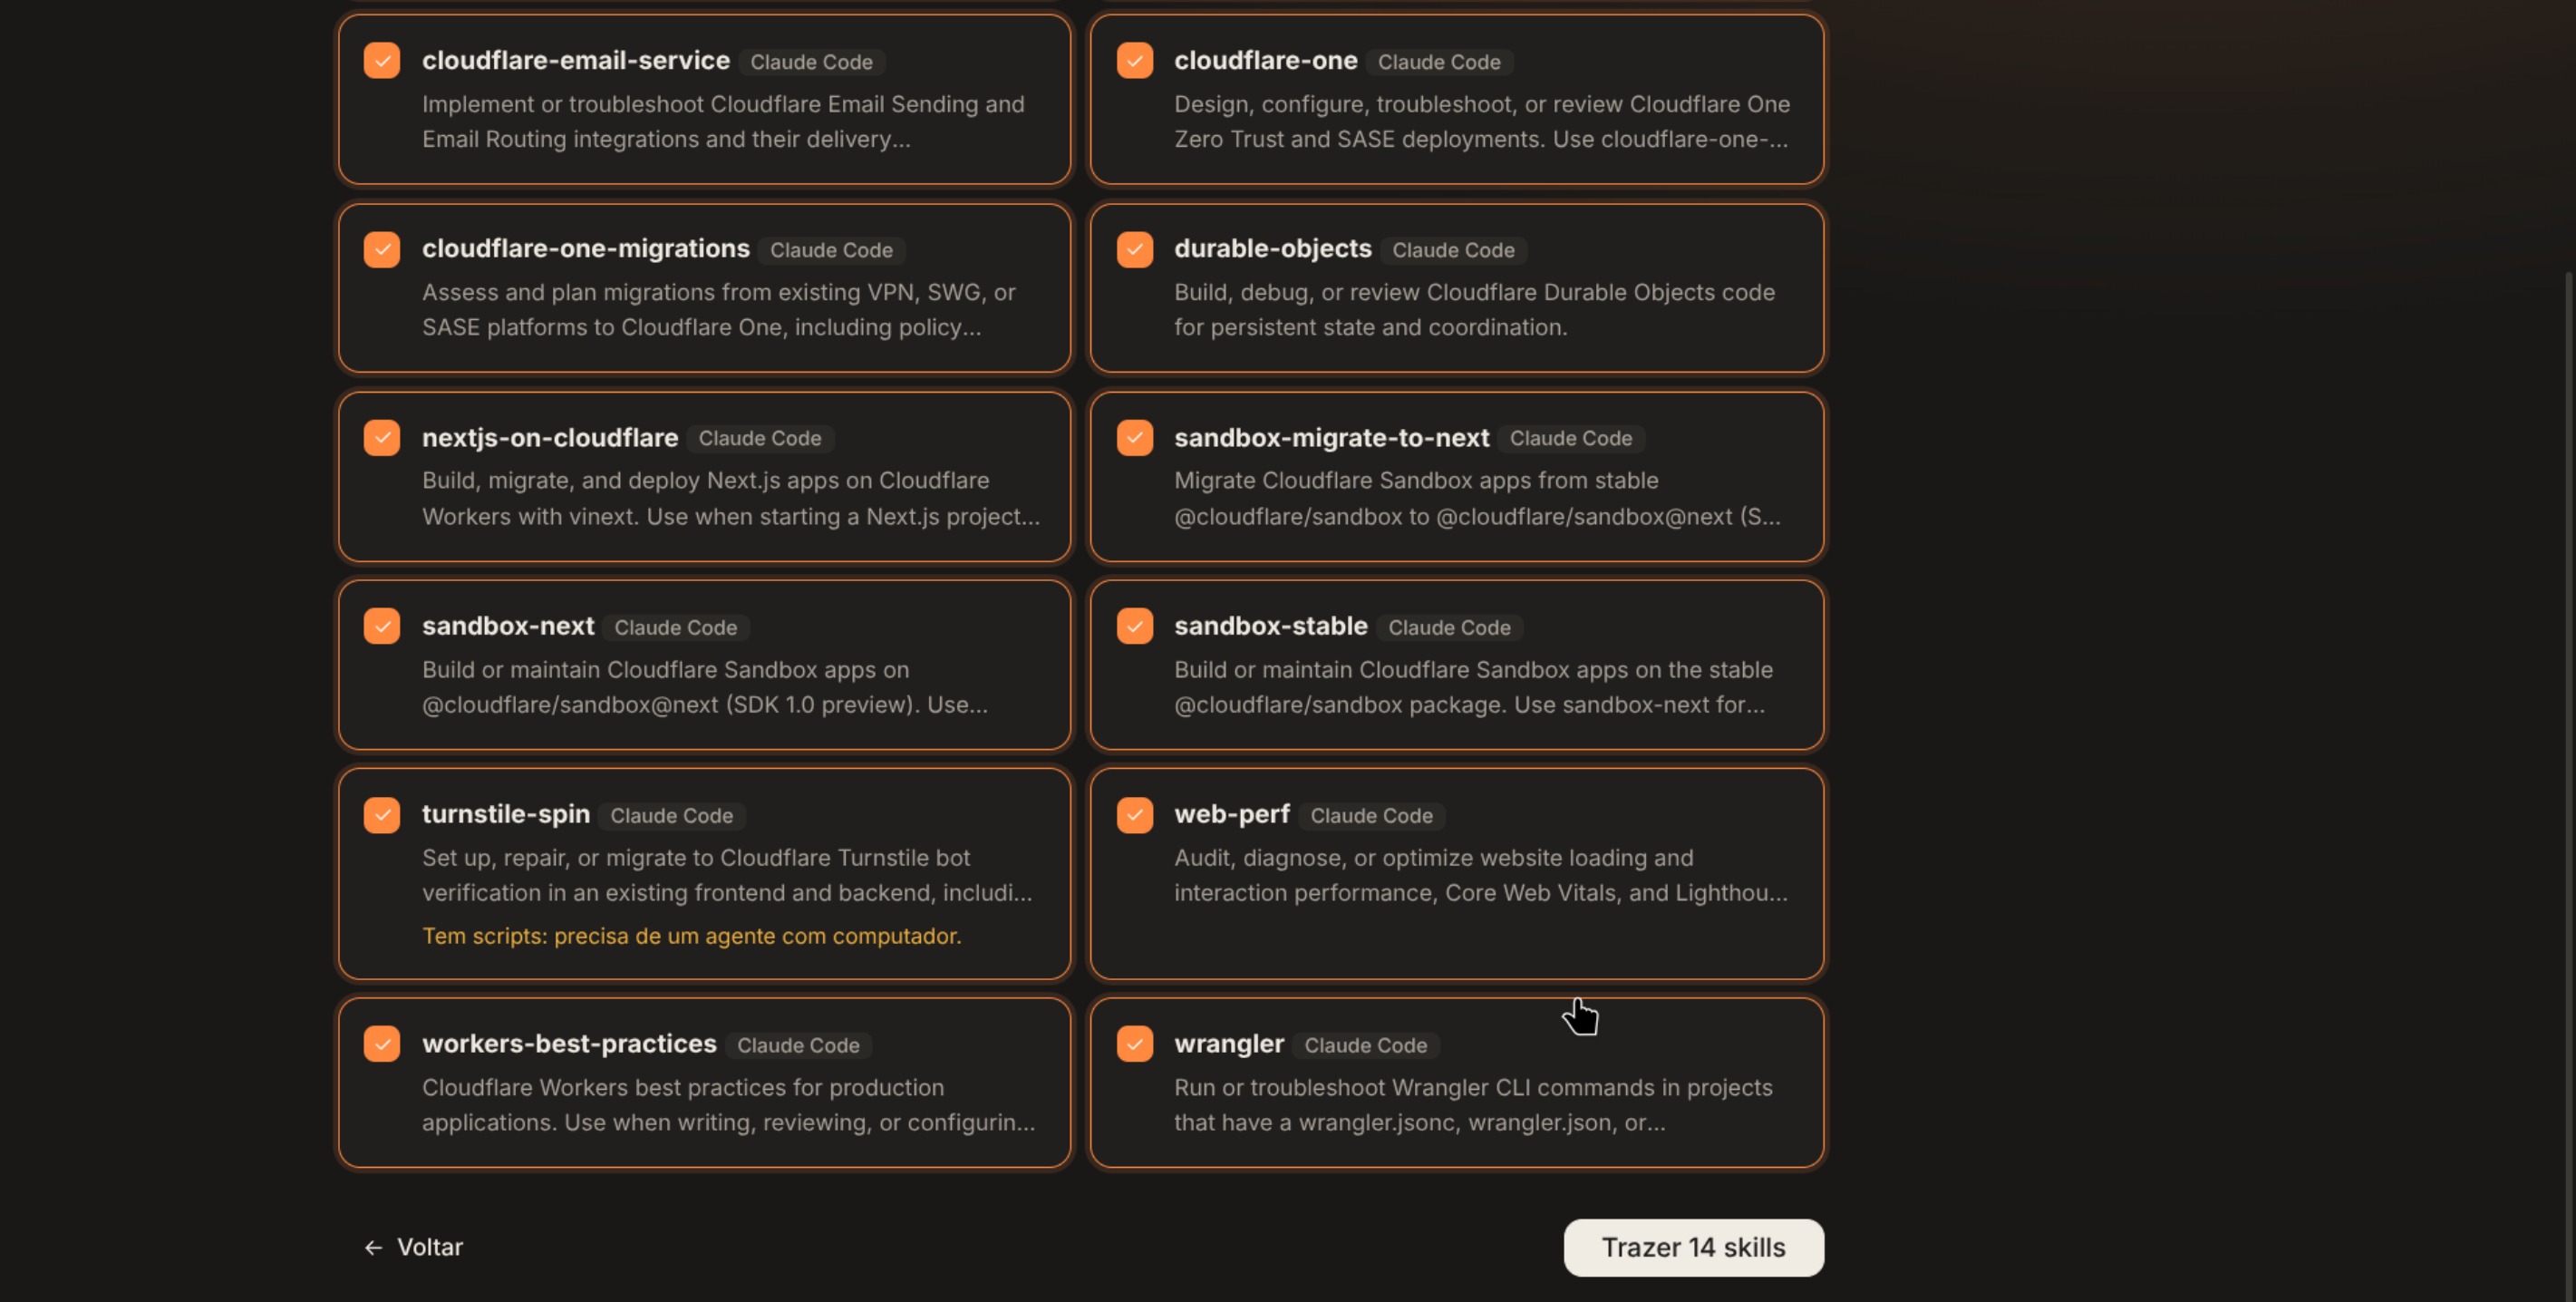
The next step imports existing skills. Select the desired capabilities from the list and bring them in.
Creating the first agent#
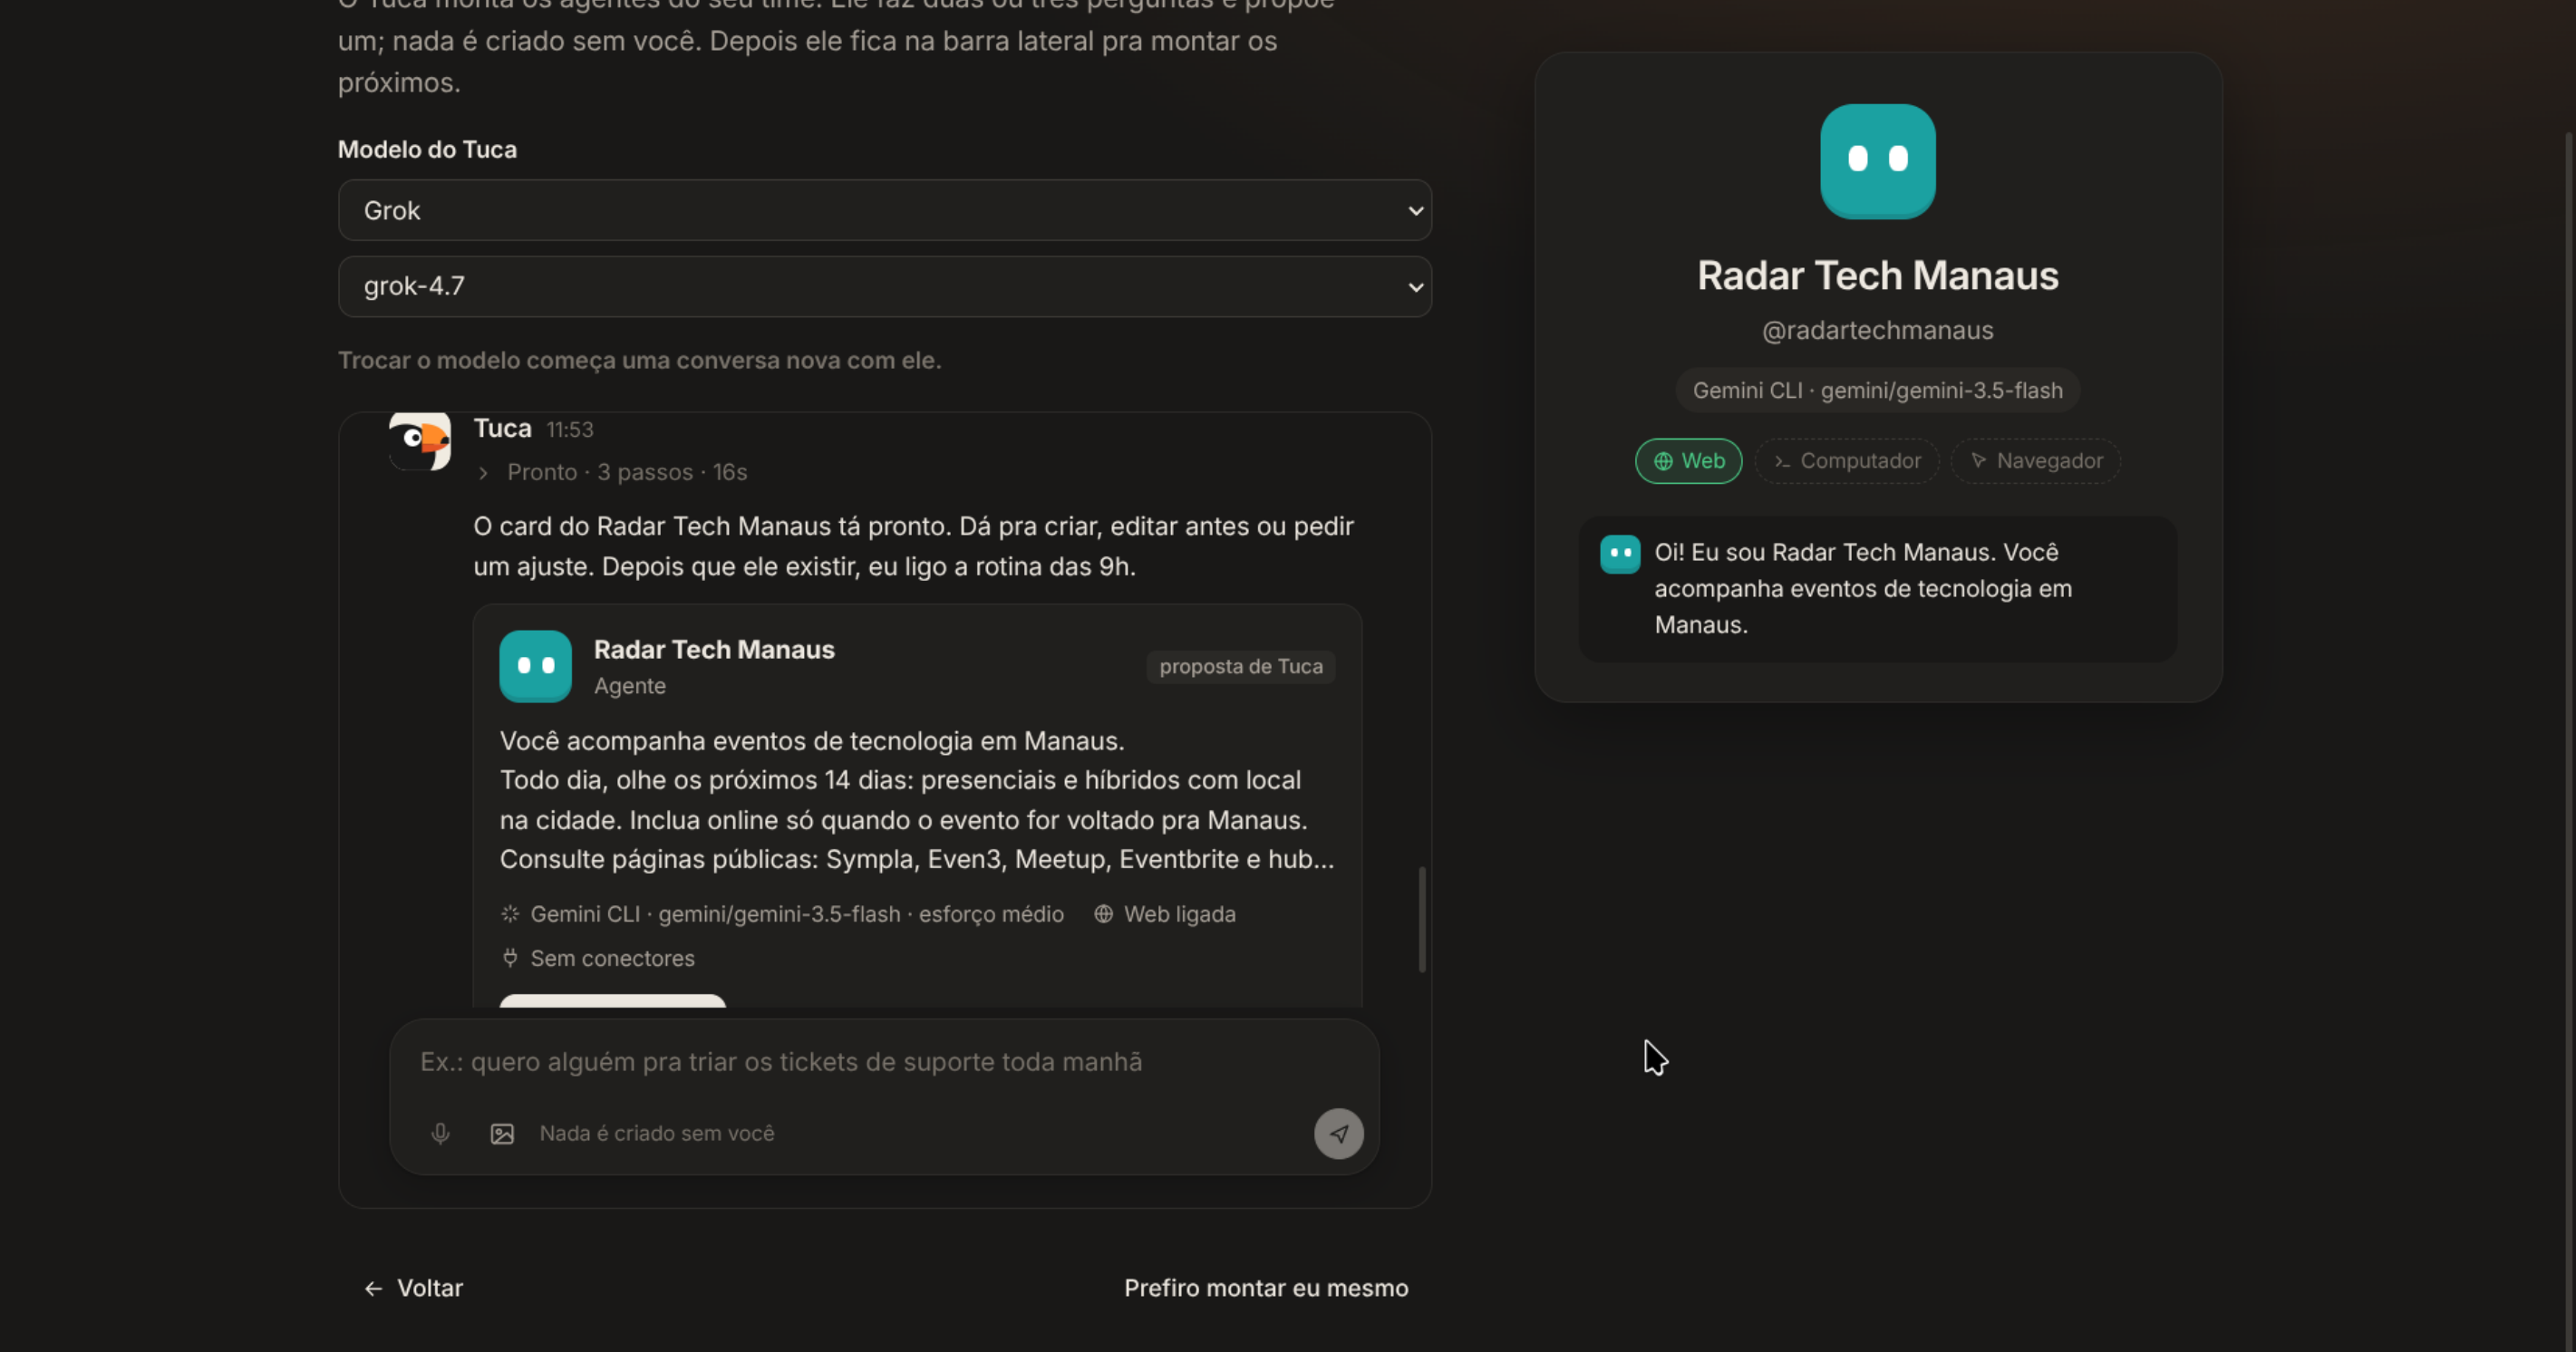
The agent creation screen is quick and straightforward. I asked it to generate a personal assistant dedicated to discovering local events and happenings around the city.
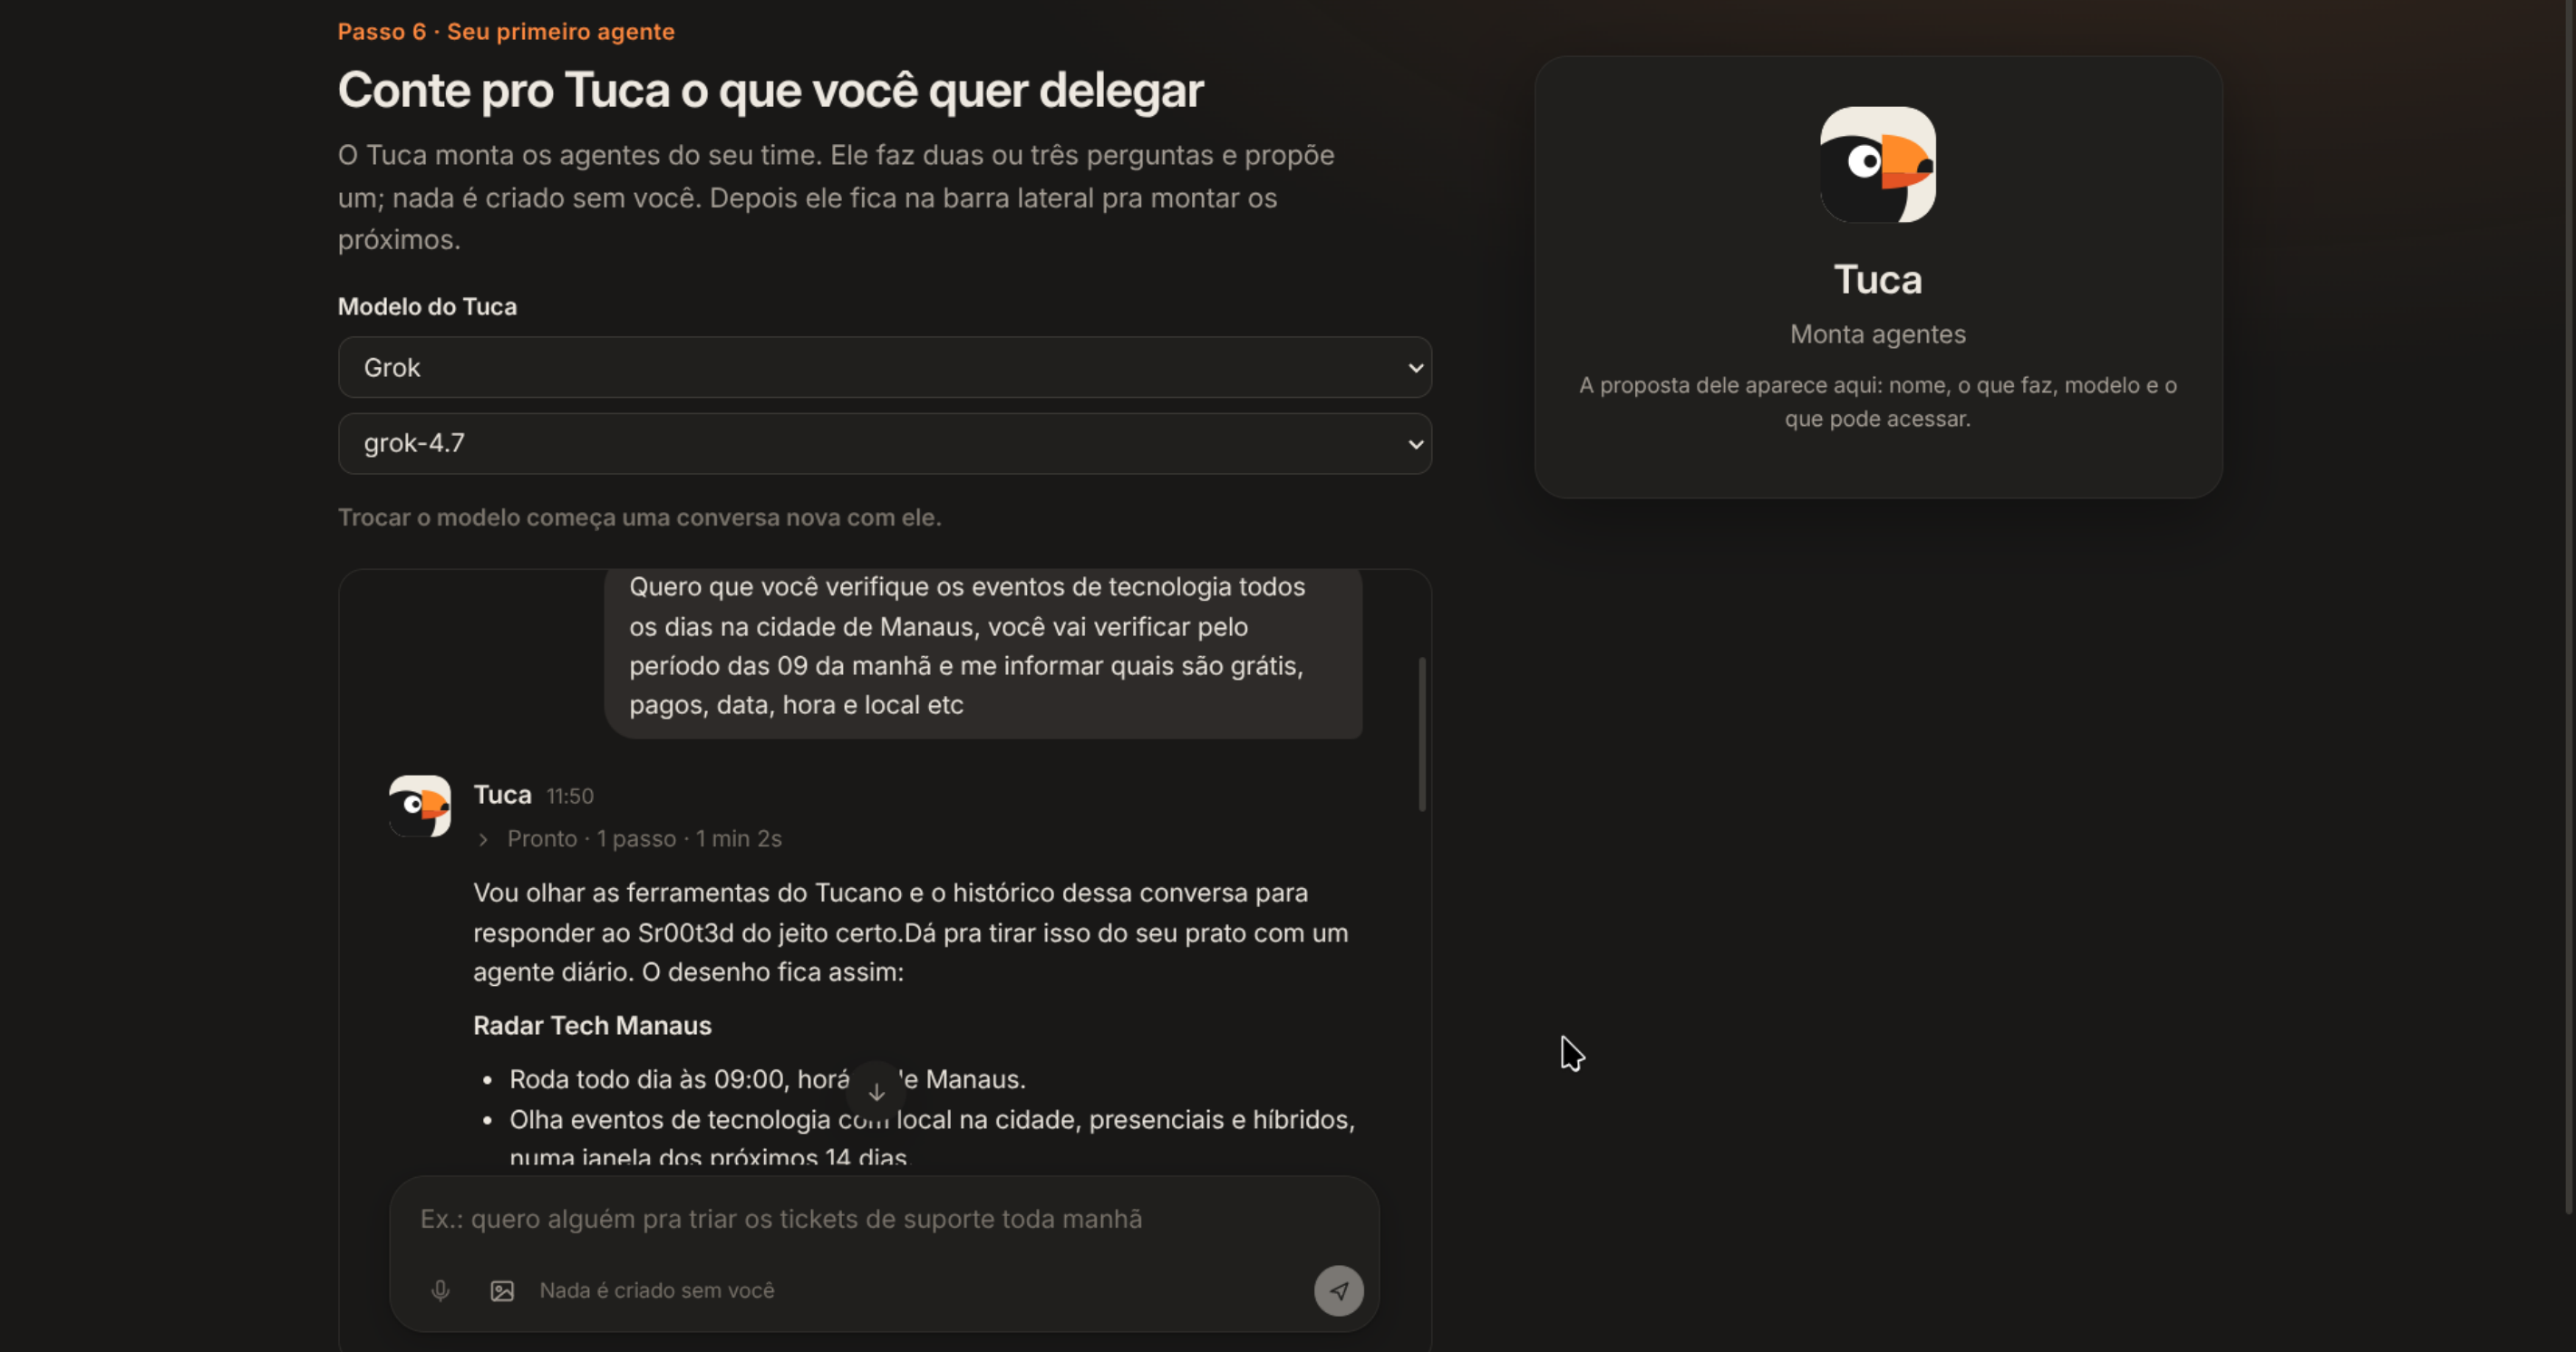
The application processed the prompt promptly and generated the agent structure.
Clicking on the agent opens a granular permissions screen where you can toggle sandbox isolation, system tool access, and specific MCP connections.
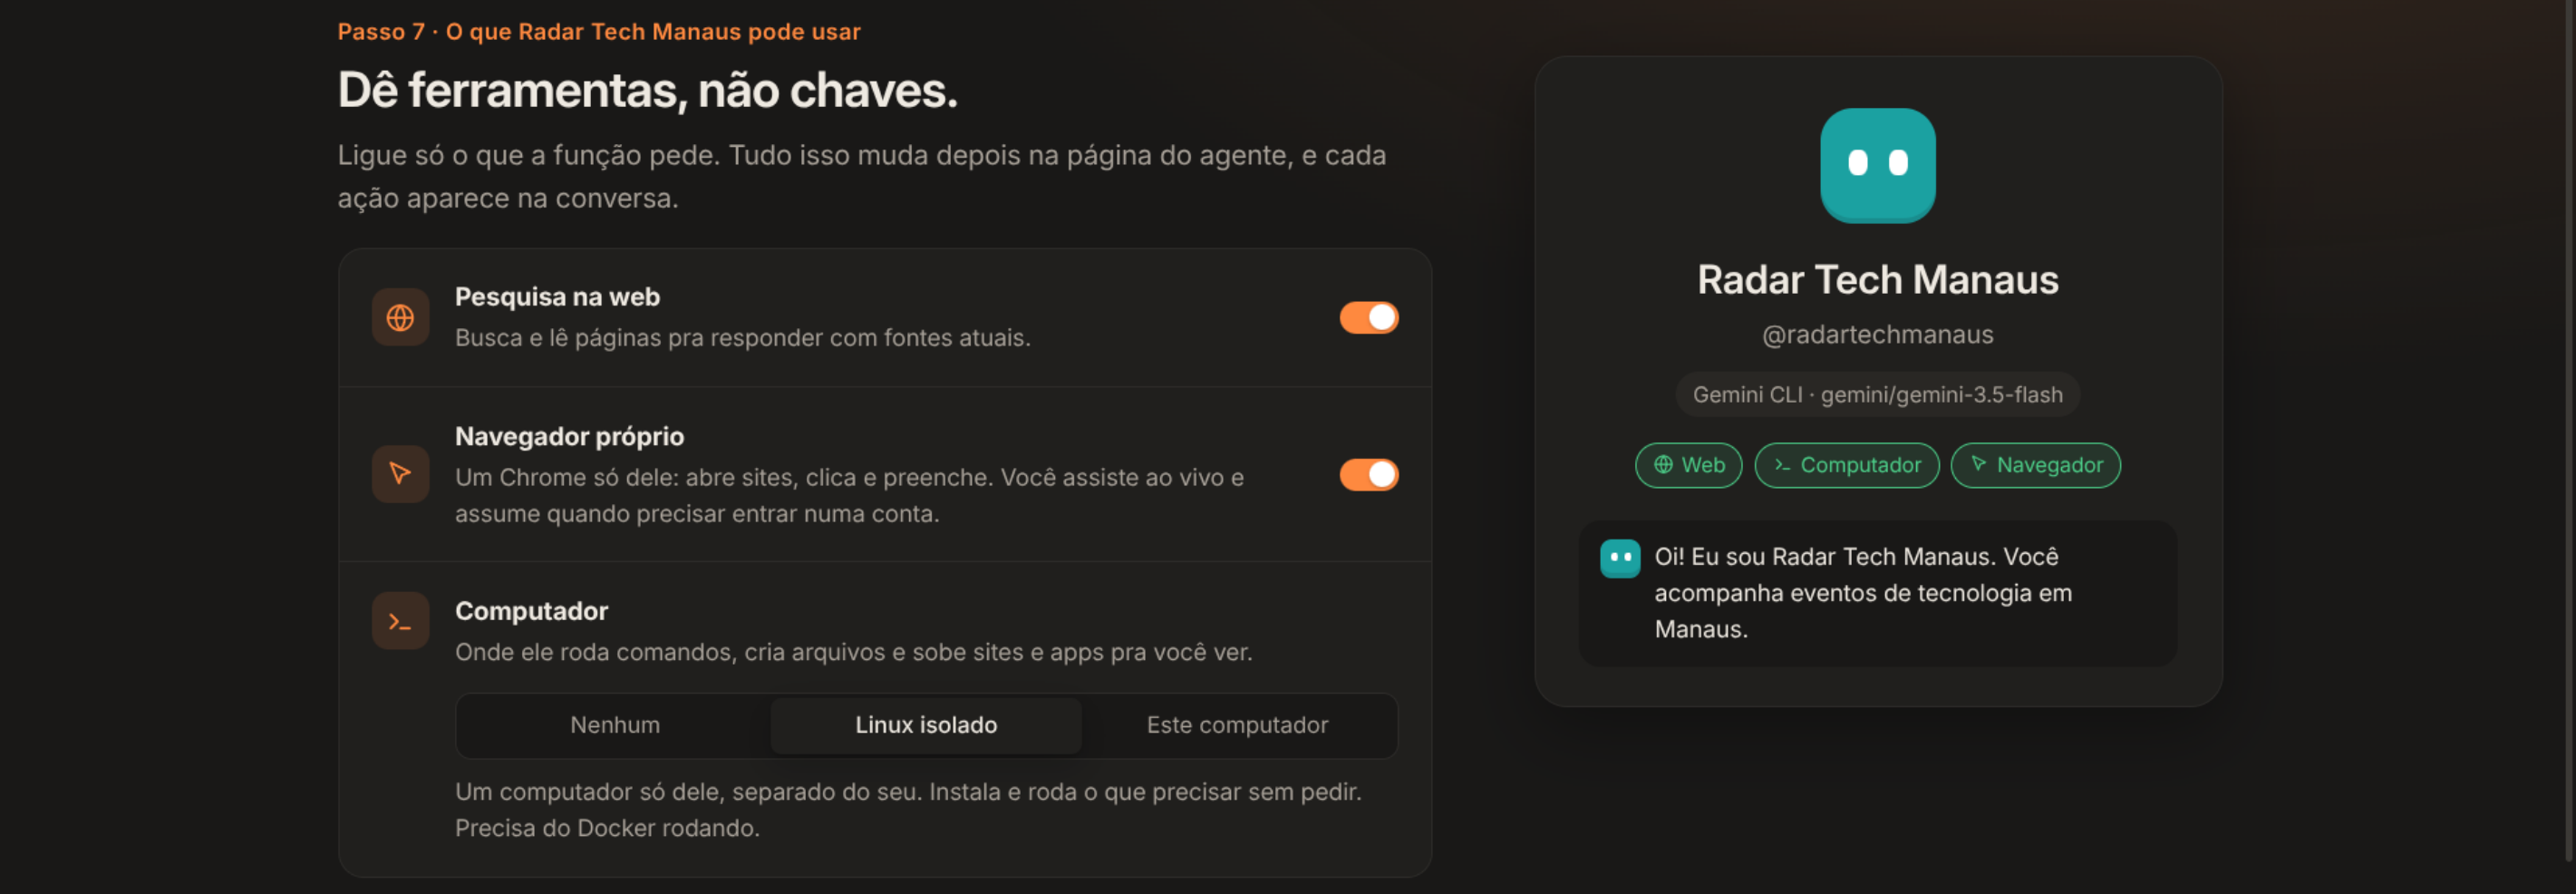
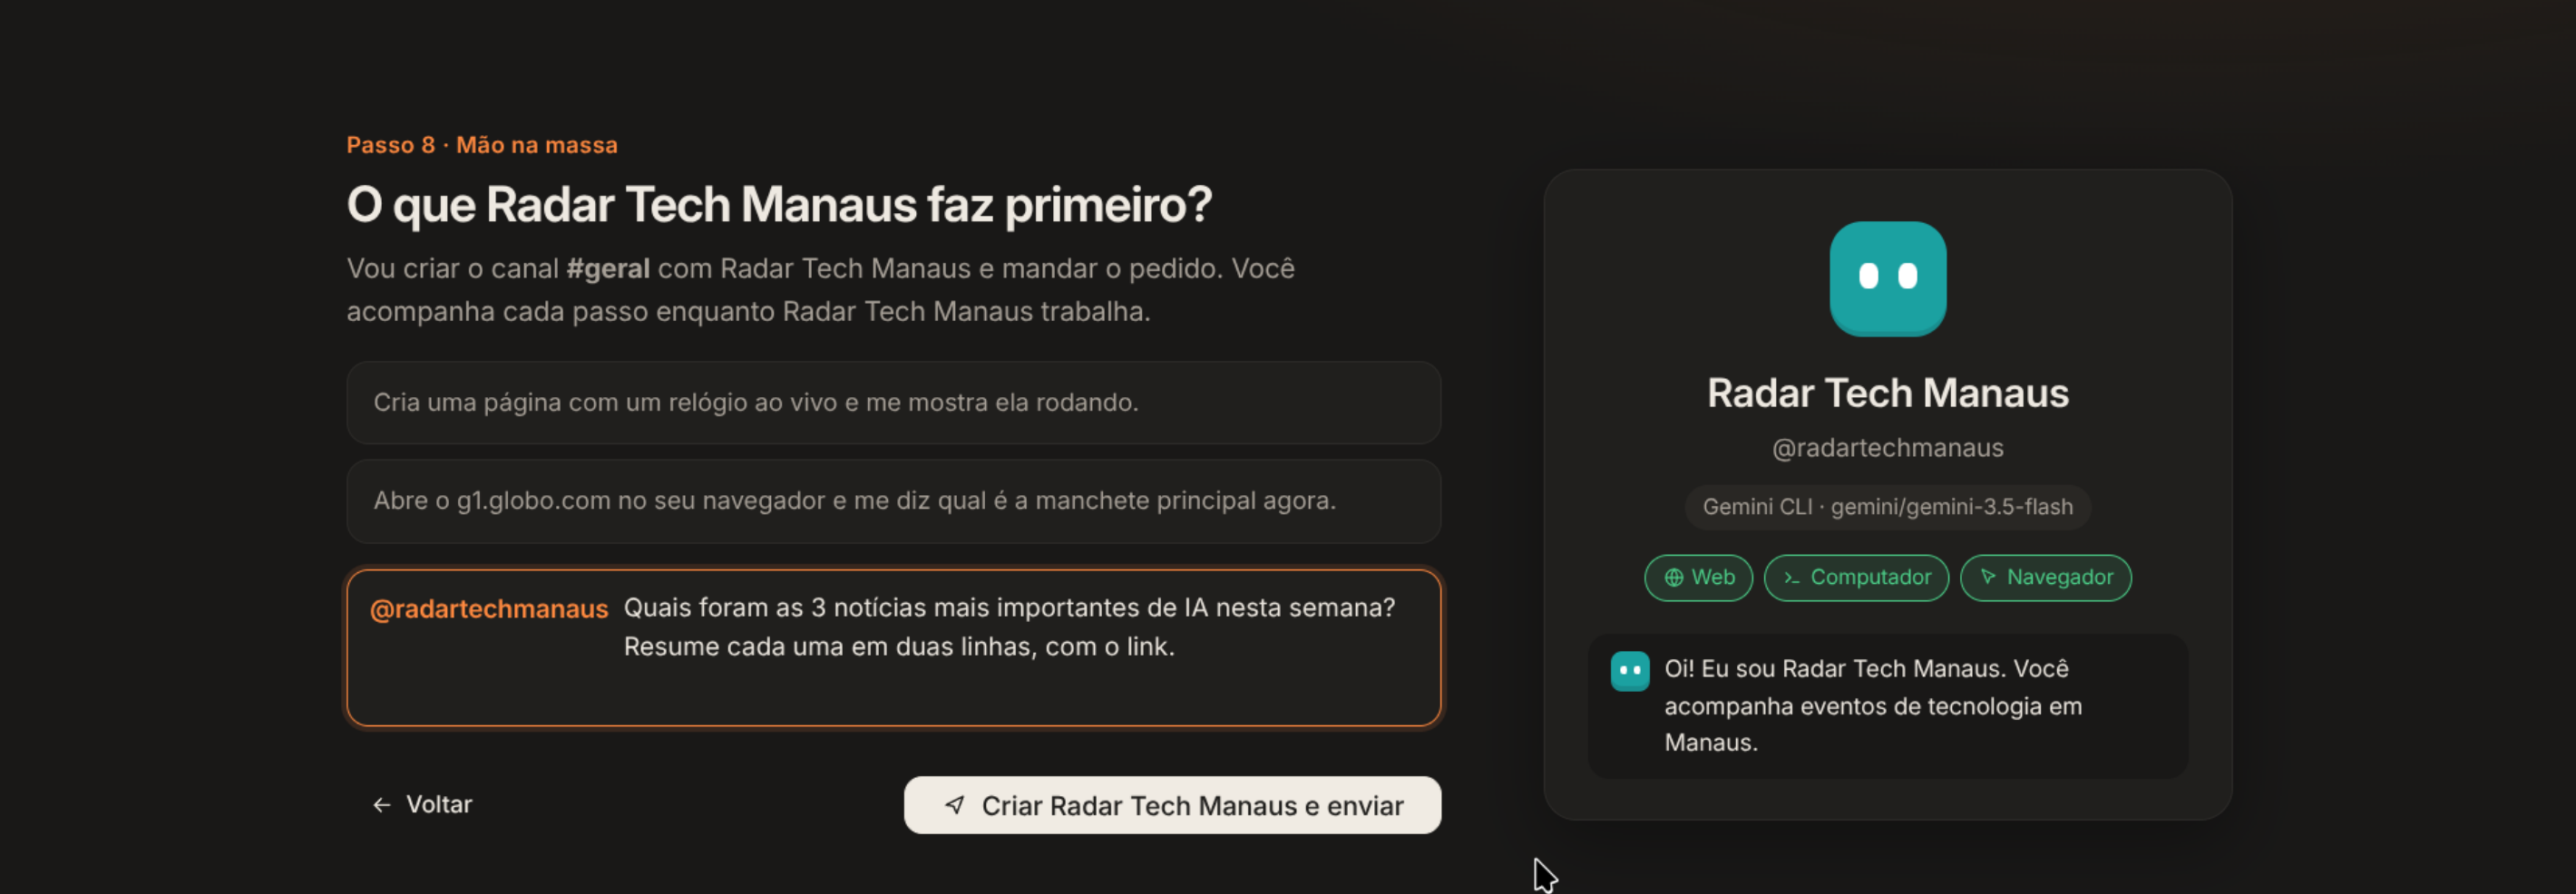
After setting up permissions, the app asked what initial task the agent should tackle and transitioned into the primary workspace.
Main workspace workflow and desktop control testing#
Working in the main chat view, I immediately missed a feature I rely on every day in OpenBot: a fast model switcher directly on the top header.
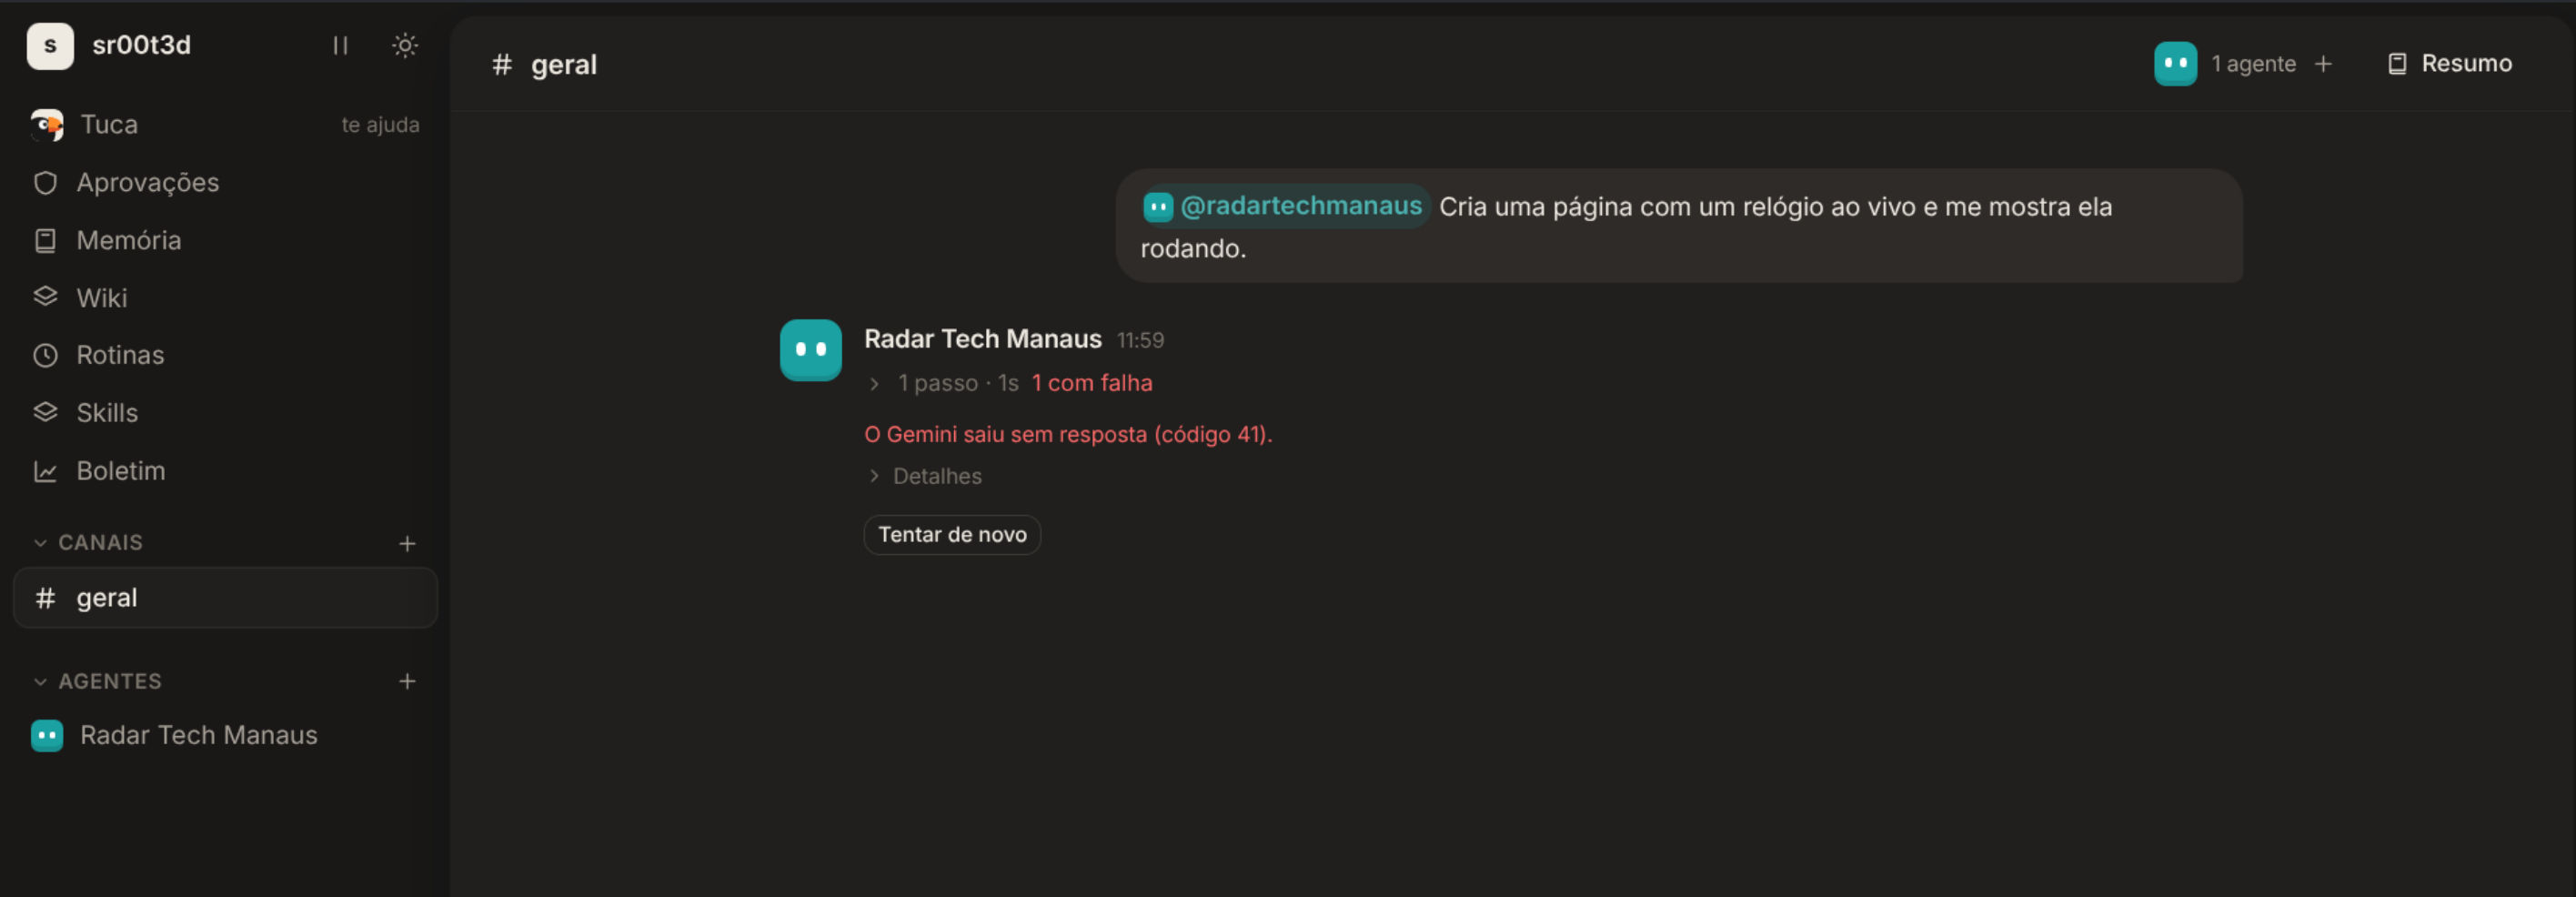
In Tucano, changing the active model for a conversation required clicking the model pill, scrolling to the bottom of the agent configuration view, and switching it there. When comparing outputs between different backends, that extra navigation quickly becomes tedious.
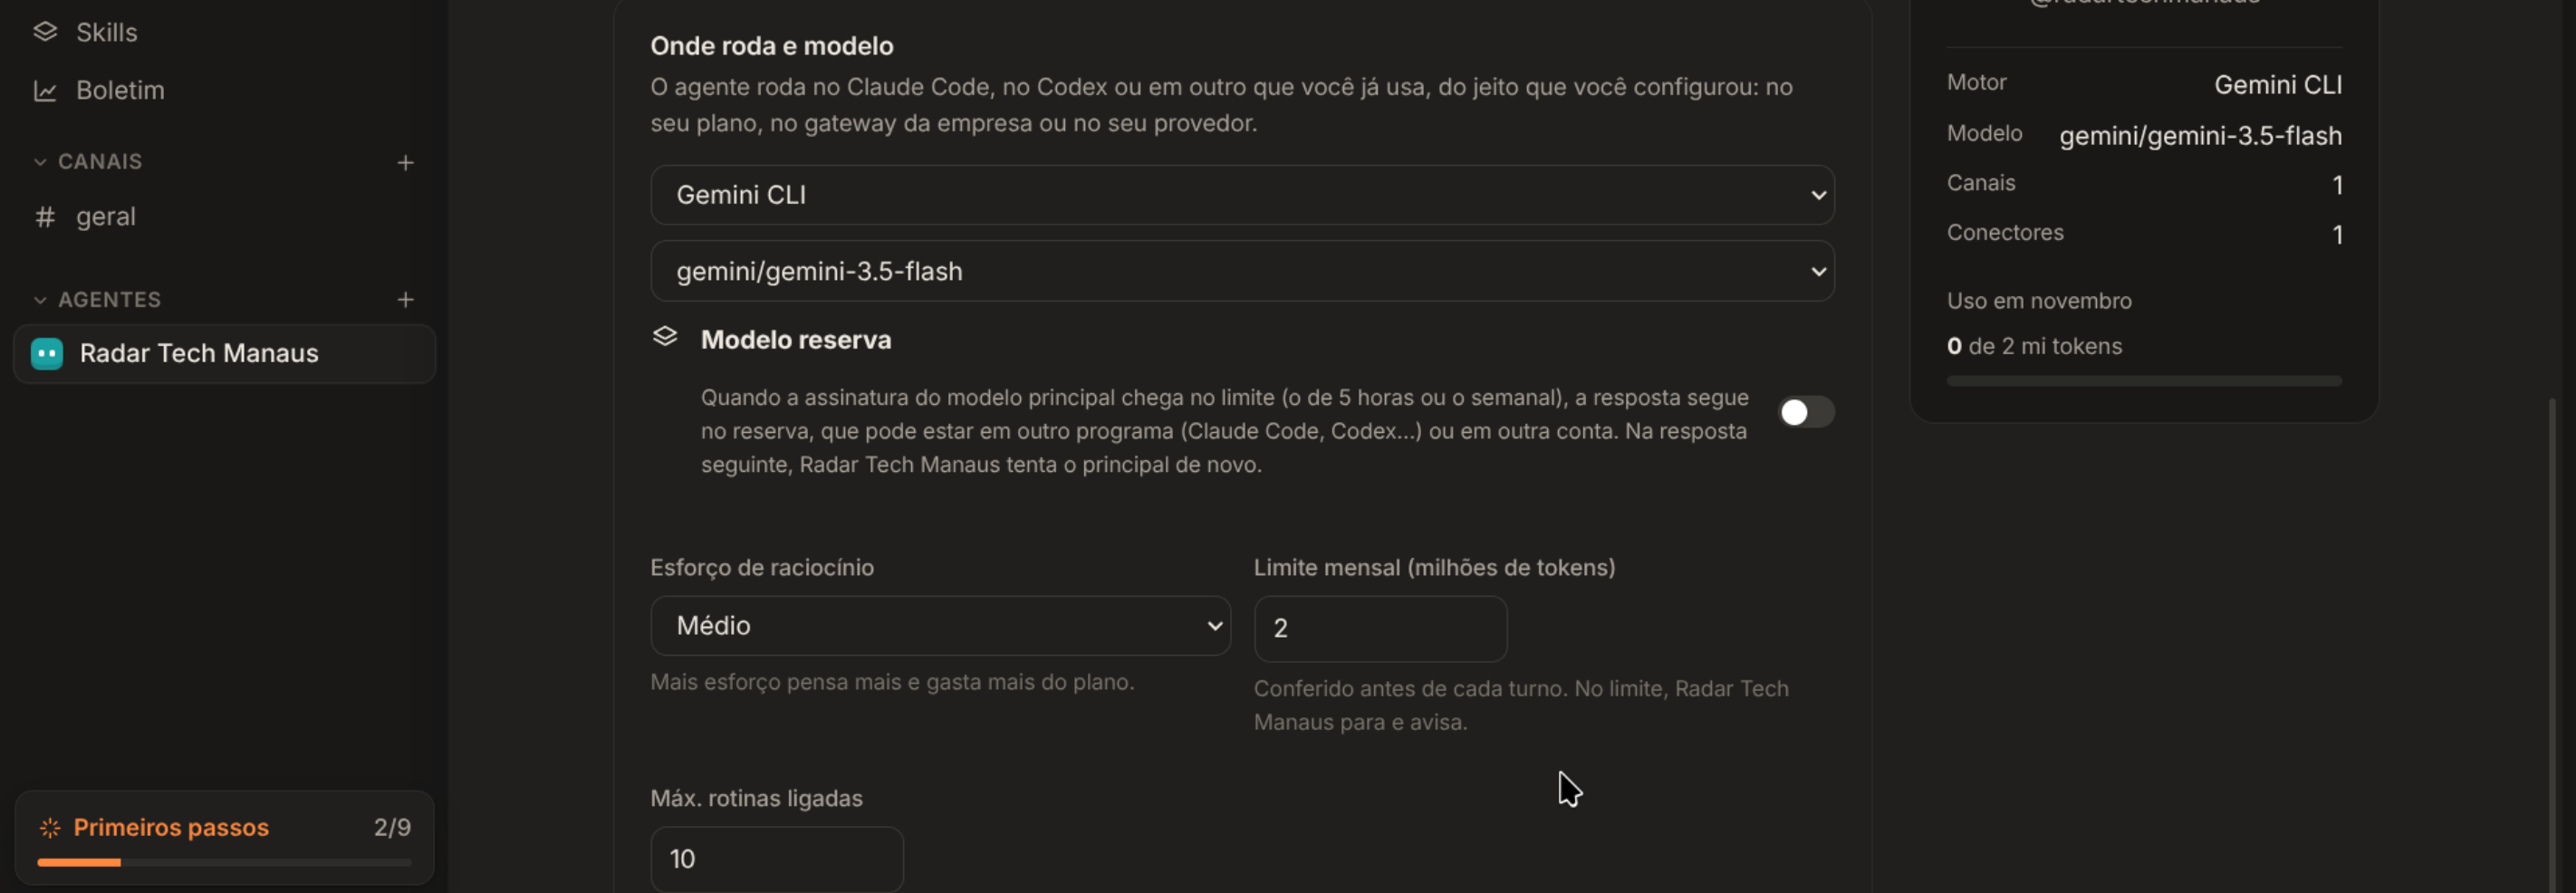
Under the agent's Tools tab, there is an option to grant the agent direct interaction with desktop applications. Doing so requires installing agent-desktop. The installation was fast and finished without manual intervention.

With system control enabled, I tested how well the agent could inspect and handle complex or virtualized Linux windows:
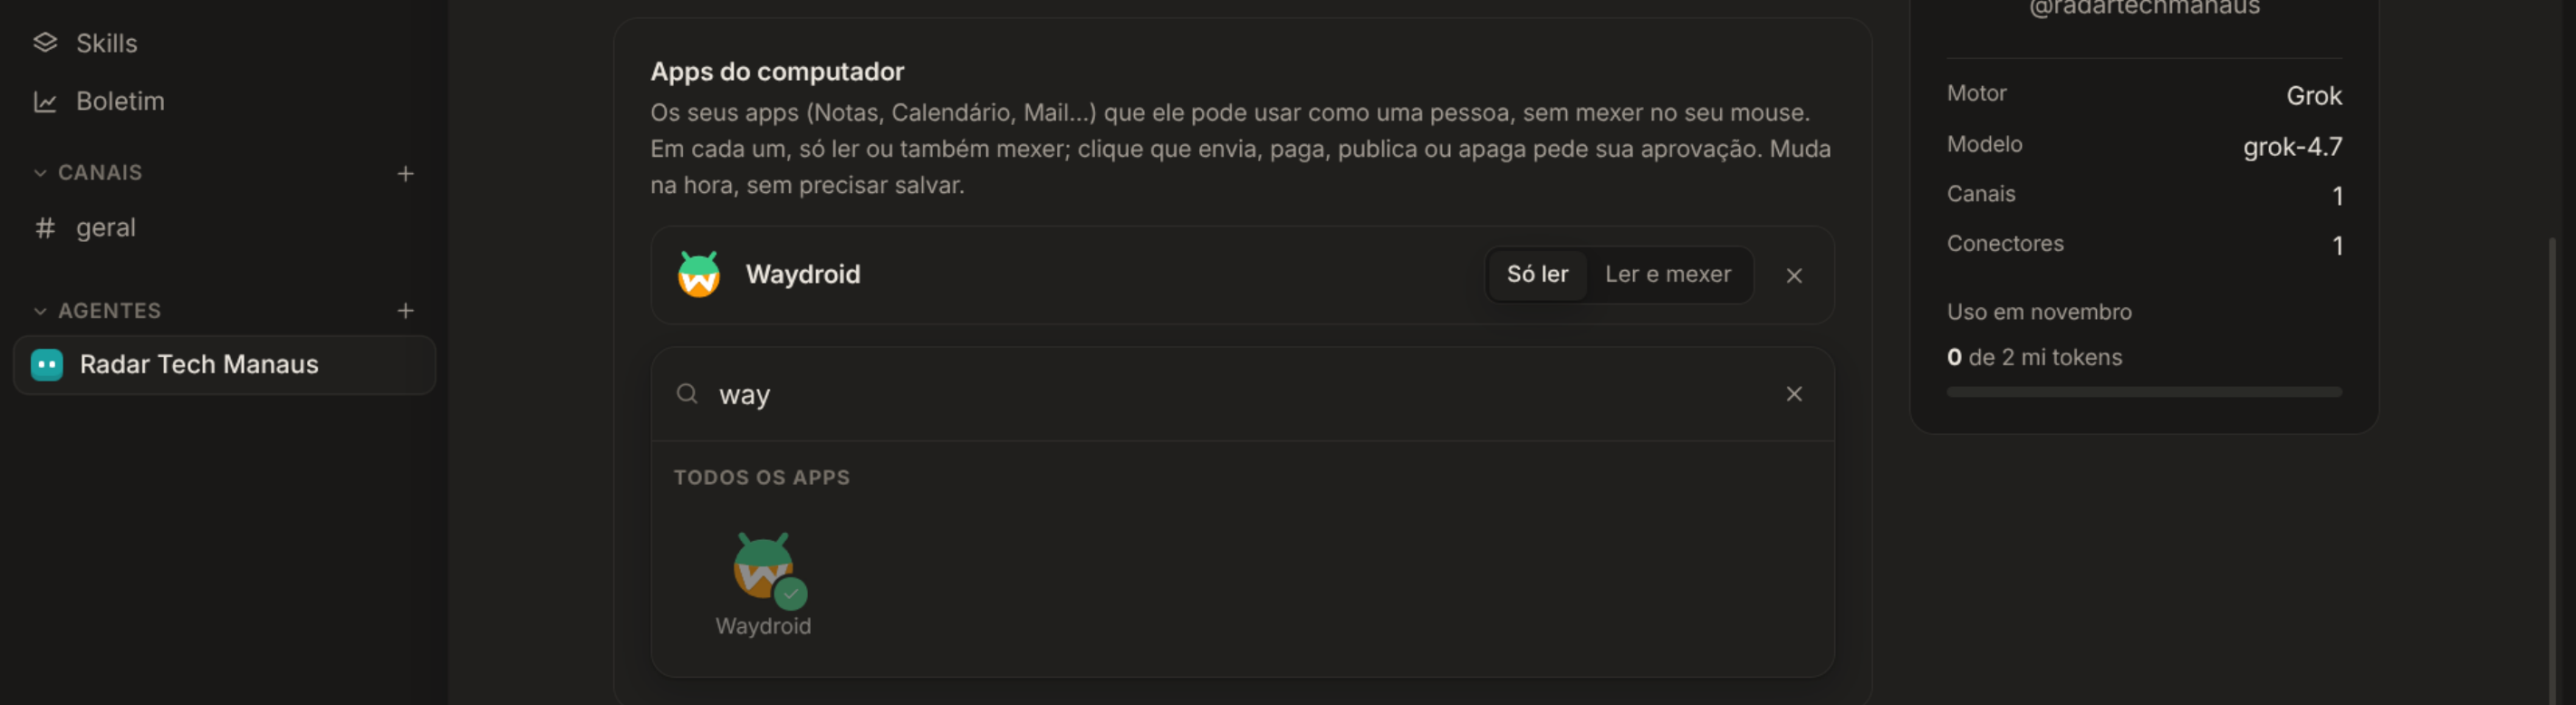
- Waydroid test (Android virtualization): I gave the agent access to Waydroid to see if it could interact with mobile interfaces or games. It launched Waydroid successfully, but could not detect or read the visual canvas inside the container. When I asked it to describe what was on screen (I opened Chrome pointing to my local website), the agent stayed in a thinking state and failed to extract the visual elements. Running the same test in OpenBot showed that OpenBot attempted to attach debugging tools to the Waydroid process, but ultimately got stuck in an inspection loop. Both clients still struggle with virtualized display layers.
- Steam test: I authorized Steam and asked the agent to launch Epic Seven. It opened the Steam client correctly, but could not locate or trigger the specific game. When asked to describe the visible Steam store/library view, the response took a long time and ended with a failure to parse the screen. In OpenBot, the same screen reading query succeeded and properly described the Steam interface elements.

Unlike OpenBot, which parsed the Steam window and identified interactive buttons, Tucano failed to read the display and entered an inspection loop attempting to detect UI elements.
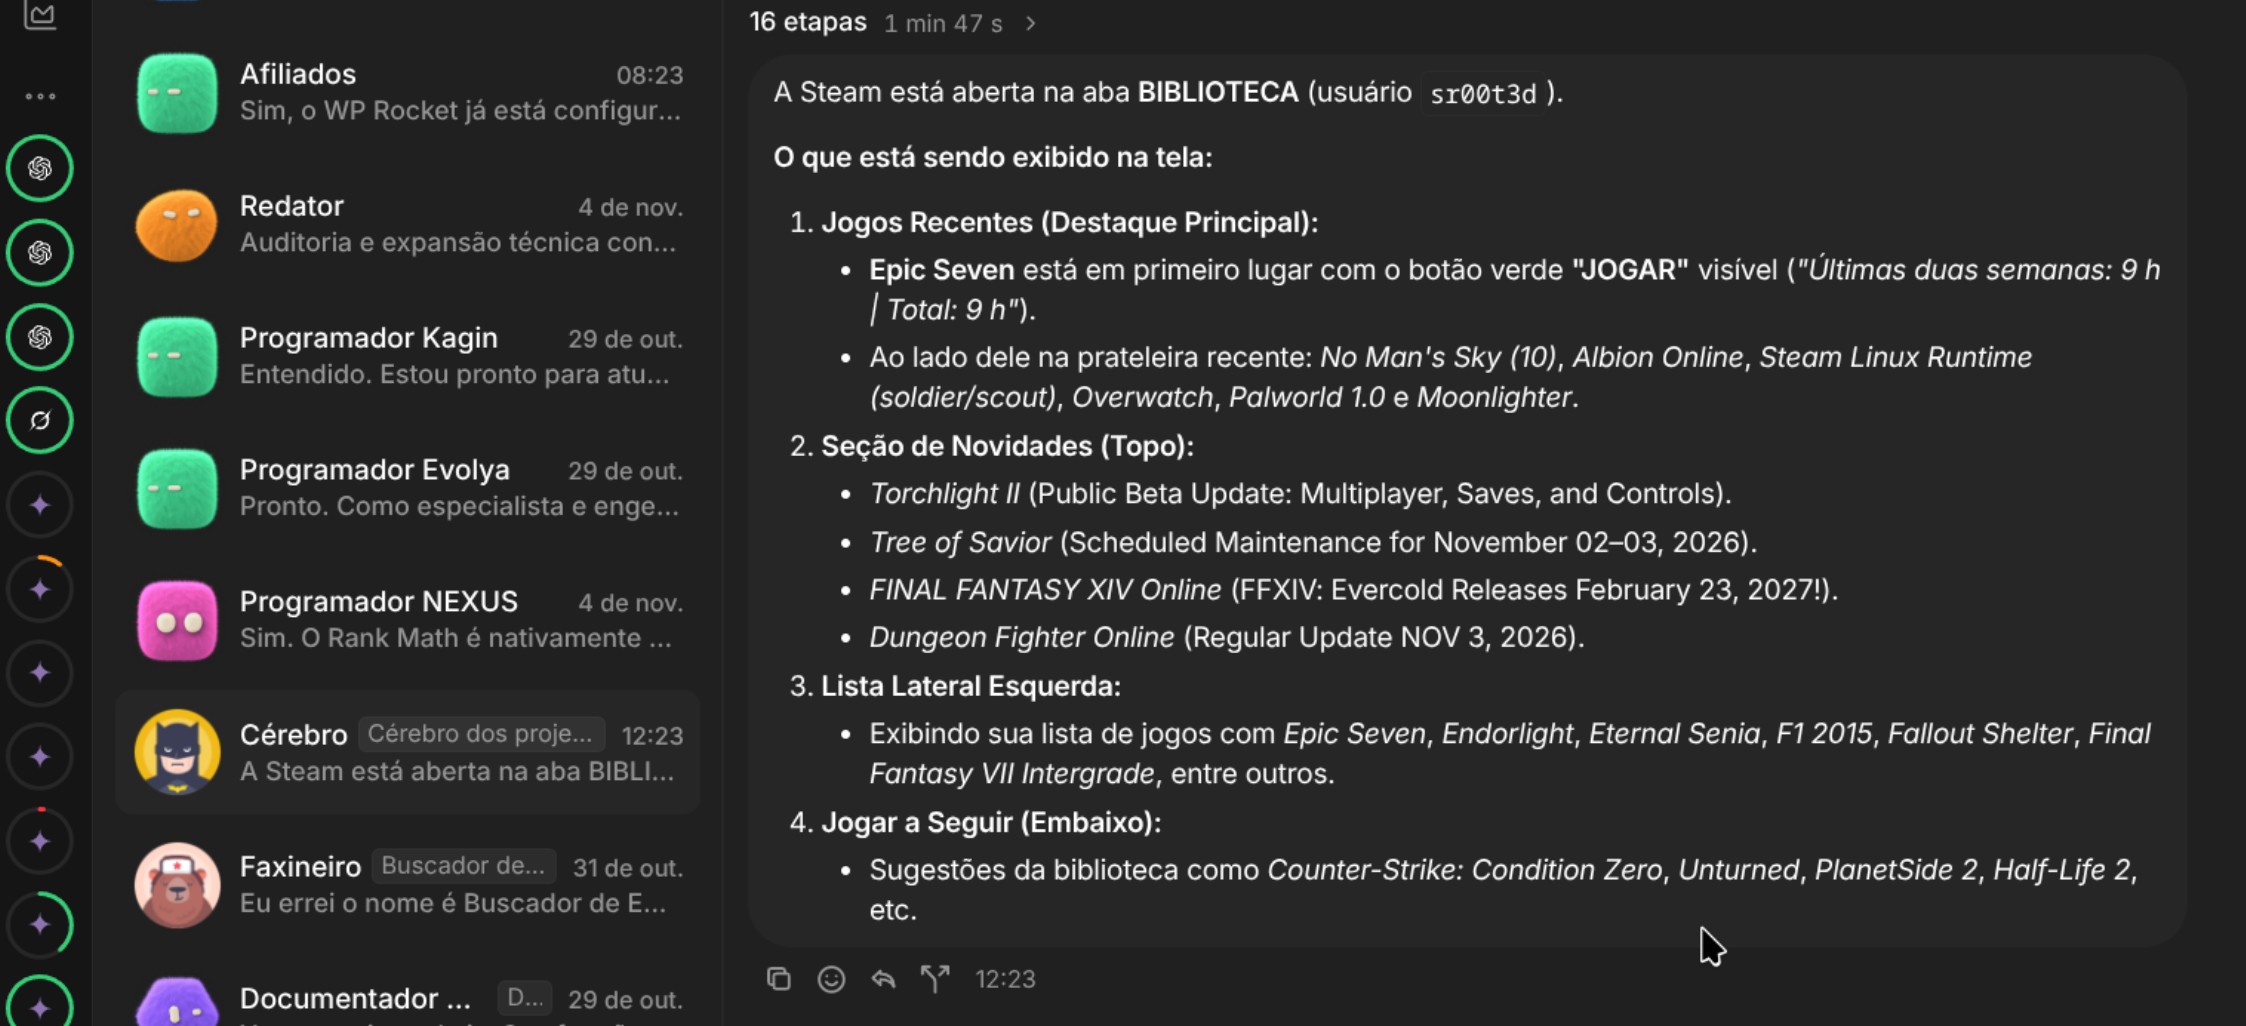
These tests illustrate that while desktop agent control is a great direction, handling hardware-accelerated or sandboxed window hierarchies remains an early experimental frontier across desktop clients.
Additional built-in features#
Exploring the sidebar navigation reveals several thoughtfully structured management tools:
- Approvals: Gathers all sensitive actions that require human confirmation before execution.
- Memory: A dedicated dashboard to view, inspect, and prune what agents remember about you and your preferences.
- Wiki: An integrated knowledge base where you can store documentation and reference notes for agents.
- Routines: A task scheduler for recurring agent automation.
- Skills: Management hub for installed and available extensions.
- Bulletin: A quick status summary of active agent operations.
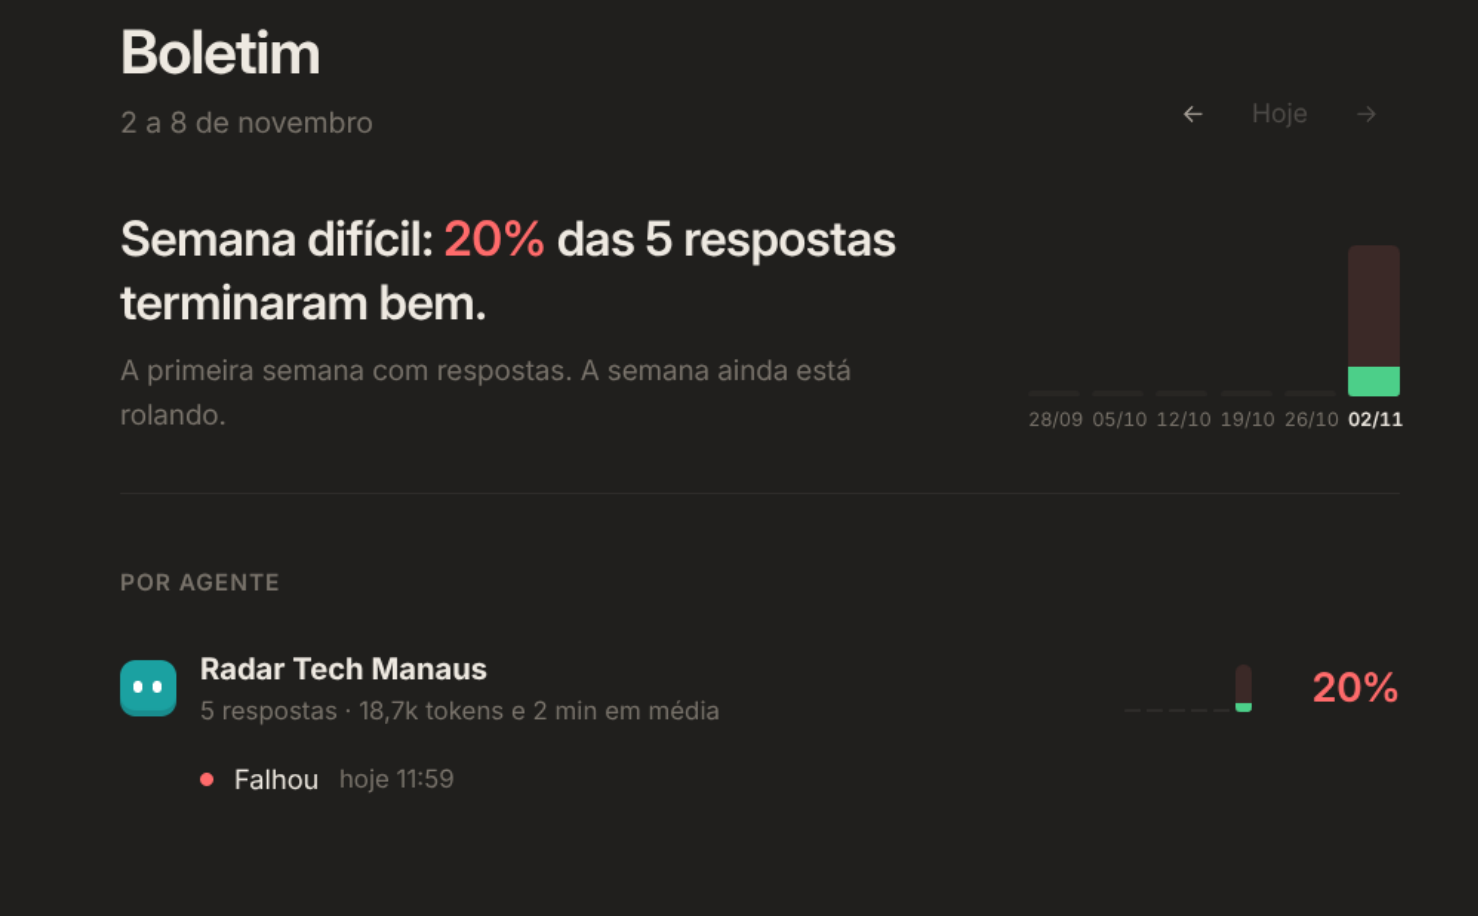
Two additional sections stand out further down the sidebar:
- Usage & limits: Clear visual charts tracking token consumption, request counts, and model distributions.
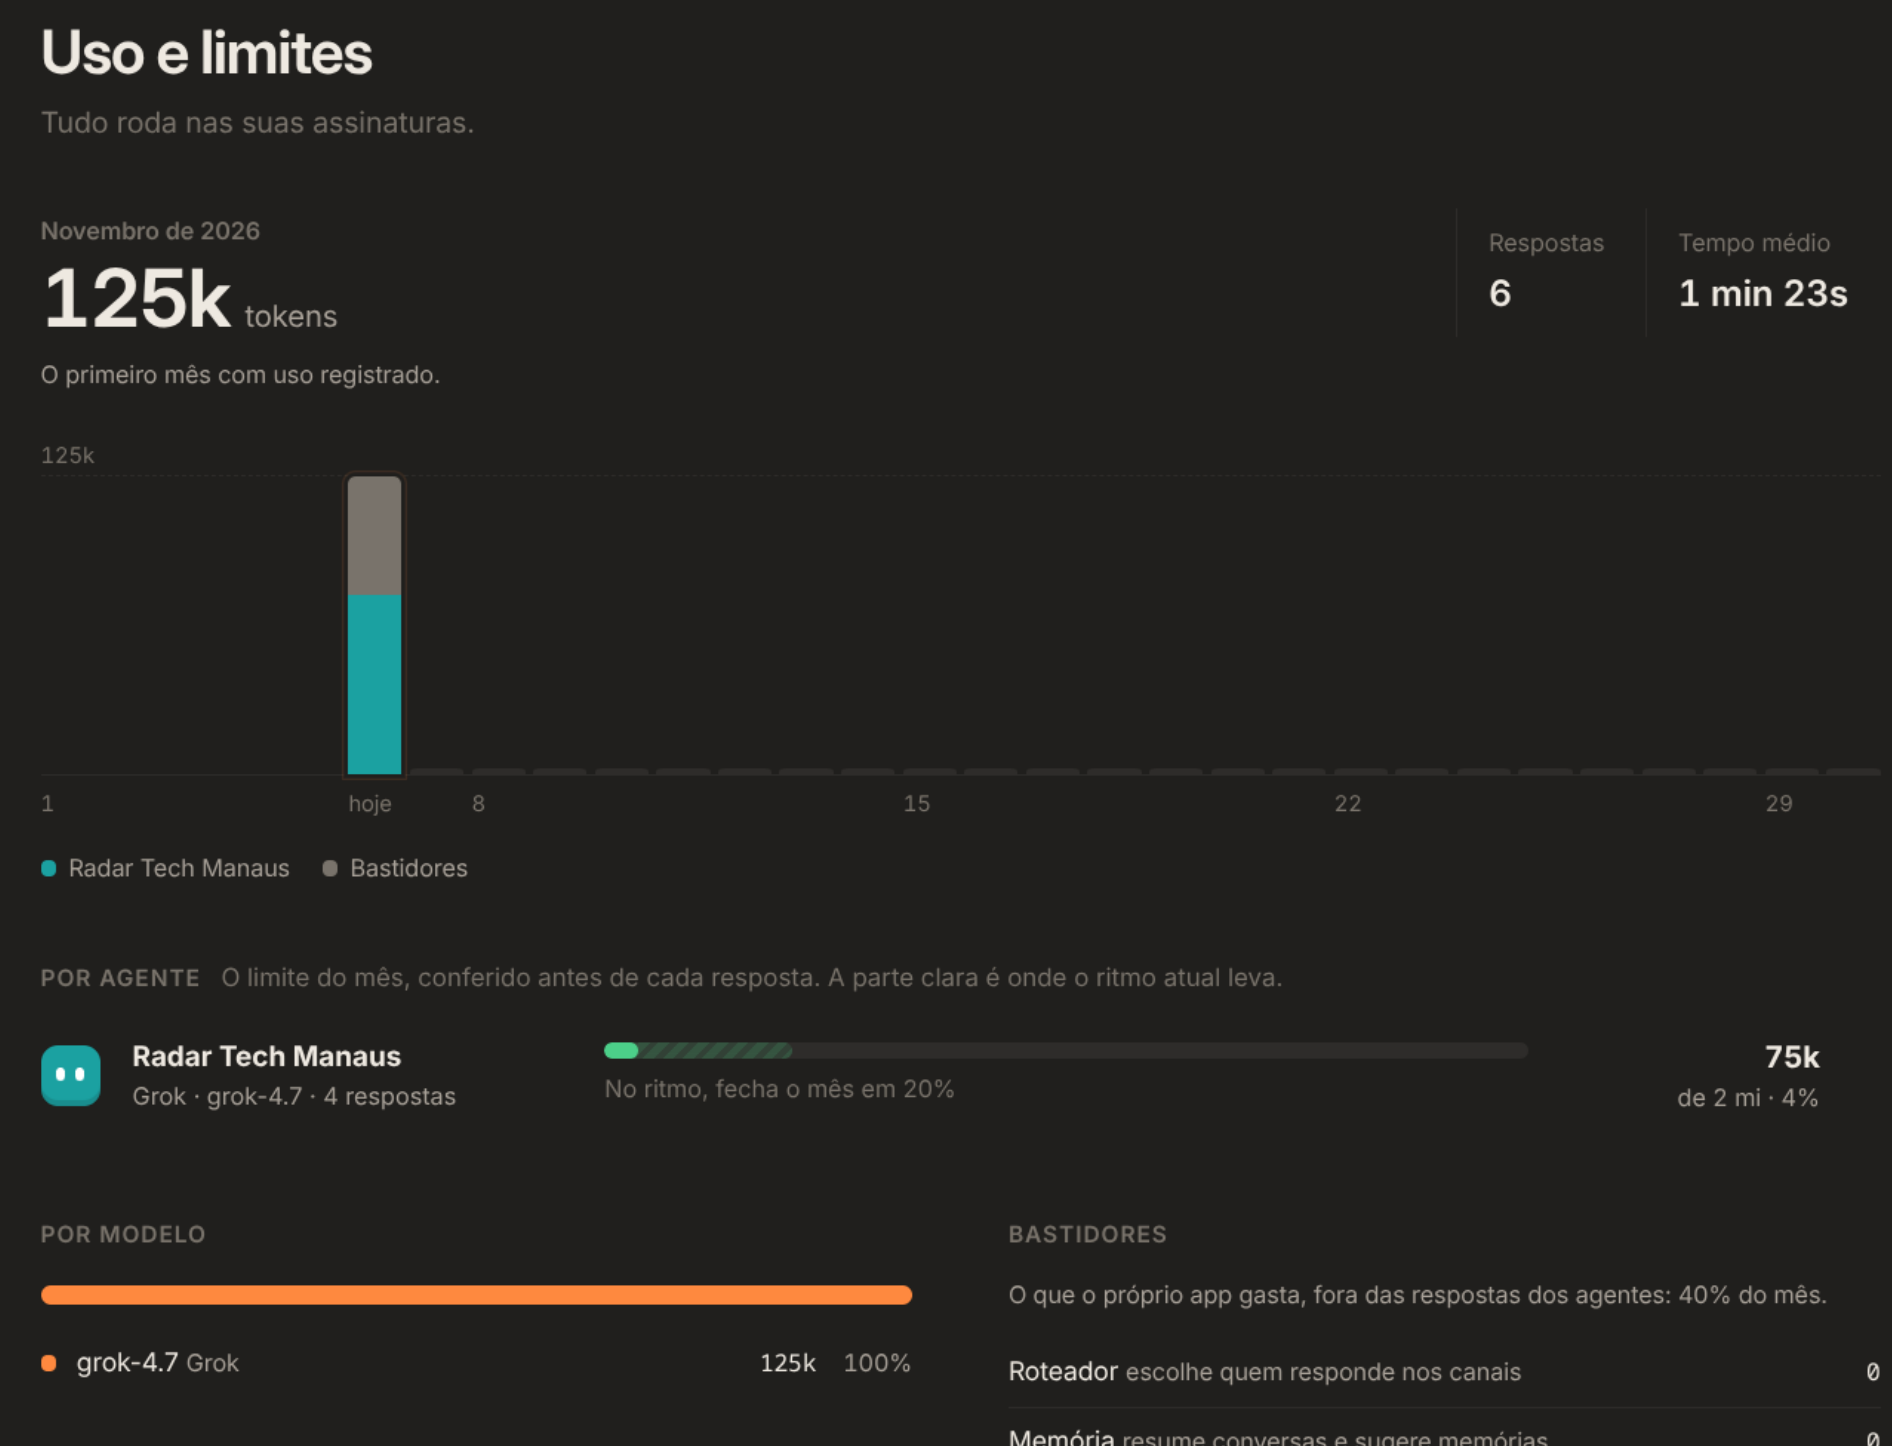
- Connectors: One of the strongest highlights of the platform. Besides configuring custom MCP servers, it ships with an extensive catalog of ready-to-use third-party connectors.
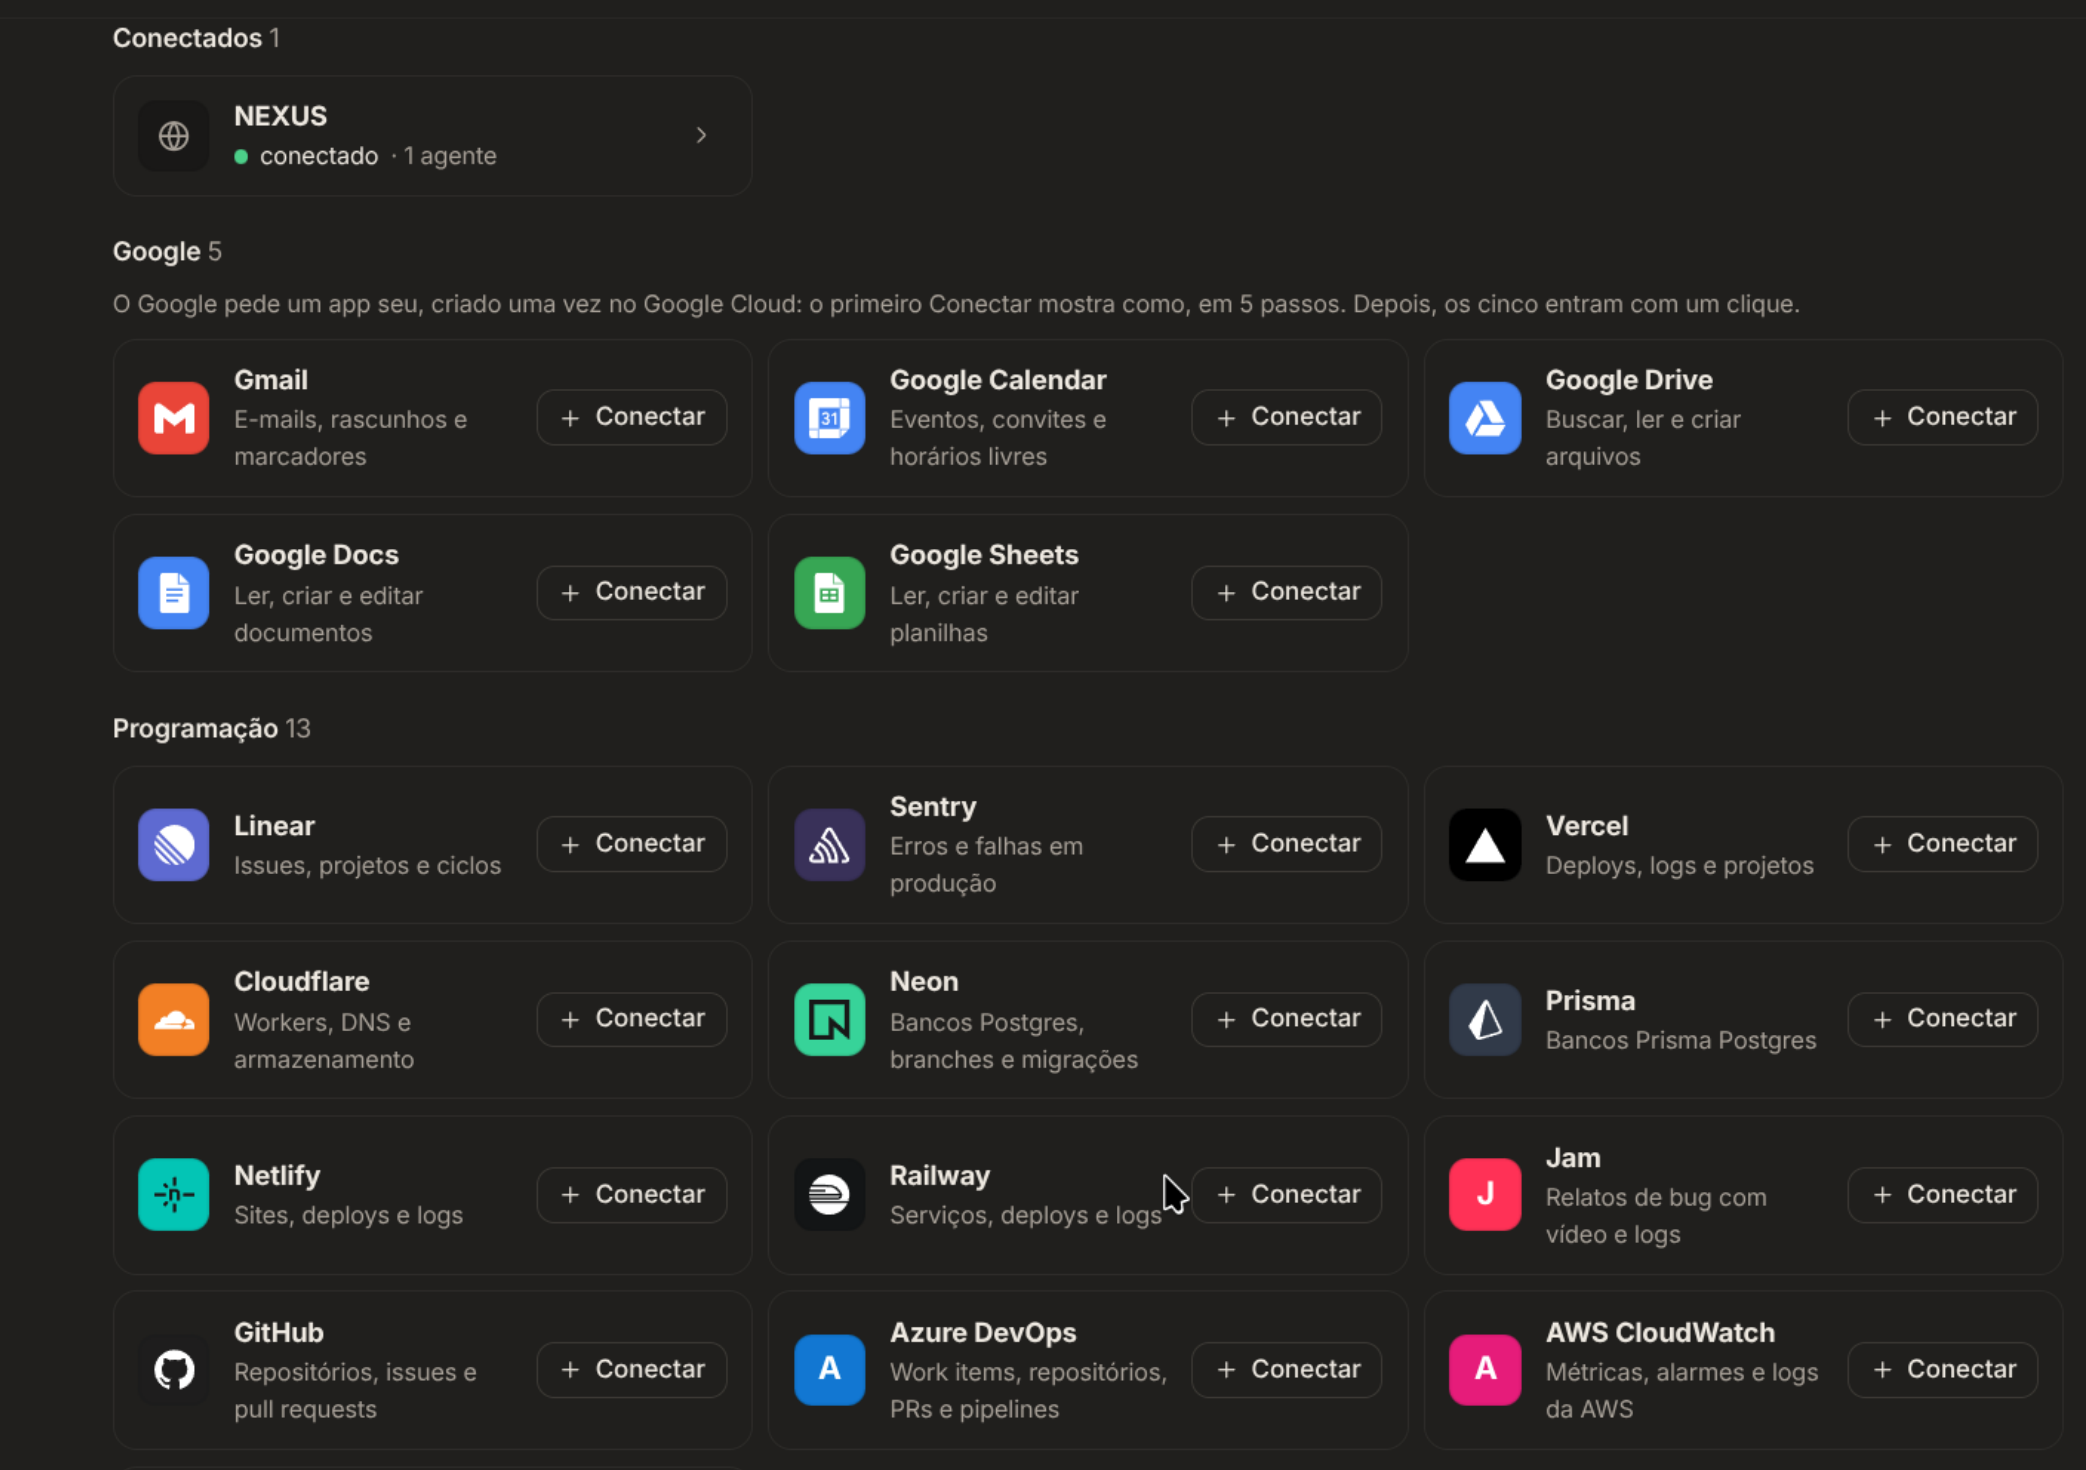
The general settings screen offers workspace switching, language options, model endpoint management, notification channels (Telegram, GitHub), and external Tucano server synchronization.
What to take away from this first run#
Weighing the positives and negatives, Tucano is an impressive open source effort. It provides a polished, modern interface without forcing paid subscriptions to orchestrate your own models and local tools. The onboarding guides the user from initial launch to the first working assistant.
The most notable areas for improvement in upcoming releases are:
- Search filtering in model dropdowns: Scrolling through dozens of items without typing to search is slow.
- Top-bar model switching: A direct dropdown in the chat header would save unnecessary navigation during daily use.
- Friendlier onboarding for non-developers: Developers familiar with MCP, endpoints, and bearer tokens will feel right at home, but everyday users would benefit from a guided "quick start" mode with sensible defaults.
Overall, I rate the application an 8/10 in its current stage. The foundation is clean, the visual polish is undeniable, and the direction is very promising. It is definitely a project worth starring on GitHub and experimenting with on your own desktop.
Was this article helpful?
Leave a quick reaction to help prioritize future technical guides:
See also



This post is licensed under CC BY-NC.
Comments
Join the discussion below.
0 comments