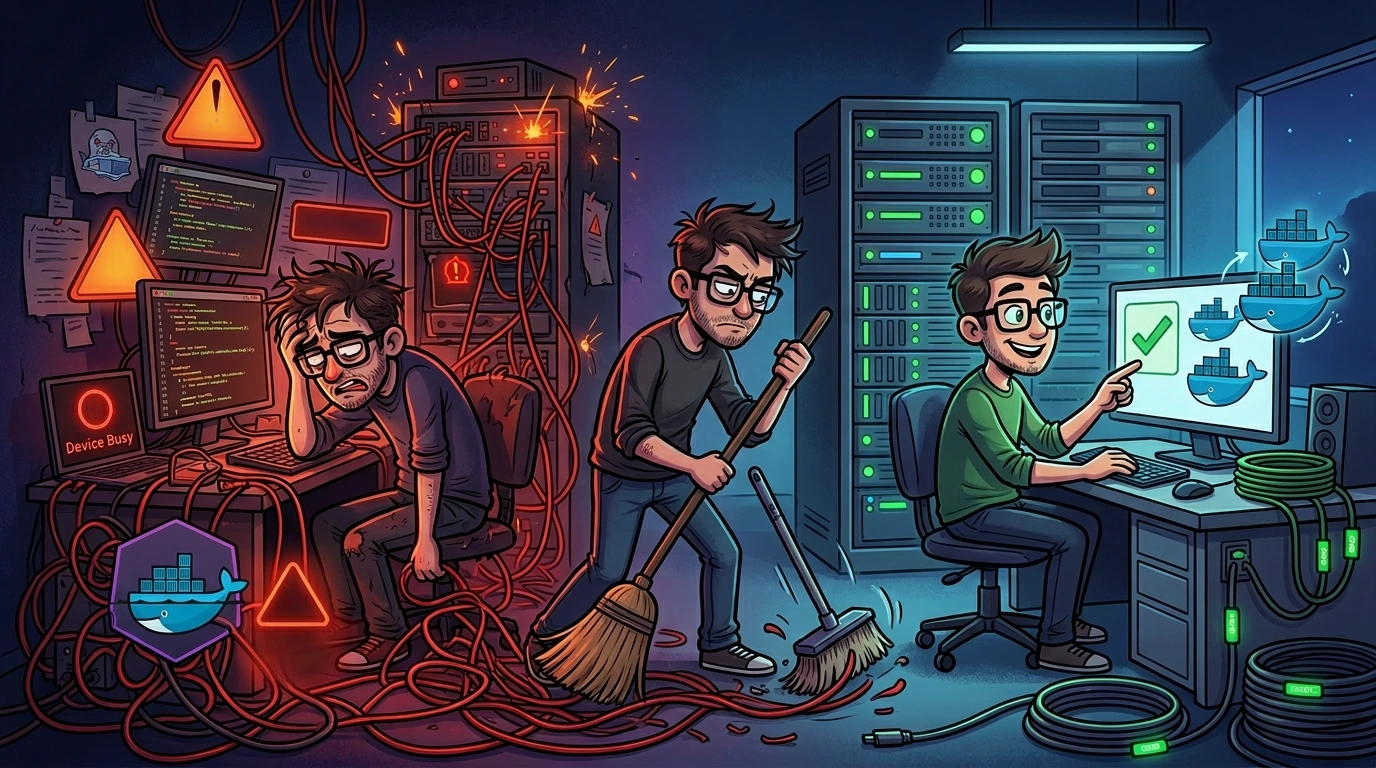
If you work with infrastructure, you know that Podman's promise to be a "drop-in" replacement for Docker is tempting. Recently, on one of my development servers using aaPanel, I encountered a curious situation: when installing Docker via the panel, the system removed the Podman binary but left behind a "legacy" of processes and files that turned my environment into a technical ghosting scene.
In this article, I share the errors I faced and the definitive step-by-step guide to cleaning Podman residues and letting Docker take full control.
aaPanel is optimized for the Docker Engine. By forcing the Docker installation, Podman is uninstalled, but its rootless containers and storage layers (OverlayFS) may remain active in the kernel.
1. The risk of cleaning without backups#
One of the greatest mistakes when performing runtime migrations or system cleanups is assuming that all containers and volumes under Podman are transient and disposable. Before running any destructive directory removal commands, you must inventory and backup persistent resources:
# 1. List all Podman containers (active and inactive)
podman ps -a

# 2. List all volumes created by Podman
podman volume ls

# 3. Export custom images not present in public registries
podman save -o /root/podman-images-backup.tar $(podman images -q)

# 4. Perform a compressed backup of the user rootless storage folder
tar czf /root/podman-user-storage-backup-$(date +%Y%m%d).tar.gz ~/.local/share/containers/ 2>/dev/null || true

# 5. Perform a compressed backup of the system root storage folder
sudo tar czf /root/podman-system-storage-backup-$(date +%Y%m%d).tar.gz /var/lib/containers/ 2>/dev/null || true
2. Auditing and stopping active resources#
If you perform a reset or directory purge while containers are still running, the kernel may lock file systems and block the removal of OverlayFS paths.
2.1 controlled container termination#
Prior to removing storage, stop active services gracefully to allow proper unmounting of network bridges and volumes:
# 1. List running containers
podman ps

# 2. Stop all running containers gracefully
podman stop -a
# Or force stop by IDs if the daemon is unresponsive
# podman stop $(podman ps -aq)
2.2 volume data inspection#
Inspect the physical mount points of persistent volumes to ensure database files or critical uploads are not deleted permanently:
# Loop to list every Podman volume, its mount point, and preview its content
for vol in $(podman volume ls -q); do
    echo "=== Volume: $vol ==="
    podman volume inspect $vol | grep Mountpoint
    # List physical contents associated with the volume
    sudo ls -la $(podman volume inspect $vol -f '{{.Mountpoint}}') 2>/dev/null | head -5
done
3. Resolving "device or resource busy" (overlayfs)#
The classic symptom of an incomplete migration occurs when attempting to delete old Podman folders, and the system throws:
rm: cannot remove '/var/lib/containers/storage/overlay/.../merged': Device or resource busy3.1 why does this error occur?#
Podman utilizes the OverlayFS storage driver to manage container and image layers. If the Podman binary is abruptly uninstalled (as happens with aaPanel update scripts) while container paths are still referenced by the kernel, the mount points remain locked. The rm -rf command fails because the directory is acting as an active mount point.
3.2 the unmounting command with lazy unmount#
The correct fix is not forcing physical deletion with dangerous flags, but detaching the filesystem at the kernel level using lazy unmount:
cat /proc/mounts | grep /var/lib/containers | awk '{print $2}' | xargs -r sudo umount -lThe -l (lazy unmount) parameter#
The -l flag tells the kernel to detach the filesystem from the directory tree immediately, cleaning up all references to the path as soon as the processes using it terminate.
4. The mystery of the occupied port: rootlessport#
Even after cleanups, you may discover that your HTTPS port (such as 9443 or 8443) is still responding on the network, even though docker ps shows no containers bound to it.
Auditing the network socket:
sudo lsof -i :9443The process holding the port is usually rootlessport. This helper binary is part of Podman's architecture to forward traffic from privileged ports to rootless container networks. It survives the uninstallation of the main package.
4.1 terminating processes safely (signal escalation)#
Avoid jumping straight to kill -9 (SIGKILL). Abruptly killing processes can leave sockets in orphan states and corrupt shared memory. Follow a safe escalation workflow:
# 1. Inspect the process parentage (Process Tree) and resource usage
ps -p <PID_OF_ROOTLESSPORT> -o pid,ppid,comm,%cpu,%mem
pstree -p <PID_OF_ROOTLESSPORT>

# 2. Send the SIGTERM signal (polite termination request)
sudo kill -15 <PID_OF_ROOTLESSPORT>

# 3. Wait 3 seconds for active connections to finish gracefully
sleep 3

# 4. Check if process is still alive. If so, force termination with SIGKILL
sudo kill -0 <PID_OF_ROOTLESSPORT> 2>/dev/null && sudo kill -9 <PID_OF_ROOTLESSPORT>
5. Security audits, SELinux, and config cleanup#
To ensure the new Docker Engine environment operates reliably, you must audit Mandatory Access Control (MAC) layers, configurations, and orphaned networks.
5.1 checking SELinux status#
On RedHat, Rocky Linux, or AlmaLinux, SELinux policies can prevent file removal or trigger access issues on the Docker socket:
# 1. Verify SELinux mode
getenforce

# 2. Check for recent container-related AVC denial events
sudo ausearch -m avc -ts recent | grep -iE "container|podman" 2>/dev/null || echo "No recent denials."

# 3. Restore default security contexts on system directories if necessary
sudo restorecon -Rv /var/lib/containers 2>/dev/null || true
5.2 purging residual configurations#
Podman caches registry and storage profiles in global and local folders. Delete these to prevent settings leakage:
# 1. List user configurations
ls -la ~/.config/containers/ 2>/dev/null

# 2. List global configurations
ls -la /etc/containers/ 2>/dev/null

# 3. Remove these config folders permanently
rm -rf ~/.config/containers/
sudo rm -rf /etc/containers/
5.3 network and firewall audits (CNI and iptables)#
Podman uses CNI (Container Network Interface) or Netavark for routing. Leftover firewall rules may remain active in the kernel netfilter:
# 1. List active IPTables rules referencing containers or CNI networks
sudo iptables -L -n | grep -iE "containers|podman|cni"

# 2. Remove CNI virtual network configuration files
sudo rm -rf /etc/cni/net.d/

# 3. Scan for active virtual network interfaces
ip link show | grep -iE "podman|cni|veth"
# Delete any remaining virtual interfaces if found (e.g., cni-podman0):
# sudo ip link delete cni-podman0
6. Validating Docker daemon health#
After clearing out Podman remnants, verify that the new Docker Engine environment is fully operational:
# 1. Verify Docker service status in systemd
systemctl status docker

# 2. Test access to the socket and output daemon configuration
docker info | head -20

# 3. Inspect the default Docker bridge network
docker network inspect bridge | head -20

# 4. Run a temporary hello-world container to test image pulls and execution
docker run --rm hello-world

# 5. Verify no network configuration or port conflicts remain
docker ps -a
docker network ls
7. Post-cleanup sanity checks#
Execute these quick validation commands to confirm a clean system state:
# 1. Ensure no container-related mount points exist
# Expected result: 0
cat /proc/mounts | grep -c containers

# 2. Verify no Podman processes remain in memory
# Expected result: 1 (only the grep process line)
ps aux | grep -c podman

# 3. Check disk space recovery
df -h
Checklist: Podman to Docker migration#
Follow this checklist to execute a clean, conflict-free runtime migration:
1. Pre-migration phase#
- [ ] Inventory: Cataloged all existing containers and volumes in Podman.
- [ ] Image Backup: Exported custom images with
podman save. - [ ] Data Backup: Backed up persistent volume files and copy storage paths.
- [ ] Termination: Stopped all running containers gracefully via
podman stop -a.
2. Podman cleanup phase#
- [ ] System Reset: Cleaned resources using
podman system reset --force. - [ ] Unmount OverlayFS: Cleared orphaned mount points with
umount -l. - [ ] Kill Processes: Safe shutdown of
rootlessporthelper processes (SIGTERM -> SIGKILL). - [ ] Directory Purge: Removed
/var/lib/containers,~/.local/share/containers, and CNI directories. - [ ] Config Purge: Deleted config files in
/etc/containers/and~/.config/containers/.
3. Network and firewall phase#
- [ ] Interfaces: Deleted residual virtual network interfaces.
- [ ] Firewall Rules: Cleared container routing entries from IPTables.
- [ ] Port Audit: Confirmed target host ports are free from zombie processes (
lsof).
4. Docker installation and verification phase#
- [ ] Installation: Installed the stable Docker Engine package.
- [ ] User Groups: Added local users to the
dockeruser group. - [ ] SELinux: Checked file access contexts for Docker compatibility.
- [ ] Test Run: Verified image pulling and execution with the
hello-worldimage. - [ ] Final Checks: Confirmed zero leftover Podman mounts or processes in memory.
Was this article helpful?
Leave a quick reaction to help prioritize future technical guides:
See also



This post is licensed under CC BY-NC.
Comments
Join the discussion below.
0 comments