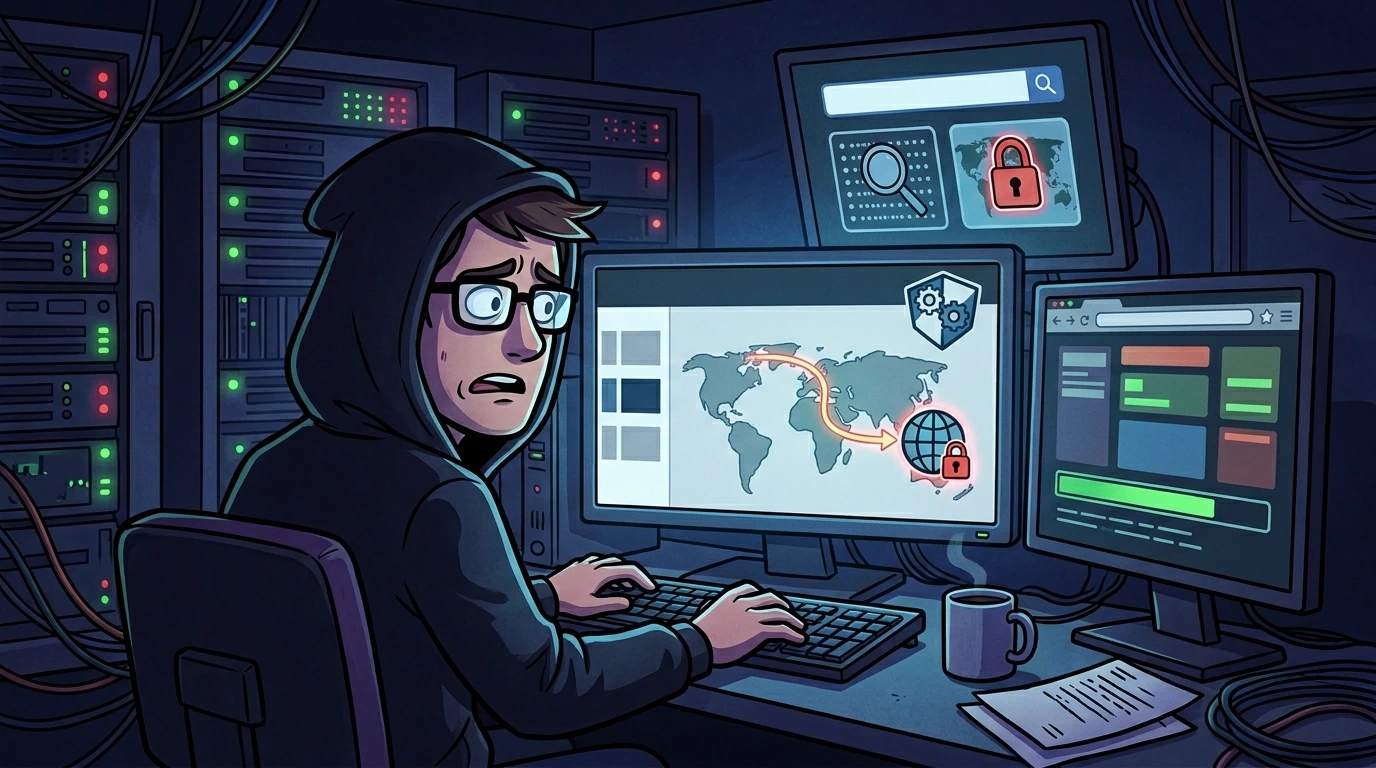
Have you ever been in a situation where a client calls desperately because the entire office lost access to the website and emails? When we check, the company's public IP has been banned by the server's firewall. But the million-dollar question is: who, among 50 employees on that local network, is getting the email password wrong repeatedly and taking down everyone's access?
Most modern servers running cPanel use cPHulk Brute Force Protection or CSF (ConfigServer Security & Firewall) for login monitoring. If a mobile device or mail client (like Outlook) tries to log in with an old password in a loop (usually after a recent corporate credential change), the security daemons interpret this as a brute force attack and block the source IP address.
In this article, I compile a technical guide to isolate the email account responsible for the blocks, analyze log files in detail, and parameterize the firewall to prevent recurrences.
1. Preventive planning and firewall backups (finding #1)#
Before making any changes to the firewall tables or adding IPs to exception lists, you must perform consistent backups of ConfigServer Security & Firewall (CSF) settings and rule files. A syntax error in configuration files can halt security filtering for the entire server.
Run the following commands in the terminal as the root user to generate preventive backups of the configurations in /etc/csf/
# Create backups of CSF rules with timestamps in the root directory
cp /etc/csf/csf.conf /root/csf.conf.bak.$(date +%Y%m%d)
cp /etc/csf/csf.allow /root/csf.allow.bak.$(date +%Y%m%d)
cp /etc/csf/csf.deny /root/csf.deny.bak.$(date +%Y%m%d)

# Alternative: generate a full compressed tar file of the CSF directory
tar czf /root/csf-backup-$(date +%Y%m%d).tar.gz /etc/csf/
This ensures a clean restore point if the firewall needs to be reverted to its initial operational state.
2. Identifying the source via cphulk in WHM#
If you have reseller privileges or root access, the first place to start the diagnosis is the event history of cPHulk Brute Force Protection in WHM.
- Log in to WHM and search for cPHulk Brute Force Protection in the sidebar menu.
- Navigate to the History Reports tab.
- Filter the records by recent login failures using the client's public IP.
The table will display the source IP, the destination email account (e.g. [email protected]), the service targeted (usually IMAP or Dovecot), and the exact timestamp of the event in a structured layout.
3. Diagnosis via mail delivery reports in WHM#
If cPHulk does not show immediate conclusive records, WHM's Mail Delivery Reports tool offers an excellent visual audit based on Exim logs:
- In the WHM panel, go to Mail Delivery Reports.
- Search for recent events by entering the blocked public IP in the search field.
- Make sure to check the Show Blocked and Show Failed options.
- Locate events with the Authentication Failure label.
- Click the magnifying glass icon to display transaction details.
The debug output will show the SMTP server rejection:
535 Incorrect authentication data ([email protected])This categorically confirms that the [email protected] account is responsible for propagating incorrect credentials from that IP.
4. Investigation from the user cPanel (track delivery)#
If you do not have administrative access to WHM but have domain cPanel login credentials, you can isolate the error:
- Log in to the cPanel account of the affected domain.
- In the Email section, select the Track Delivery tool.
- Check the Show Blocked and Show Failed options.
- Filter the search. Any SMTP authentication failure will be listed in the reports, showing the exact account sending it.
5. Auditing other blocked IPs and subnets (finding #3)#
Often, client offices use redundant internet connections (multiple dedicated links) or dynamic IPs from the same ISP subnet. If one IP is blocked, other IPs or subnets in the same range may face the same denial.
You should audit the firewall's deny list and cPHulk's global history to assess the scope of the problem:
# Search for specific or test IPs blocked in CSF
csf -g | grep "DENY"

# View the first 20 lines of the CSF deny file
cat /etc/csf/csf.deny | head -20

# Check if other IPs from similar subnets are blocked (e.g., client's IP range prefix)
grep "203.0.113." /etc/csf/csf.deny

# Search for systemic blocks in the cPHulk log
tail -100 /usr/local/cpanel/logs/cphulkd.log | grep "Blocked"
Identifying multiple blocked IPs from the same range indicates that the user's failing device may be switching networks (e.g. transitioning between office Wi-Fi and mobile data) or that multiple users on the same subnet are typing passwords incorrectly.
6. Auditing email accounts with systemic failures (finding #4)#
On busy servers, multiple users across different domains might suffer from brute force attacks. To isolate accounts generating spikes in authentication failures globally on the server, we can analyze and group records in the system mail log (/var/log/maillog
# Display recent failed login attempts
grep "failed" /var/log/maillog | tail -20

# Count and sort in descending order authentication failures grouped by email account
grep "Authentication Failure" /var/log/maillog | awk '{print $NF}' | sort | uniq -c | sort -rn

# Alternative for Dovecot/cPanel structured logs
grep -i "password mismatch\|auth failed" /var/log/maillog | awk -F'user=' '{print $2}' | awk -F',' '{print $1}' | sort | uniq -c | sort -rn
Additionally, check WHM (or use the /usr/local/cpanel/bin/whmapi1 command) to see if there are accounts with expired passwords or accounts locked preventively, which would explain continuous authentication failures from client devices.
7. Device security and configuration verification (finding #5)#
After isolating the client's IP and accounts with failures, the administrator should guide the client to audit local device configurations. A mobile device with the old password saved in cache will continue to force background requests, triggering new blocks in minutes.
Immediate technical recommendations to pass to the end-user:
- Update stored password: Remove and re-enter the credential in mail apps (Outlook, Apple Mail, Gmail App, Thunderbird).
- Verify secure connection ports:
- IMAP (Secure): Port
993with SSL/TLS encryption. - POP3 (Secure): Port
995with SSL/TLS encryption. - SMTP (Secure): Port
465or587with SSL/TLS or STARTTLS active.
- Disable automatic login temporarily: If the device presents persistent connection failure, disable automatic sync to prevent request floods until the credential is validated.
8. Prevention of recurrence and whitelisting (finding #6)#
To prevent client headquarters networks or stable corporate IPs from suffering new systemic blocks due to isolated employee errors, you should configure permanent allow lists or adjust notifications on the server.
# Add the client's dedicated public IP to the permanent CSF Allow List
echo "203.0.113.50" >> /etc/csf/csf.allow

# Reload firewall rules to apply the new whitelist immediately
csf -r
Additionally, go to WHM > Security Center > cPHulk Brute Force Protection, and on the Whitelist Management tab, insert the client's IP or subnet. To ensure visibility of incidents, configure brute force alerts in WHM > Tweak Settings > Notifications to get notified whenever brute force blocking spikes occur.
9. Forensic analysis of authentication logs (finding #7)#
If you need to conduct a detailed forensic audit, analyze the server log files directly in the terminal:
# Audit logs specific to the cPHulk Daemon
tail -200 /usr/local/cpanel/logs/cphulkd.log

# Monitor Dovecot authentication logs for failures
grep -i "failed\|invalid" /var/log/maillog | tail -20

# Check specific POP3/IMAP connections logs
grep -i "auth\|login" /var/log/maillog | tail -20

# Audit Exim (SMTP) logs for rejected connections or incorrect authentications
grep -i "rejected\|blocked\|auth_failed" /var/log/exim_mainlog | tail -20
10. Cphulk daemon and local database auditing (finding #8)#
If cPHulk behaves abnormally or seems not to block intrusions, validate the status of the service daemon and the integrity of its local SQLite database:
# Verify if the cphulkd daemon service is responding correctly
/usr/local/cpanel/bin/cphulkdcheck

# Display parameters of the active cPHulk configuration file
cat /var/cpanel/cphulkd.conf

# Inspect records and limits directly in the local temporary block table
sqlite3 /var/cpanel/hulkd/cphulk.db "SELECT * FROM ip_limits LIMIT 10;"
11. CSF status auditing and validation (finding #9)#
Never change firewall rules without checking if ConfigServer Security & Firewall is actively operational and running log intrusion monitoring (LFD):
# Verify the installed version and basic operational status of CSF
csf -v

# Verify if csf and lfd daemons are active in systemd
systemctl status csf --no-pager
systemctl status lfd --no-pager

# Search if a specific IP is listed in active iptables/CSF rules
csf -g 203.0.113.50

# Display the allow list file
cat /etc/csf/csf.allow
12. Post-fix unblocking and test protocol (finding #2)#
To confirm if the client's IP is operational and monitor if new lockouts are not being generated by the same IP, follow this unblocking and validation routine:
# Temporarily unblock the client's IP from CSF block rules
csf -dr 203.0.113.50

# Confirm if the IP was successfully removed from the firewall
csf -g 203.0.113.50

# Monitor authentication logs in real time filtered by the unblocked IP
tail -f /var/log/maillog | grep "203.0.113.50"

# Monitor cPHulk logs in parallel to validate if clients reconfiguration worked
tail -f /usr/local/cpanel/logs/cphulkd.log | grep "203.0.113.50"
Monitor the screen for at least 10 to 15 minutes while users reconfigure their devices. If failed authentication attempts cease, the correction was successful.
13. Firewall rules rollback procedure (finding #10)#
If you need to revert the whitelists created and restore the firewall back to its original strict security rules for auditing or test termination, execute the following rollback procedure:
# Remove the temporary IP from the CSF allow list
csf -ar 203.0.113.50

# Restore original CSF files from the preventive backup generated at start of task
cp /root/csf.conf.bak.20260616 /etc/csf/csf.conf
cp /root/csf.allow.bak.20260616 /etc/csf/csf.allow
cp /root/csf.deny.bak.20260616 /etc/csf/csf.deny

# Reload firewall network configurations
csf -r

# Confirm CSF operational integrity after reload
csf -v
14. Blocked IP troubleshooting checklist#
Follow this operational checklist to diagnose blocked IP incidents:
Phase 1: Diagnosis & investigation#
- [ ] Check firewall deny logs on host:
tail -100 /var/log/lfd.log - [ ] Search affected IP in cPHulk history: WHM > cPHulk > History
- [ ] Audit mail delivery reports for 535 errors: Mail Delivery Reports
- [ ] Isolate the specific email account generating login errors
Phase 2: Correction & release#
- [ ] Perform preventive backup of CSF files in
/etc/csf/ - [ ] Release public IP in CSF:
csf -dr <IP> - [ ] Add IP to Whitelist in cPHulk and CSF
- [ ] Instruct the user to update credentials on mobile device or Outlook
- [ ] Confirm usage of secure ports (
993for IMAP,465/587for SMTP)
Phase 3: Validation & monitoring#
- [ ] Monitor login attempt queue:
tail -f /var/log/maillog - [ ] Validate cPHulk status with
/usr/local/cpanel/bin/cphulkdcheck - [ ] Monitor network behavior for 15 minutes post-release
15. Risk and mitigation matrix#
| Item / Risk | Severity | Technical Description | Mitigation Measure |
|---|---|---|---|
| Unrestricted Whitelisting | High | Adding a dynamic shared IP to the permanent Allow List allows undetected brute-force attacks from other users on that IP. | Prefer temporary whitelists (csf -tempallow) or specific limits. Instruct the client to acquire a secure, static IP. |
| Service Interruption (LFD) | Medium | Syntactical errors while changing csf.conf or rule files freeze the protection daemon. | Always perform backups in csf -r with output validation. |
| Cascading Block (NAT) | High | A single faulty device in the office blocks the NAT IP for all employees in the same building. | Add the company's subnet to the cPHulk whitelist and identify the causing account via logs before whitelist permanence. |
| Masked Attack | Medium | Client IP being compromised and used as a legitimate distributed attack vector. | Maintain restrictive rules even on trusted IPs. Monitor pings and unexpected connections in Exim. |
| Rotated Logs | Low | Loss of forensic audit history for old login failures due to fast log rotation. | Configure adequate retention in logrotate for the |
Production takeaways#
Identifying the reason for a block doesn't have to be a guessing game. The cPanel ecosystem offers robust graphical tools that replace the terminal well in times of urgency. The secret is knowing how to cross-reference cPHulk data with Delivery Reports.
Was this article helpful?
Leave a quick reaction to help prioritize future technical guides:
See also


This post is licensed under CC BY-NC.
Comments
Join the discussion below.
0 comments