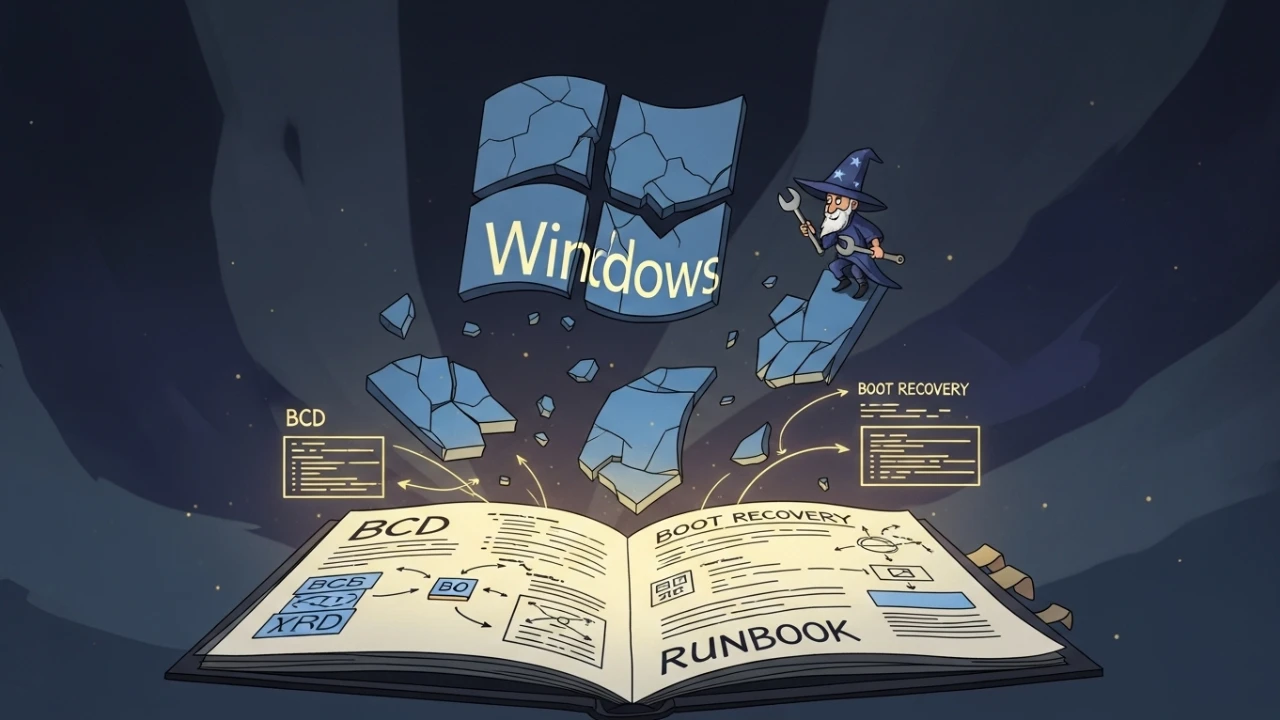
Windows Boot Recovery: Manually Rebuilding the BCD with an Operational Runbook#
When Windows suddenly disappears from the boot menu, the root cause is rarely the destruction of the operating system itself. In many production incidents, the system volumes remain entirely healthy, but the BCD (Boot Configuration Data) has lost its reference to the OS loader, or the Boot Manager has been corrupted, preventing the correct entries from being displayed.
This article serves as a complete operational runbook for boot recovery. It details step-by-step diagnostic workflows for disk and firmware configurations, mandatory backup steps, manual BCD reconstruction, and automated boot repair using the bcdboot utility.
1) Initial diagnosis and winre access#
Before executing any commands on the boot sector, access the Windows Recovery Environment (WinRE) to obtain a secure command prompt.
Methods to access winre:#
- Option 1 (Shift + Restart): Hold down the
Shiftkey while clicking "Restart" in the Windows Start menu. - Option 2 (GUI): Go to Settings → Update & Security → Recovery and click "Restart now" under Advanced startup.
- Option 3 (Command line): If Windows is bootable but unstable:
shutdown /r /o /t 0- Option 4 (External Media): Boot the computer using a Windows installation USB/DVD. On the installer welcome screen, select Repair your computer in the bottom-left corner.
Creating recovery media:#
If local WinRE is corrupted, create a bootable recovery USB from another Windows host using the Create a recovery drive menu in the search bar, or download the Media Creation Tool:
- Official download portal: Microsoft Software Download
To check and enable the local WinRE configuration:
# Verify the current status of WinRE
reagentc /info

# Enable the local WinRE environment
reagentc /enable

# If it fails (due to a corrupted path or missing image), reset the recovery image location first
reagentc /setreimage /path C:\Windows\System32\Recovery
reagentc /enable
2) Firmware, storage, and bitlocker auditing#
An incorrect boot rebuild can corrupt system data. You must identify the partition style and system firmware type of the host before executing changes.
1. Partition style (GPT vs. MBR)#
Access the WinRE command prompt and identify the physical partition structure:
# Verify partition style using diskpart
diskpart
list disk
exit
(If there is an asterisk () in the "Gpt" column, the disk uses GPT. Otherwise, it uses MBR).*
Alternatively, using PowerShell:
# Check the partition style of all active disks
Get-Disk | Select-Object Number, PartitionStyle, Size

# Query partition style via WMI
Get-WmiObject Win32_DiskDrive | Select-Object Model, PartitionStyle
2. Firmware mode (UEFI vs. BIOS)#
To determine if the hardware is running in UEFI or legacy BIOS mode:
# Validate if UEFI Secure Boot is active
Confirm-SecureBootUEFI

# Query the registry for the firmware type variable
Get-ItemProperty -Path "HKLM:\SYSTEM\CurrentControlSet\Control" -Name "PEFirmwareType" -ErrorAction SilentlyContinue
(If the returned value of PEFirmwareType is 2, the system runs in UEFI mode; if it is 1, it runs in BIOS/Legacy mode).
3. Bitlocker diagnostics and unlocking#
# Check if BitLocker is active on system volumes
manage-bde -status
If active, you will need the 48-digit recovery key (which can be retrieved from the user's Microsoft account or the Azure AD console). Run the command below to unlock the volume before attempting any repairs:
# Unlock the encrypted volume C: using the recovery password
manage-bde -unlock C: -RecoveryPassword YOUR-RECOVERY-KEY-HERE
3) Disk integrity and root cause triage#
A corrupted bootloader can be a symptom of disk sector damage or malware infection. Run structural verification checks before writing new boot files:
# 1. Scan and repair system file errors on volume C:
chkdsk C: /f /r

# 2. Check the integrity of protected system files offline
sfc /scannow /offbootdir=C:\ /offwindir=C:\Windows

# 3. Repair the offline Windows system image using local WinSxS (no internet)
DISM /Image:C:\ /Cleanup-Image /RestoreHealth /LimitAccess

# 4. Repair the offline Windows image using Windows installation media (e.g., USB drive on letter D:)
DISM /Image:C:\ /Cleanup-Image /RestoreHealth /Source:WIM:D:\sources\install.wim:1 /LimitAccess
Malware triage (rootkits/bootkits):#
If you suspect that the original boot files have been compromised by malware:
# Check Windows Defender real-time protection status
Get-MpComputerStatus

# Query critical events in the Security log
Get-WinEvent -LogName "Security" -MaxEvents 100 | Where-Object { $_.LevelDisplayName -eq "Critical" }
Driver conflict triage:#
If the system is failing boot with BSODs referencing specific drivers:
# List hardware devices reporting active configuration error codes
Get-WmiObject Win32_PnPEntity | Where-Object { $_.ConfigManagerErrorCode -ne 0 } | Select-Object Name, ConfigManagerErrorCode

# Check recently added drivers in the offline system store (on drive C:)
Get-WindowsDriver -Path C:\ | Sort-Object Date -Descending | Select-Object -First 10

# Alternative DISM command to inspect offline drivers
dism /Image:C:\ /Get-Drivers

# Filter System event logs for recent boot entries (Online WMI query)
Get-WinEvent -LogName "System" -MaxEvents 100 -ErrorAction SilentlyContinue | Where-Object { $_.Message -like "*boot*" }
4) Operational safety: BCD and EFI backup#
WARNING: Never modify BCD records without creating a safety backup.
# Backup the current BCD configuration
bcdedit /export C:\bcd-backup-$(Get-Date -Format yyyyMMdd)
To backup the physical boot files located in the system's EFI partition:
# Mount the EFI partition and assign it a temporary drive letter
diskpart
list disk
select disk 0
list partition
# Identify the "System" type partition (typically FAT32 format, ~100MB-260MB)
# Replace 'X' with the actual partition number of type "System"
select partition X
assign letter=Z
exit

# Safe PowerShell alternative to auto-identify and mount the EFI partition
$efiPartition = Get-Partition | Where-Object { $_.Type -eq 'System' }
if ($efiPartition) {
    Set-Partition -DriveLetter Z -PartitionNumber $efiPartition.PartitionNumber -DiskNumber $efiPartition.DiskNumber
    Write-Host "EFI partition successfully mounted on Z:"
}

# Copy all files from the EFI partition with metadata and long path resilience via robocopy
robocopy Z:\ C:\efi-backup\ /E /COPYALL /R:3 /W:5
5) Boot recovery procedure#
Use the flowchart below to guide the execution sequence of bootloader recovery commands:
Option a: the rapid path with bcdboot#
The bcdboot command is the recommended automated utility to restore boot files and safely recreate the BCD store.
For modern UEFI environments (with the EFI partition mounted to letter Z:):
# Copy boot files and recreate UEFI entries in BCD
bcdboot C:\Windows /s Z: /f UEFI
For legacy BIOS / MBR environments:
# Copy boot files and recreate BIOS entries in BCD
bcdboot C:\Windows /f BIOS
For hybrid or mixed compatibility systems:
# Generate boot files for both modes (UEFI and BIOS)
bcdboot C:\Windows /f ALL
Option b: manual reconstruction with bcdedit#
If the automated utility fails, or if you need to create custom boot configurations (such as dual-boot setups):
- Inspect current BCD entries and check for multiple operating systems:
   # List all records in the BCD store
   bcdedit /enum all

   # Search for "Windows" instances in the boot manager
bcdedit /enum | findstr /i "Windows"- Create a new bootloader entry (this command returns a unique
{GUID}, e.g.,{8a12b345-67c8-90d1-e234-56789f012345}):
   # Create a new OS loader entry
   bcdedit /create /d "Windows 11" /application osloader
Note: Copy the exact {GUID} output (including the {} brackets) and substitute it in the commands below. If you run via PowerShell and want to automate this capture:
   # Create and store the GUID to a variable automatically
   $createOutput = bcdedit /create /d "Windows 11" /application osloader
$guid = ($createOutput | Select-String -Pattern "\{[A-Fa-f0-9-]+\}").Matches.Value- Set the required parameters for the new
{GUID}(or use the$guidvariable in PowerShell):
   # Set the device containing the bootloader files
   bcdedit /set {GUID} device partition=C:

   # Set the device containing the operating system systemroot
   bcdedit /set {GUID} osdevice partition=C:

   # Define the path to the bootloader (winload.efi for UEFI)
   bcdedit /set {GUID} path \Windows\system32\winload.efi

   # Define the systemroot folder path
   bcdedit /set {GUID} systemroot \Windows
(For older systems running on MBR, change the bootloader path to \Windows\system32\winload.exe).
- Add the entry to the active boot menu:
   # Add the entry to the boot manager list
   bcdedit /displayorder {GUID} /addlast

   # Set the boot menu display timeout to 10 seconds
   bcdedit /timeout 10
6) Rollback procedure#
If the manual modifications create duplicate entries or boot instability, restore the original BCD configuration:
# Restore original BCD structure from the backup
bcdedit /import C:\bcd-backup-YYYYMMDD

# Remove the temporary drive letter from the EFI partition
diskpart
select disk 0
select partition X  # ← Select the System partition identified earlier
remove letter=Z
exit
Checklist: Windows boot recovery#
Use this operational field checklist to guide the boot recovery process.
1. Diagnosis phase#
- [ ] Inspect boot failure symptoms (retrieve error codes or BSOD flags)
- [ ] Access the WinRE recovery environment (local or via external installation media)
- [ ] Identify partition style (GPT or MBR) and firmware mode (UEFI or BIOS)
- [ ] Check BitLocker status and retrieve recovery keys if encrypted
2. Safety & backups#
- [ ] Export the BCD configuration to a safe path:
bcdedit /export - [ ] Mount the EFI partition and copy the system boot files
- [ ] Create a system restore point prior to structural edits
3. Bootloader repair#
- [ ] Repair file system integrity:
chkdsk /f /r - [ ] Attempt rapid boot files restoration:
bcdboot - [ ] If required, manually reconstruct BCD entry mappings using
bcdedit - [ ] Confirm that
device,osdevice, andpathvariables point to the correct partitions
4. Post-boot homologation#
- [ ] Restart the host and confirm that the boot manager displays the correct entry
- [ ] Ensure Windows boots directly to the login screen without prompts
- [ ] Verify post-boot system logs and configuration integrity
Was this article helpful?
Leave a quick reaction to help prioritize future technical guides:
See also



This post is licensed under CC BY-NC.
Comments
Join the discussion below.
0 comments